


Why Read This Article?
Finish Nailer Repair - Replacing the Driver Guide (Ridgid Part # 79004001022)
Article Breakdown
Finish Nailer Repair - Replacing the Driver Guide (Ridgid Part # 79004001022)
Video

Tools & Materials
- Sweater
- 36 gauge felting needle
- 1 piece of dense foam
- Pack of wool robing
- Cookie cutter of your choice
- Iron
- Scotch tape
Safety Guidelines
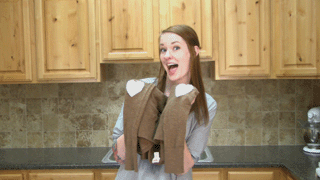
1. Put on Your Sweater
Before you really get started, you'll want to make sure you have the right place for your patches. Try on your sweater, then place a piece of tape 1/2" below your elbow.

2. Insert the foam
Remove the sweater, then slide your piece of foam into the sleeve so it lines up underneath the tape.
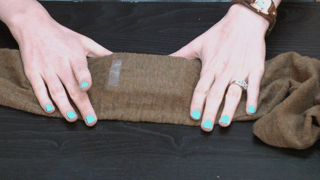
3. Align the cookie cutter
Now align the cookie cutter over the foam. This is where your patch will go, so make sure you get the cutter exactly how you want it.

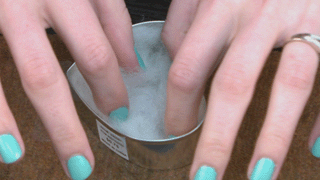
4. Prepare your wool robing
Grab a bunch of wool robing and fluff it up a bit to prepare it for the felting process.
5. Fill the cookie cutter with robing
Now just fill the robing into your cookie cutter to prepare for the felting process.
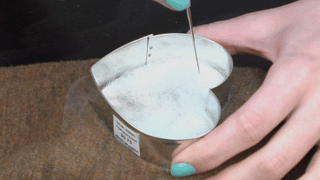
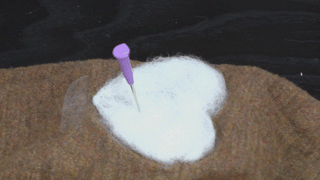
6. Felt the fabrics together
This next step can take a bit of time, so sit down in front of the TV and pull up your favorite show. To felt the fabrics together, use your needle to stab at the robing in a vertical manner. Keeping the needle vertical the whole time, work your way from one section of the robing to another. Once the robing seems pretty matted, you're ready to check your work.
7. Check your work
Pull the cutter away and check your work. If you see any stray fibers, or the wool robing still seems to fluffy, replace the cookie cutter and continue felting the fabric.
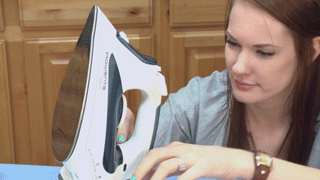
8. Prep the iron
Now it's time to turn your iron on. Remember to use the wool setting.
9. Remove the tape and foam
Remove the tape and foam to prepare your patches for ironing.
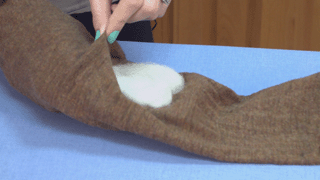
10. Prep the patch for ironing
Now just spray a bit of water onto your patch to get it ready.
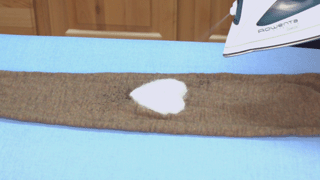
11. Iron the patch
And, lastly, just iron the patch until it seems matted and square. Then repeat this process for the other sleeve, and you're all set!

[Back to Top] Conclusion And that's all you need to whip up your own sweater patches for less money and less time than you'd get from a tailor. And remember, we do more than just help you get through your DIY projects and repairs--we also have all the spare parts you need to fix your appliances, power tools, and other products around the house. [Back to Top] What We're About
