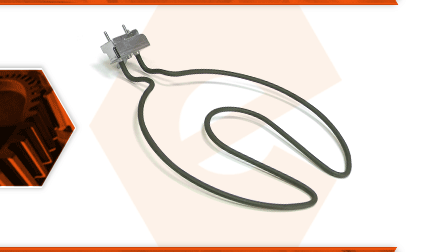
The element assembly is the heating element for your electric grill. It consists of the metal heating element and the connector for the controller. The heating element can eventually wear out: no longer heating, or the prongs (where the controller attaches) can break off.
Let's get started.
REMOVING THE HEATING ELEMENT 1. Remove the controller.
a. Grasp and pull the controller assembly away from the grill.
2. Remove the cooking grate.
a. Open the lid.
b. Remove the cooking grate from the lower body.
3. Remove the heating element.
a. Use a wrench to remove the nut securing the heating element to the inside of the grill body.
b. Use a wrench to remove the nut (and washer) securing the heating element to the FRONT of the grill body.
c. Lift the heating element away from the lower grill body.
INSTALLING THE NEW HEATING ELEMENT
4. Install the heating element.
a. Install the new heating element into the lower body of the grill.
b. Align the controller prongs with the opening on the front of the grill body, and align the upper and lower mounting holes.
c. Install the fiber washer onto the threaded post on the FRONT of the grill body.
d. Install and tighten the nut onto the threaded post on the FRONT of the grill body.
e. Install and tighten the nut onto the threaded post on the INSIDE of the grill body.
REASSEMBLING THE UNIT
5. Reinstall the cooking grate.
a. Install the cooking grate into the lower body of the grill.
6. Reinstall the controller.
a. Align the controller with the prongs on the heating element.
b. Slide the controller firmly toward the heating element to engage the prongs.


