Why Read This Article?
Finish Nailer Repair - Replacing the Driver Guide (Ridgid Part # 79004001022)
Article Breakdown
Finish Nailer Repair - Replacing the Driver Guide (Ridgid Part # 79004001022)
Tools & Materials
- seal pick
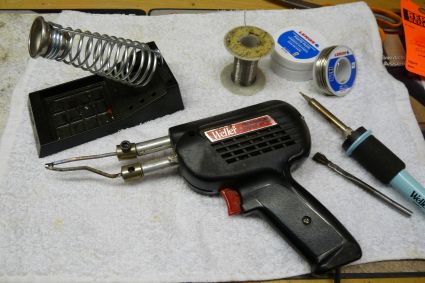
- soldering kit
- a small seal pick
- soldering kit
The picture above shows a trap door switch and two seal picks of different sizes. The seal pick on the left is too large to fit both inside the wire terminal and to the side of the wires inside, so a smaller seal pick is needed. In general, the smaller the seal pick the better for this repair.
Some instructions that come with trap door switches suggest using a paper clip to push the spring back inside the switch. This usually doesn't work, because the paper clips tend to bend with very little pressure. Using a seal pick is the way to go for removing those wires.

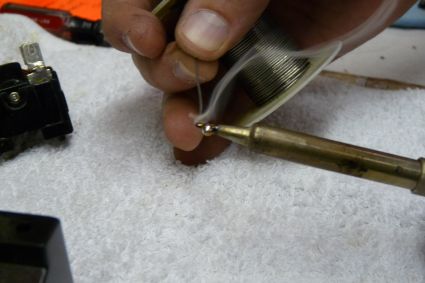
A soldering kit is needed for reinstalling wires into a trap door switch. Repairmen will often try to twist the wires and jam them in there, and, several headaches later, give up.
"Tinning" wires with solder before reinstalling them into these kinds of switches will make it so they just slide right in, and it ensures a better electrical connection.
For a Soldering 101 article-Click here.
That's it for this repair's equipment. Now for the steps.
1. Insert the small seal pick into the wire terminal to relieve the spring pressure from the wires.
2. With the pick still inserted, remove the wire.
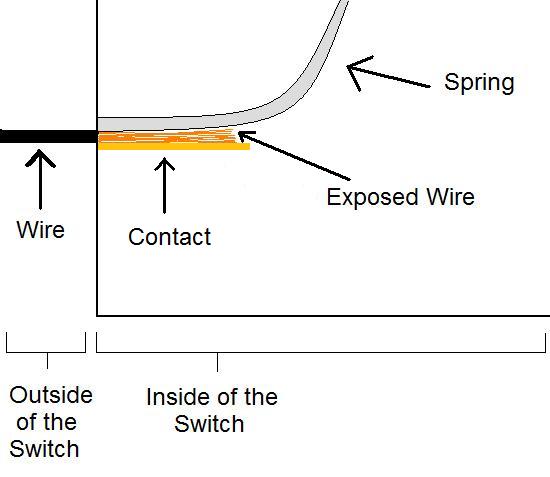
In trap door switches, a spring pins the wires down to a copper contact with the pressure caused by its bent shape, as can be seen in the diagram below:

Inserting the pick in the terminal pushes the spring up so that the wire can be removed easily.
Some trap door switches have special windows beneath the wire terminals. The picture below shows this kind of switch:
In the above trap door switch, the three larger, protruding holes are the wire terminals. The three smaller holes beneath are the switch's "windows." These windows give access to the wire spring mechanism.
So, if a trap door switch includes windows like these, the seal pick is inserted into the windows to relieve the spring pressure from the wires. Each wire terminal has one corresponding spring window.
1. Tin the wires with solder.
2. Push the tinned wire into the trap door wire terminal.
With the wires removed, the springs inside the terminals of a trap door switch reset. When reinserting the wires, the best way to ensure that they can overcome that resistance is to "tin" them with solder.

Sealing the wires together with solder will strengthen them so that they can push past the trap door spring, and it makes for a better electrical connection.
Conclusion
These tricks and suggestions should make it much easier to perform a power switch repair with a trap door switch. Please view this article's demonstration video for more instruction on this repair.
To begin your switch repair, type your tool's model number in the search field at the top of our Home Page.


