


Why Read This Article?
Finish Nailer Repair - Replacing the Driver Guide (Ridgid Part # 79004001022)
Article Breakdown
Finish Nailer Repair - Replacing the Driver Guide (Ridgid Part # 79004001022)
Video

Tools & Materials
 THE FACTS | THE FIX | THE FINISH
If engine rust and concrete dust are cutting into your construction budget, it's time to face the fix. Whether you are a master mason or a backyard builder, eReplacementParts.com provides the parts, procedures and facts you need to fearlessly fix what fails you.
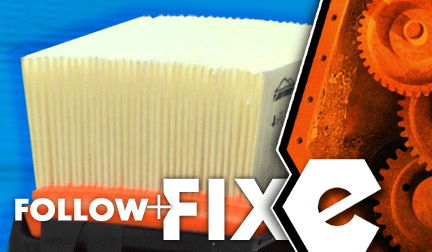
Because of the amount of dust and debris generated by this type of saw, a clean air filter is critical to ensuring optimum engine performance and longevity.
Although the manufacturer recommends routine intervals for replacement, the air filter should be inspected frequently, and replaced at the first sign of damage or deterioration. Heavy use conditions (such as using the saw to cut concrete without the water system attached) will necessitate more frequent filter replacement.
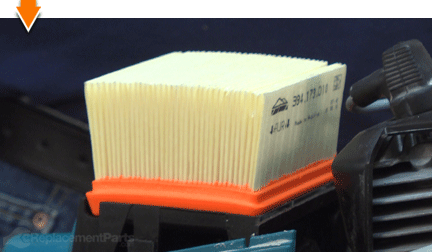
The air filter can typically be cleaned several times before it actually needs to be replaced. Often, cleaning the filter is as simple as tapping it against any hard surface to remove heavier deposits of dust and debris. Compressed air may also be used (carefully) to blow debris out of the paper pleats.
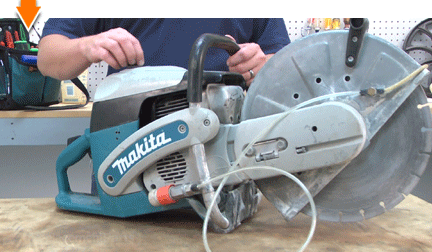
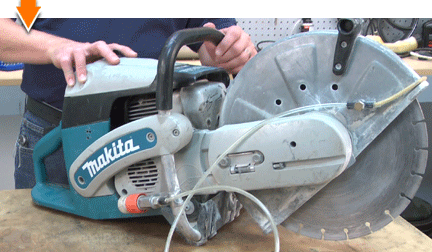
A thorough inspection should be performed each time the air filter is removed for cleaning. If any part of the filter is found to be damaged, it will need to be replaced. This article will show you how to quickly remove, inspect, clean and/or replace the air filter in your Makita DPC7311 (Power Cutter) cut-off saw.
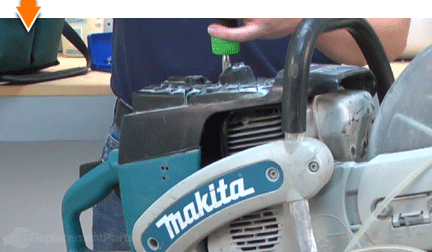
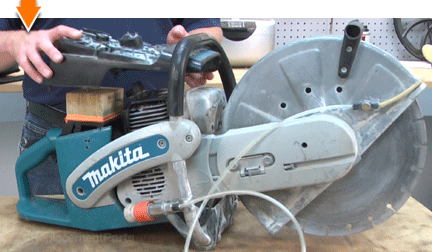
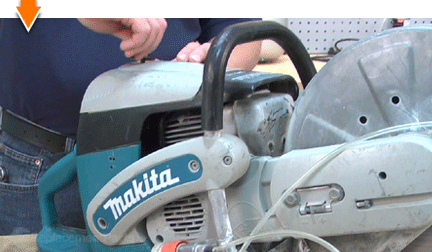
THE FACTS | THE FIX | THE FINISH REMOVING THE AIR FILTER [top] 1. Remove the filter cover assembly.
Rotate the locking knob on the top of the assembly to the unlocked position.
Lift the filter cover assembly away from the unit.
 2. Remove the secondary cover.
Remove the four screws.
Lift the secondary cover away from the unit.
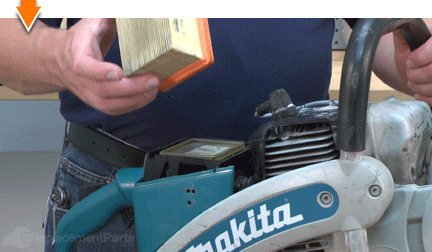
 3. Remove the air filter.
Lift the air filter away from the filter base.
 INSTALLING THE NEW AIR FILTER [top]
4. Install the new air filter.
INSTALLING THE NEW AIR FILTER [top]
4. Install the new air filter.
Install the air filter on the filter base (over the inner filter).
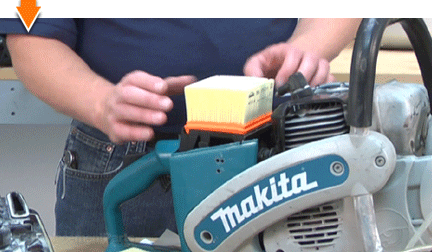
Press along the perimeter of the air filter to ensure an air-tight seal.
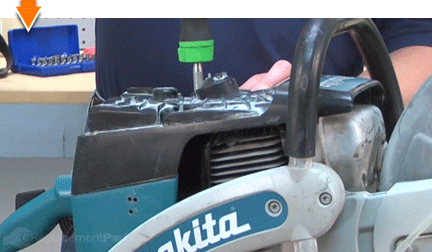
REASSEMBLING THE UNIT [top] 5. Reinstall the secondary cover.
Install the secondary cover.

Secure the secondary cover with the four screws.
 6. Reinstall the filter cover assembly.
Install the filter cover assembly onto the saw.
Rotate the locking knob to the locked position.
THE FACTS | THE FIX | THE FINISH While cutting concrete can be a valuable skill; cutting costs is priceless. But you don't have to be a master mason to cut out the middle-man. As you just learned, maintaining your own power equipment allows you slash offsite repair costs and empowers you to face future fixes wherever you may find them. Save your saw. See more savings. Find your next fix here. [top]
