


Why Read This Article?
Finish Nailer Repair - Replacing the Driver Guide (Ridgid Part # 79004001022)
Article Breakdown
Finish Nailer Repair - Replacing the Driver Guide (Ridgid Part # 79004001022)
Video

Tools & Materials
- Screwdriver
- Pliers
Shop for the battery used in this article! Removing the Battery
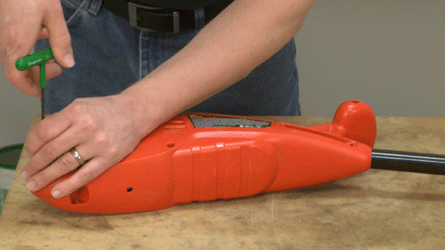
1. Remove the housing screws
Use a screwdriver to remove the screws that secure the two housing-half's together.
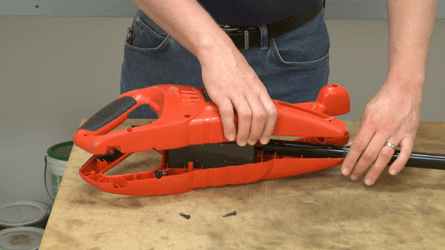
2. Separate the housings
Use your fingers or a flat-head screwdriver to separate the top housing from the bottom.
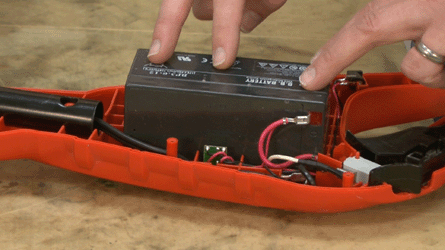
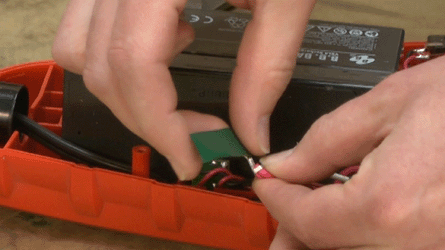
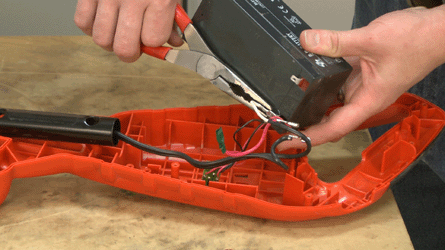
3. Remove the positive battery terminal
This is done to cut the power while you work on your trimmer.
Cover the exposed positive terminal with some tape to prevent any contact with the battery.
4. Remove the lock button and spring
This can simply be pulled out of the housing.
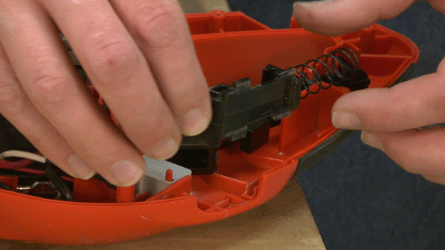
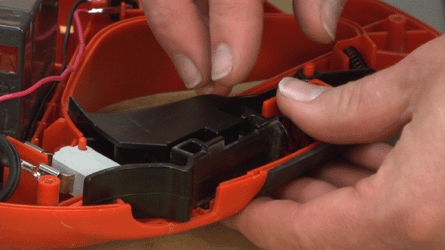
5. Remove the actuator and spring
Use your fingers to pull these out of the housing.
6. Note the wiring setup
Either make a diagram or take a picture with your phone to notate the wiring positions.

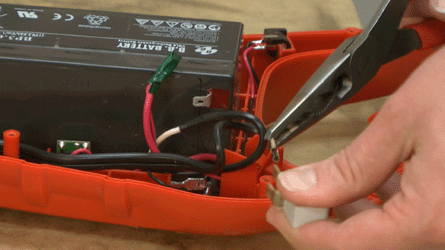
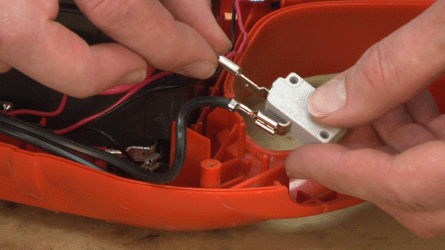
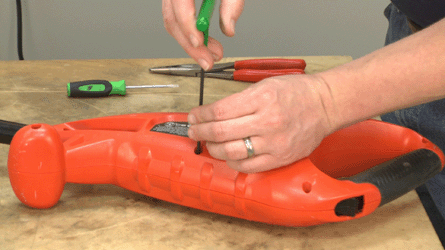
7. Remove the switch
Pull the switch out of the housing and use a pair of needle-nose pliers to remove the two wires connected to it.
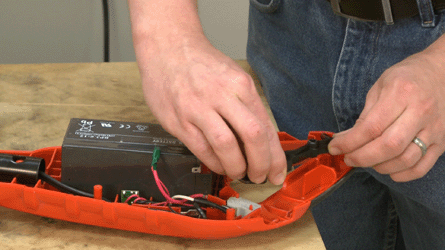
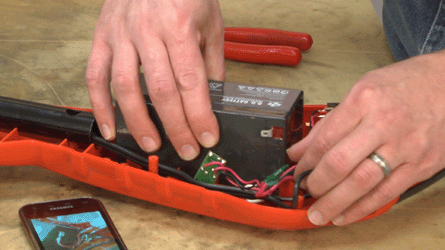
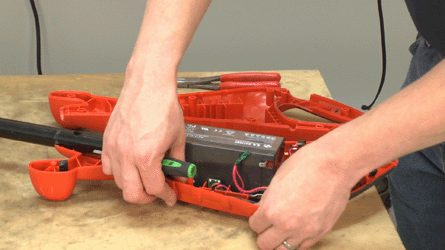
8. Remove the battery
Pull the battery out of the housing and detach the remaining wire with some pliers.
[Back to Top] Installing the Battery
1. Replace the negative terminal wire
Use your fingers or a pair of pliers to replace the negative wire (white wire) to the negative battery terminal.

2. Replace the battery into the housing
Simply set the battery back into its original location.
3. Reinstall the switch
Use the wiring diagram or pictures to reattach the two wires back to the switch, then place back into position in the housing.
4. Reinstall the actuator and spring
Place the spring back onto the actuator, then replace the actuator assembly back into the housing.
5. Reinstall the lock button and spring
Place the spring back onto the lock button and tuck the lock button assembly neatly back into the housing.
6. Neatly tuck all of the wires into the housing
Tuck the wires back into their designation areas of the housing to avoid pinching.
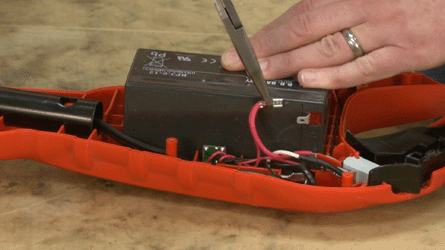
7. Replace positive battery terminal wire
Carefully remove the tape on the end of this wire, then reinstall it to the positive battery terminal.
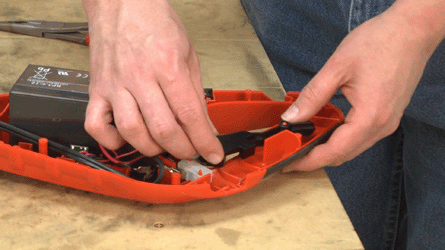
8. Reinstall the housing half
Finalize this repair by replacing and securing the housing half and screws.
[Back to Top]
Conclusion
And that's how easy it is to replace the battery in an electric trimmer. Performing routine repair such as this will save you tons of money compared to repair shops, plus you'll gain the repair knowledge necessary to take on more repairs in the future.
Shop for all our Black and Decker trimmer parts here.
[Back to Top]
What We're About
