Why Read This Article?
Finish Nailer Repair - Replacing the Driver Guide (Ridgid Part # 79004001022)
Article Breakdown
Finish Nailer Repair - Replacing the Driver Guide (Ridgid Part # 79004001022)
Tools & Materials
- Wrench
- Socket Wrench
- Screwdriver

Need the part used in this article? We've got it here. Removing the Lower Handle
1. Remove the two bolts on the upper handle
Use a wrench and socket to remove the two nuts and bolts connecting the upper handle to the lower handle.
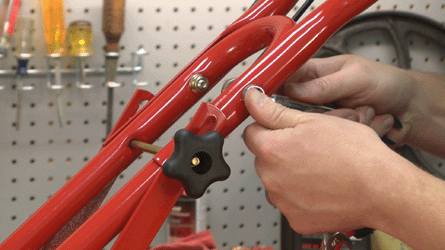
2. Remove the adjustment knob and bolt
Use your hands to unscrew and remove the adjustment knob and bolt.

3. Separate the two handles
With the bolts out of the way, you can pull the upper handle away from the lower handle.
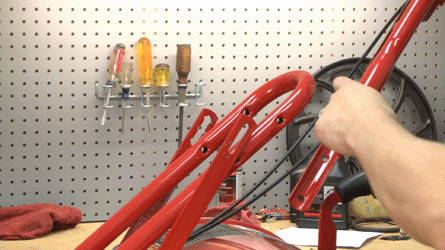
4. Remove the bolts from the bottom of the lower handle
Use a wrench and socket wrench to remove the sets of two nuts and bolts at the very bottom of the lower handle.
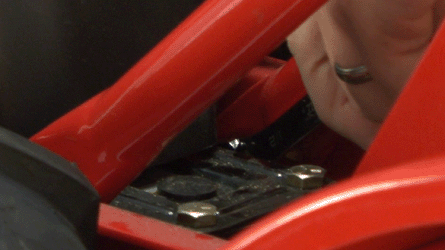
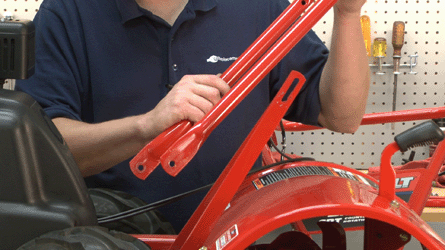
5. Remove the lower handle from the tiller
The lower handle can now be pulled away from the tiller.
[Back to Top]
Installing the New Lower Handle
1. Attach the lower handle to the upper handle
Before secure the handle assembly to the tiller, you'll want to first reattach the lower and upper handles. Replace and secure the nuts and bolts that were removed in step 1.

2. Install the handle assembly to the tiller
Slide the handle assembly back into its original location.
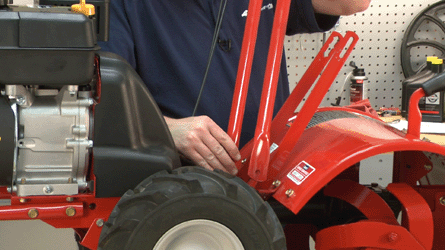
3. Secure the handle assembly
Secure the handle assembly with the set of nuts and bolts that were removed in step 4.
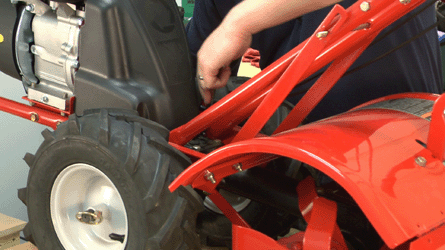
4. Install the adjustment bolt knob
Finalize this repair by replacing and securing the adjustment bolt and adjustment knob.
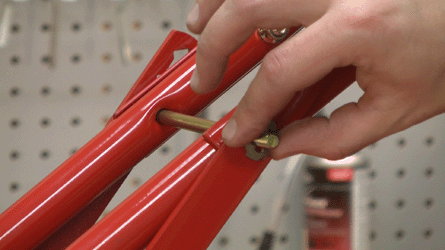
[Back to Top]
Conclusion
Replacing often-used parts (like the handle on this tiller) will drastically increase the life of your outdoor equipment. We invite you to continue to use these articles to help you fix up your products. After all, you're saving time, money and stress from going to a repair shop!
Shop for all of our Troy-Bilt Snowblower parts here!
[Back to Top]
What We're About


