Tools & Materials
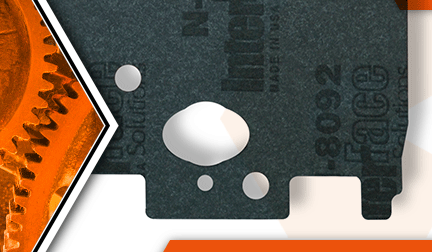

Trimmer out of whack? It's time to face the fix. Whether you are a legendary landscaper or a weekend weed whacker, eReplacementParts.com provides the parts, procedures and facts you need to fearlessly fix what fails you.
The intake gasket creates a seal between the engine block and the heat dam (behind the carburetor). This gasket usually only needs to be replaced when it is removed as part of another engine repair. If the gasket is torn when it is removed, it must be replaced.
The only way to ensure a proper seal is to replace the gasket every time it is removed. A leak in the intake gasket will allow extra air into the cylinder. If the leak is bad enough, you will notice the engine surging erratically. It will be hard to start and die randomly. The RPM will climb and fall while the engine is running.
An air leak is a serious problem. It can cause the engine to run lean, which will lead to scarring on the piston and cylinder, and eventually, a seized engine. If you suspect your engine has an air leak, you should stop using it immediately.
This article provides step-by-step instructions for removing and installing the intake gasket on a Ryobi string trimmer.
Let's get started.
 REMOVING THE INTAKE GASKET [top]
1. Remove the air filter box.
Remove the air filter cover.
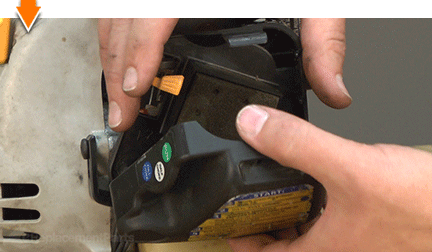
Remove the air filter.
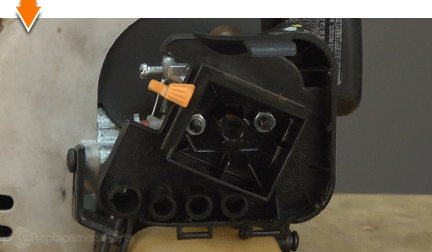
Remove the (2) nuts securing the air filter box assembly to the engine.
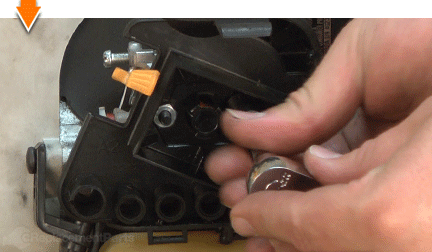
Slide the air filter box assembly away from the engine.
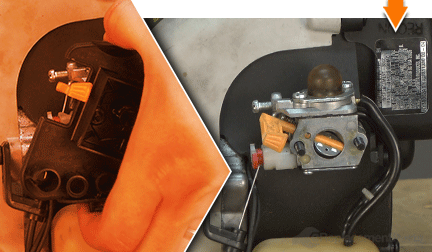
2. Remove the carburetor gasket.
Disconnect the throttle cable "z-connector" from the carburetor linkage.
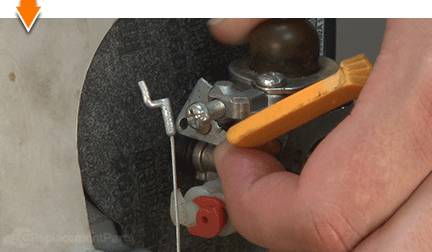
Slide the carburetor assembly away from the engine (it is not necessary to disconnect the fuel lines from the carburetor).
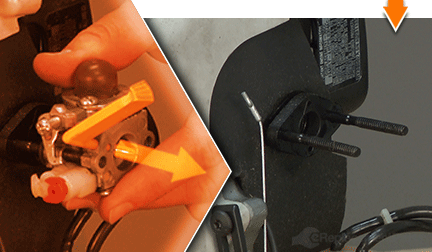
Slide the carburetor spacer away from the engine.
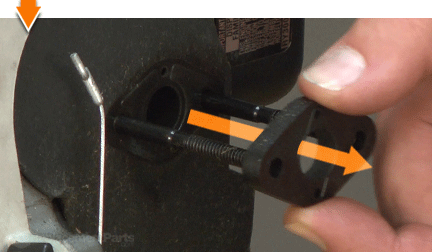
Remove the carburetor gasket.
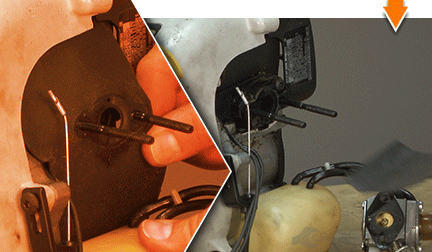
3. Remove the intake gasket.
Remove the (2) screws securing the heat dam to the engine block assembly.
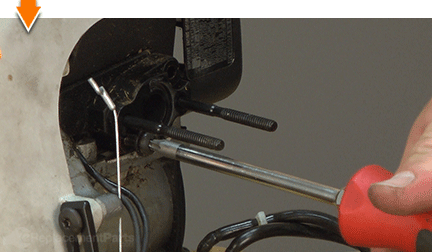
Remove the heat dam from the engine.
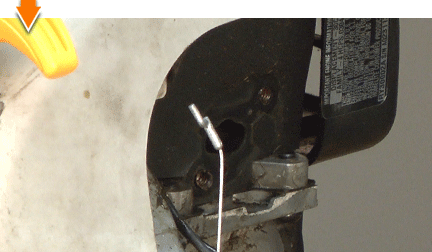
Remove the intake gasket.
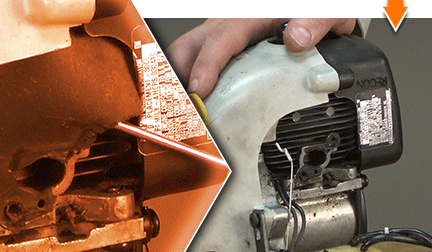
Use a gasket scraper (or razor blade) remove all fragments of the old gasket.
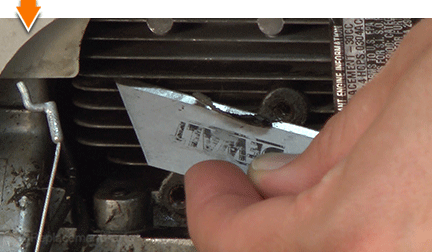
INSTALLING THE NEW INTAKE GASKET [top] 4. Install the intake gasket.
Install the new intake gasket.
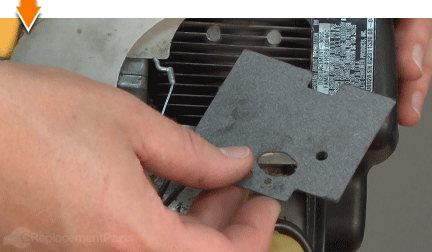
Verify that the new gasket is evenly seated behind the plastic housings; and that the gasket is properly aligned with the intake port on the engine block.
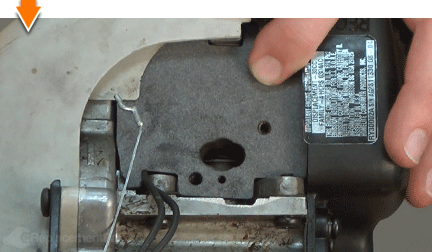
REASSEMBLING THE UNIT [top] 5. Reinstall the carburetor.
Install the heat dam.
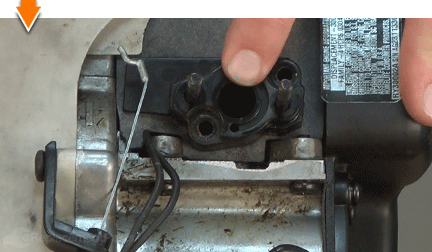
Secure the heat dam with the (2) screws.
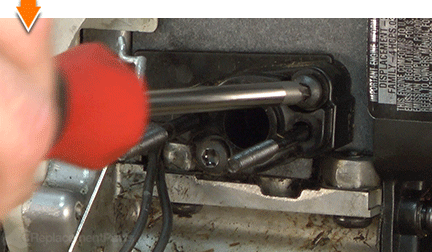
Install the carburetor gasket.
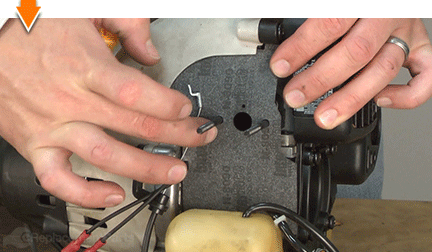
Install the (plastic) carburetor spacer gasket.
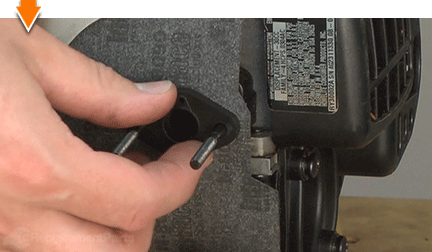
Install the carburetor.
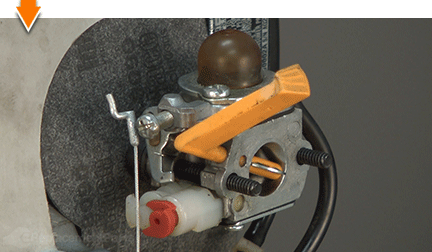
Connect the throttle cable "z-connector" to the carburetor linkage.
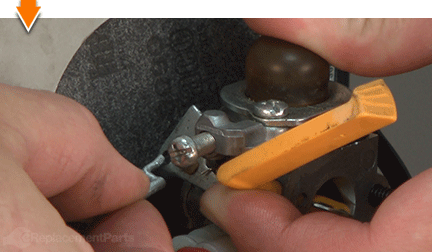
6. Reinstall the air filter box.
Install the air filter box over the carburetor.
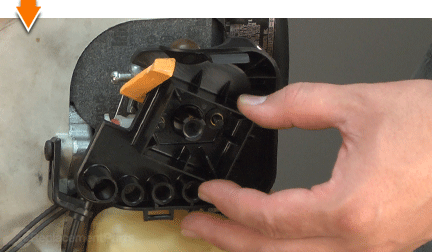
Secure the air filter box with the (2) nuts.
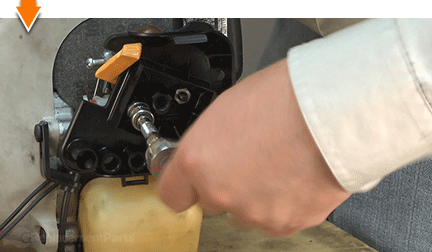
Reinstall the air filter.
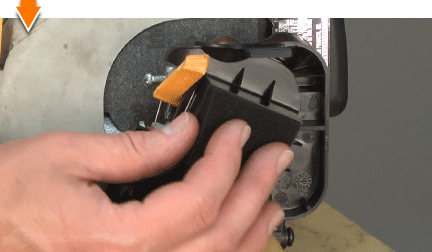
Reinstall the air filter cover.

Do-it-yourself repairs like these are easier than you might think: From lawn machines to cordless drills, kitchen mixers to outdoor grills. Our "how-to" articles walk you through each repair from start to finish.
So, doing-it-yourself means never having to do it alone.


