Tools & Materials
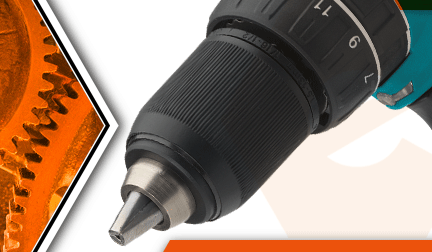

Drill chuck stuck? It's time to face the fix. Whether you are a master carpenter or an occasional drill-seeker, eReplacementParts.com provides the parts, procedures and facts you need to fearlessly fix what fails you.
While it's not uncommon to have to replace your drill chuck after years of use; it's more likely that you'll need to remove the chuck in order to repair one of the underlying components. This is usually a simple task... but not always.
That's because a seized, stripped or stubborn retaining screw can escalate your project from routine to rigorous in the twist of a wrist. Fortunately, most disagreements between you and the retaining screw in your drill chuck can be settled with a hammer. This one requires a hammer, a punch, and a working drill. Locking pliers and a set of high-quality drill bits will help speed things up as well.
This article provides step-by-step instructions for removing a stuck, seized or stubborn drill chuck on a Makita cordless hammer drill.
Let's get started.
 REMOVING THE CHUCK [top]
1. Before you begin.
This article demonstrates how to remove the drill chuck by 1) "drilling away" the head of the stripped or seized retaining screw, and 2) disengaging the chuck using a large Allen wrench and a hammer. While neither of these actions is particularly difficult, either can damage the chuck and/or spindle if done incorrectly (or overdone).
Because of its location within the chuck, the retaining screw can be difficult to see. This also makes it difficult to gauge exactly "how much is enough" while drilling the head of the screw. Therefore, it is best to proceed a little at a time; alternating between drilling and hammering until the chuck breaks free.
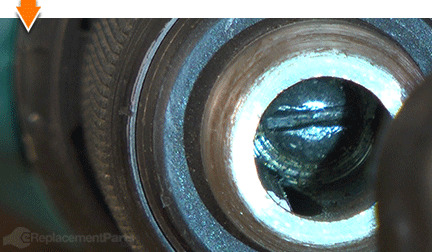
This process destroys the retaining screw, so be sure you have a replacement screw before you begin.
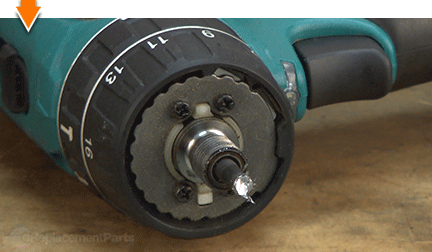
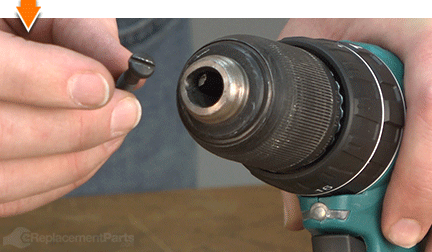
The retaining screw is reverse-threaded. So, before you break out your hammer and drill, make sure you havent been trying to turn the screw the wrong way.
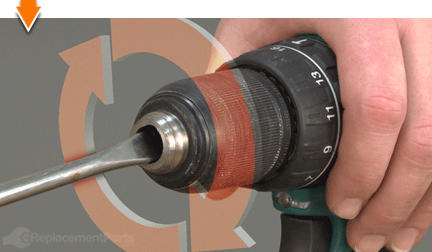
2. Score the head of the retaining screw.
Open the chuck to the widest position.
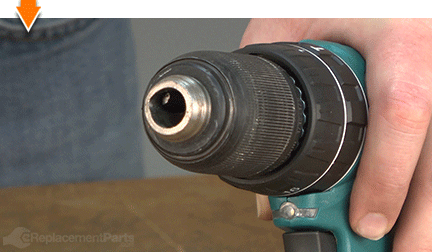
Use a hammer and punch to score the center of the retaining screw. This will help stabilize the drill bit during the initial stages of drilling.
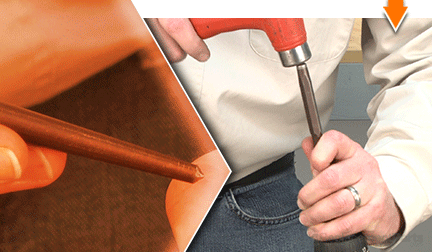
3. Drill-away the head of the retaining screw.
Select a drill bit that is approximately the same diameter as the head of the retaining screw.
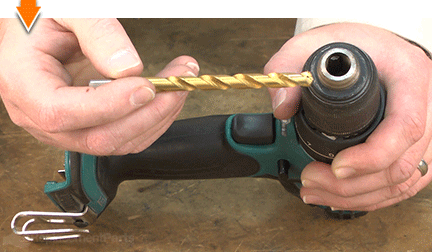
Align the drill bit with the center of the retaining screw (within the scored portion).
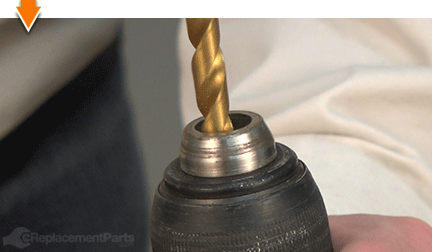
Slowly begin drilling; ensuring that the drill bit remains centered on the retaining screw.
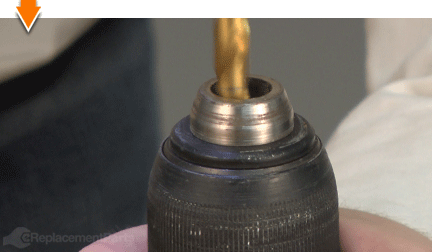
Periodically stop drilling to inspect the retaining screw and remove the metal shavings from the chuck.
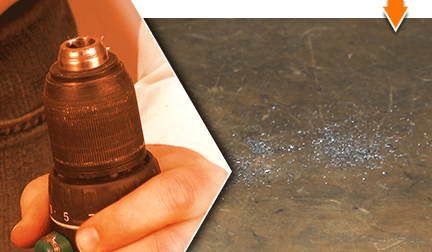
Continue drilling (as necessary) to drill-away as much of the screw head as possible. Be careful not to allow the drill bit to drift into the sides of the chuck.
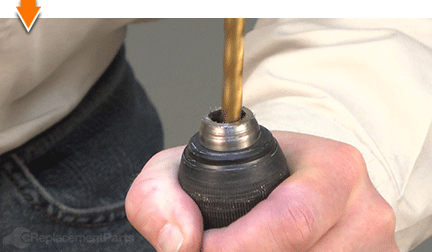
4. Remove the chuck.
Open the chuck to the widest position.
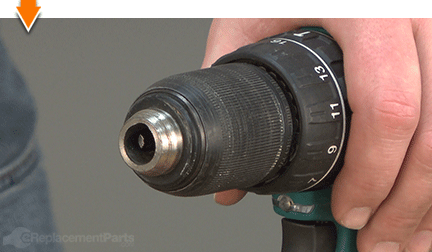
Secure the short end of a large Allen wrench (as large as the chuck will accommodate) into the chuck assembly.
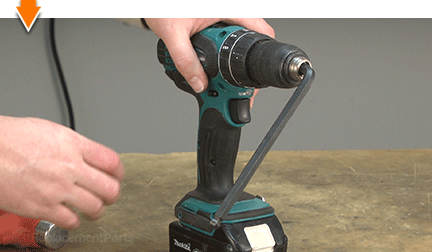
Position the drill on a surface that allows the chuck (and Allen wrench) to overhang the edge.
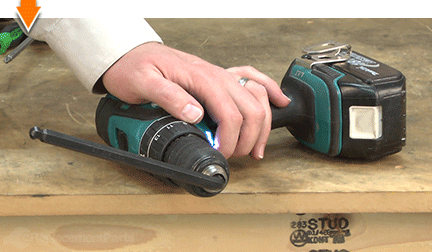
While securely holding the drill against the work surface, strike the exposed end of the Allen wrench with a hammer. Eventually, (when enough of the screw head has been removed) the chuck will "break free" from the spindle.
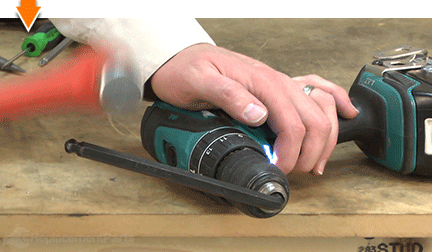
If the chuck breaks free from the spindle; proceed to the next step. If the chuck does not break free (after one or two hits with the hammer); remove the Allen wrench from the chuck and repeat the steps above (drilling).
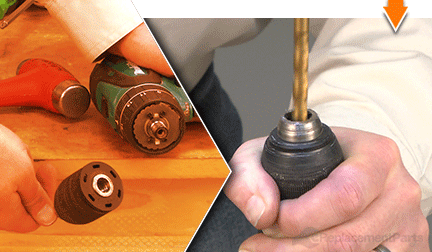
Continue to rotate (unscrew) the chuck assembly (by hand) until it disengages the spindle.
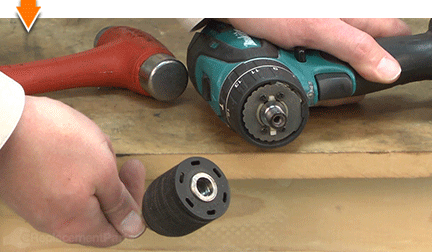
REASSEMBLING THE UNIT [top] 5. Remove (what's left of) the retaining screw.
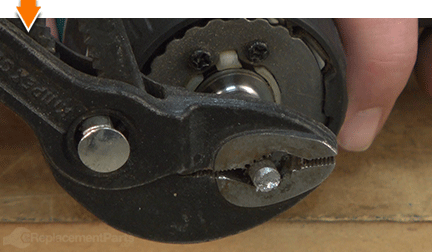
Use locking (or adjustable) pliers to remove the remaining portion of the retaining screw. This screw is reverse-threaded, which requires CLOCKWISE rotation to remove.
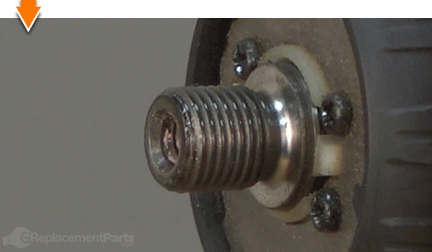
Remove metal shavings and debris from the spindle assembly.
6. Reinstall the chuck.
Thread the chuck assembly onto the spindle until it is hand-tight.
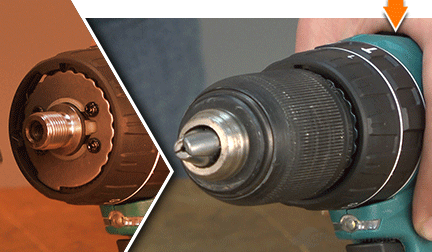
Open the chuck to the widest position.
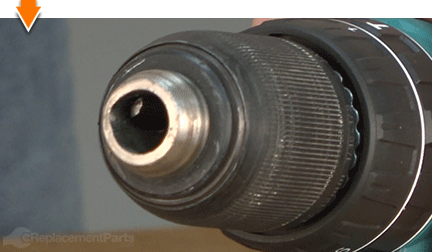
Install a new retaining screw.
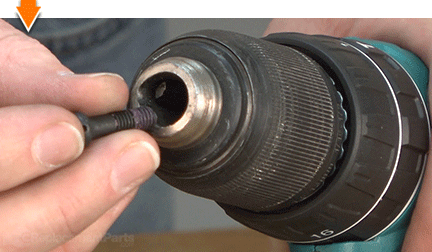
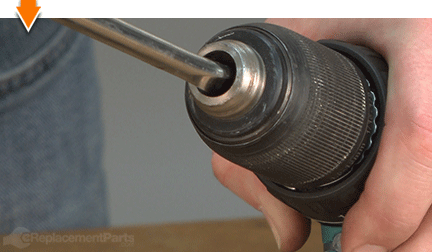
Secure the retaining screw. The screw is REVERSE-THREADED (requiring COUNTERCLOCKWISE rotation to secure).

As you just learned, fixing things yourself means more drilling with less billing. Hopefully, this article has restored your ability to drill holes without replacing your whole drill. And that's just the tip of the bit. Our online repair guides can help expand your skills far beyond drills; empowering you to face power tool problems whenever they arise; and to fearlessly fix whatever fails you.


