Tools & Materials
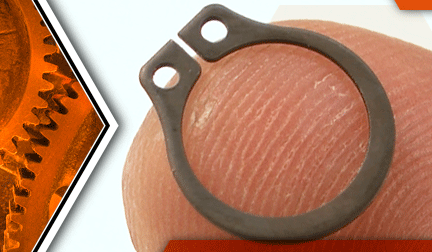

Retaining ring ruined? It's time to face the fix. Whether you are a master mechanic or a garage-based grinder, eReplacementParts.com provides the parts, procedures and facts you need to fearlessly fix what fails you.
The spindle retaining ring is part of the spindle assembly on your grinder. Its purpose is to act as a stop when you press the bearing onto the end of the spindle. Typically, you're only going to replace this part when you rebuild the spindle assembly.
This article provides step-by-step instructions for removing and installing the spindle retaining ring, as well as how to press the bearing against it.
Let's get started.
 REMOVING THE RETAINING RING [top]
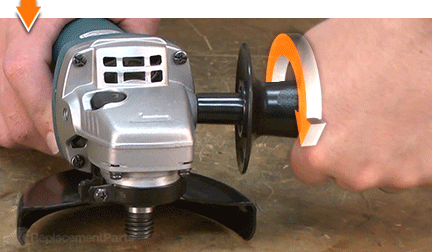
1. Remove the side handle.
Unscrew and remove the side handle from the grinder.
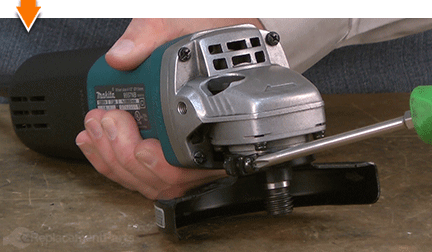
2. Remove the guard.
Loosen the lock-screw on the guard assembly.
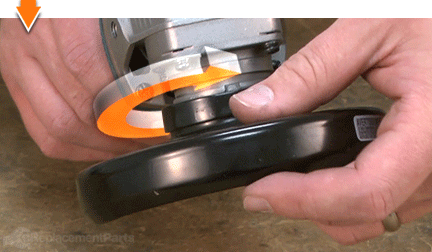
Rotate the guard assembly to disengage it from the housing.
Remove the guard from the grinder.
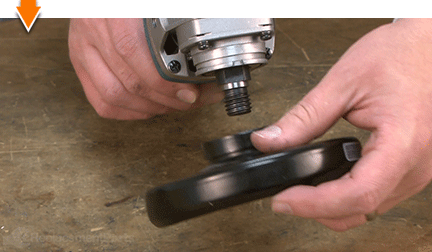
3. Remove the gear housing.
Remove the (4) screws from the gear housing.
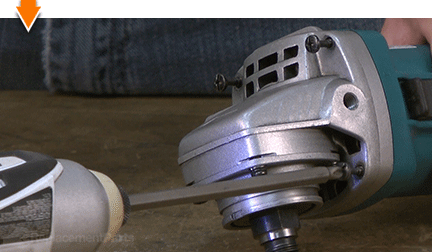
Separate the gear housing from the motor housing.
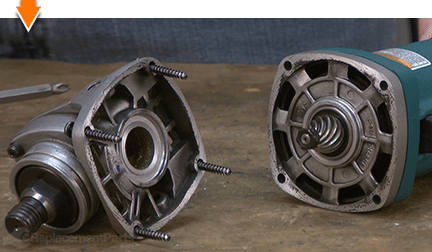
4. Remove the bearing box from the gear housing.
Remove the (4) screws from the bearing box.
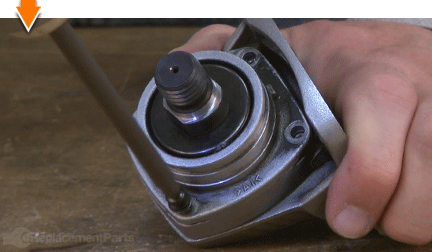
Separate the bearing box from the gear housing.
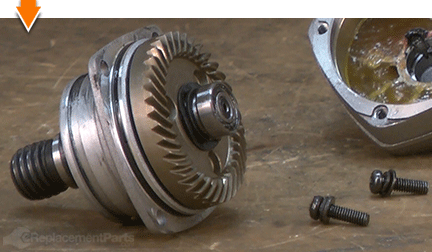
5. Remove the upper spindle bearing.
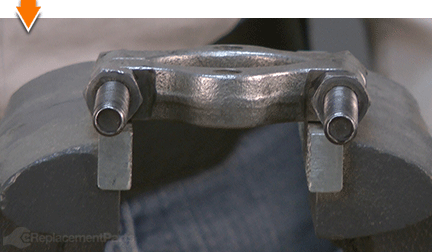
Position the bearing separator around the rear bearing.
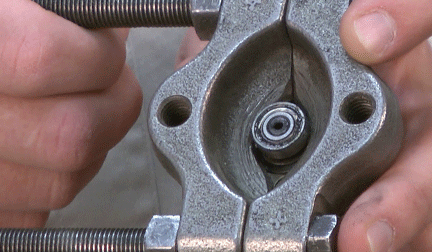
Tighten the bearing separator bolts.
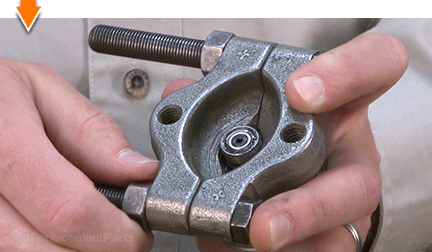
Place the bearing separator (and spindle assembly) on the vise. The jaws of the vise should be opened wide enough to accommodate the spindle assembly (without touching it).
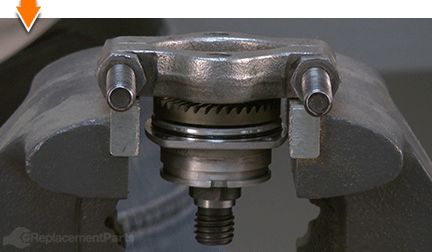
Use a punch and a hammer to tap the end of the spindle shaft until the bearing breaks free from the spindle.
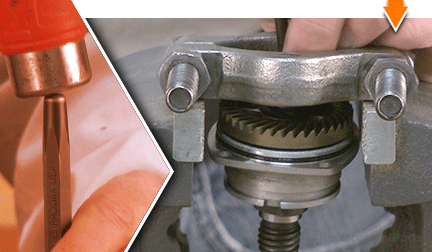
Remove the upper spindle bearing from the assembly.
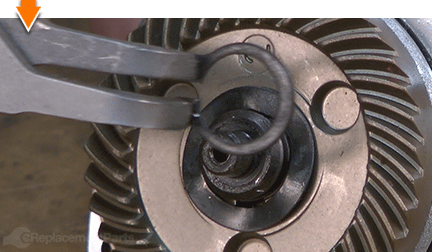
6. Remove the retaining ring.
Use retaining-ring (snap-ring) pliers to remove the retaining ring from the spindle shaft.
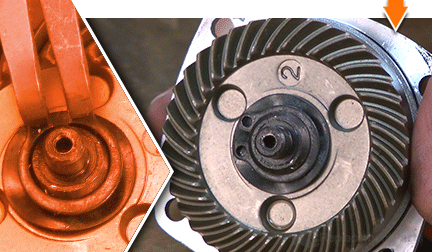
INSTALLING THE NEW RETAINING RING [top] 7. Install the retaining ring.
Use retaining-ring (snap-ring) pliers to install the new spindle retaining ring.
REASSEMBLING THE UNIT [top] 8. Reinstall the upper spindle bearing.
Slide the upper spindle bearing onto the spindle shaft.
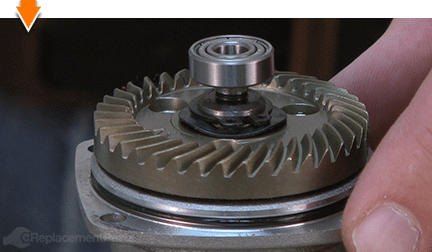
Locate a socket that has the same diameter as the inner race of the bearing.
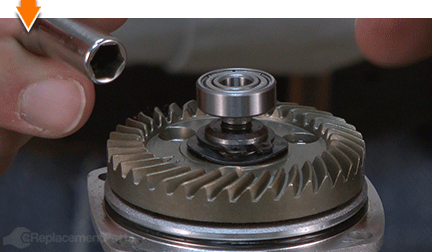
Position the socket squarely against the bearing.
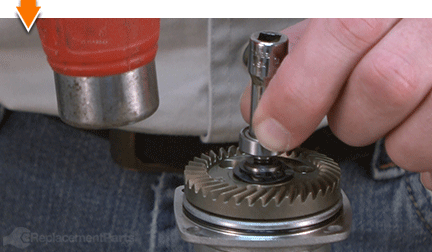
Tap the socket with a hammer to press the bearing on the spindle shaft.
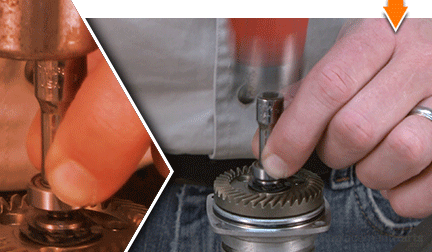
Continue tapping the socket until the bearing is fully seated on the spindle.
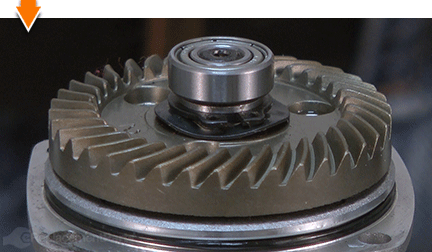
9. Reinstall the bearing box onto the gear housing.
Install the bearing box onto the new gear housing.
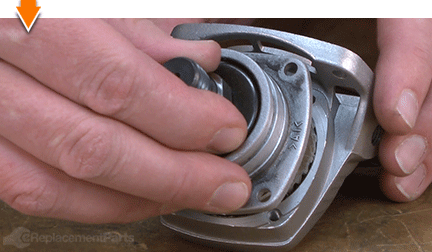
Secure the bearing box with the (4) screws.
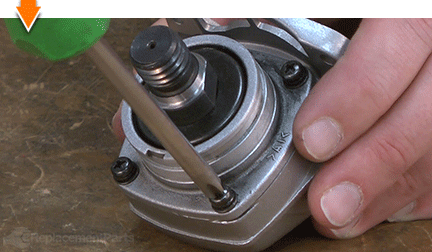
10. Reinstall the gear housing.
Install the gear housing onto the grinder (aligning the mounting holes with the gear housing cover and the motor housing).
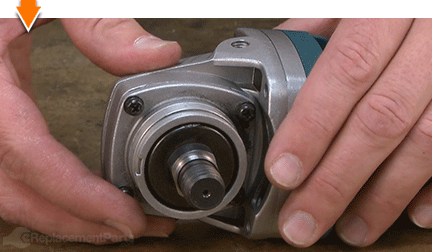
Secure the gear housing to the grinder with the (4) screws.
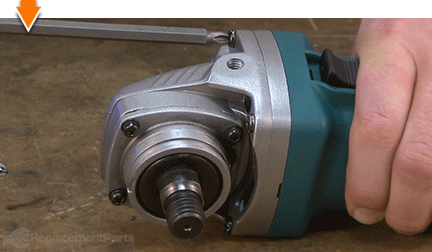 11. Reinstall the guard.
Install the guard assembly onto the grinder.
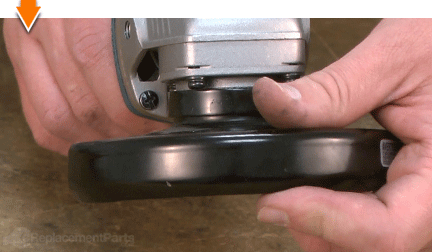
Rotate the guard assembly to engage the mounting plate.
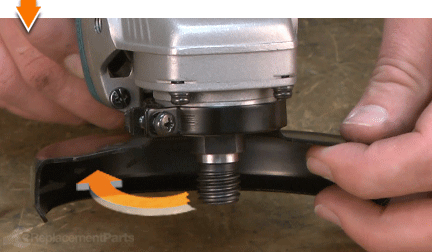
Secure the guard with the (1) screw.
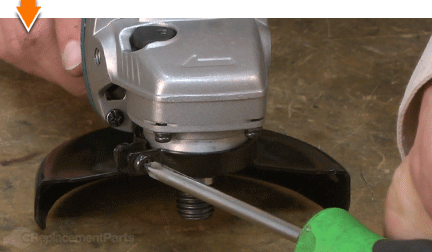
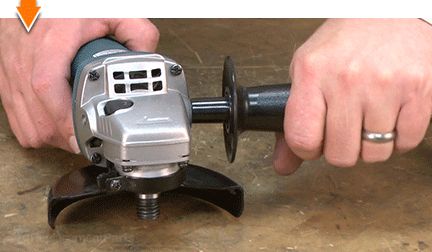
12. Reinstall the side handle.
Install the side handle onto the grinder.
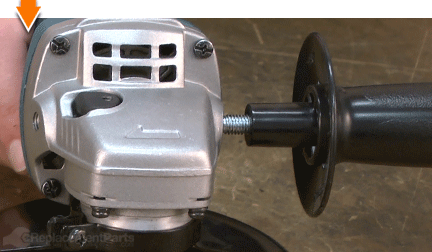
Tighten the side handle until secure.

You can't place a value on a job well done, unless you did it yourself. (Which you did.) Now you can place that value back into your own pocket. (Or into your business.) Not only did you refine your grinder at a fraction of the cost of replacement; you have expanded your skills far beyond the daily grind.


