It Doesn’t Get Better than Home-Made, Grilled Tortillas!
Hey everyone! Gina here, over from ladygoats.com, and I’m super stoked to be here at eReplacementParts to talk about GRILLLING! When I was asked to guest post about grilling, I knew exactly what I wanted to talk about…
Tortillas!
Ok, I can imagine all the confused looks that made their way across your faces when you read that, but just bear with me. I’m only a LITTLE crazy!
A few Thanksgivings ago, we went to my husband’s grandma’s house on the Navajo reservation and showed up right when they were prepping for tortillas. I expected someone to eventually pull out one of those cast iron skillets that everyone makes their tortillas on, but that never happened. Instead, we walked right over to a makeshift grill (a hole dug in the ground with some coals thrown in and a grate on top) and cooked the tortillas right over the coals! And you know what? Those were the most amazing tortillas I’ve ever eaten!
One of the most interesting things about that trip was using a tortilla press, which I hadn’t even heard of before! Today, we’re gonna build one, and it’s cheap!
Shopping List:
Lumber:
3 – 2 x 2 x 8
1 – 1 x 2 x 8
1 – 2 x 3 x 8 or stud length
Hardware
1 set 1 ½” hinges (like the ones found here)
1 – 5” ½ bolt with matching nut and washers
Cut List:
6 – 2 x 2 @ 11 ½” (bottom plank)
6 – 2 x 2 @ 9 ¼” (top plank)
1 – 2×2 @ 18” (handle)
2 – 1×2 @ 14 ½” (handle)
1 – 2×3 @ 7 ½” (upright)
1 – 2 x 2 @ approx 9” (this should be cut to fit the width of assembled planks)
Step 1
We’re going to create two planks out of the 2x2s. Glue all 6 of the 11 ½” boards to each other, clamp and let dry. Do the same to the 9 ¼” boards. Once the glue has dried for 24 hours, sand the tops smooth.

Step 2
Build the handle. Place the 2×2 2” down from the edge of the 1x2s, glue and finish nail in place. If you don’t have a nail gun, clamp and let dry.

Step 3
Place the upright next to the bottom plank to mark where you’re going to notch out.

Step 4
Notch out a 1” deep section of the 2×3 from your mark to the bottom edge and glue/nail to the middle of the bottom plank.

Step 5
Measure the width of the assembled plank, and cut the 2×2 to fit. Glue to top of the top plank almost at the middle. Placement doesn’t have to be exact.
(I didn’t take a picture of this – WHOOPS!)
Step 6
Attach hardware!
Attach hinges to the edge opposite the upright. Then drill a 5/8” hole through the handle, measuring ¾” from the top and sides. Drill a corresponding hole through the upright. Screw the bolt through, then washer and nut.

YOU’RE FINISHED! I’d suggest that you rub the press down with some mineral oil, and use Saran Wrap when pressing the tortillas.
Ok, if you’re still with me (so many words, but it really was very simple!), let’s get to how you USE this thing!
- Find a tortilla recipe that you LOVE, and make the dough (I suggest this one)
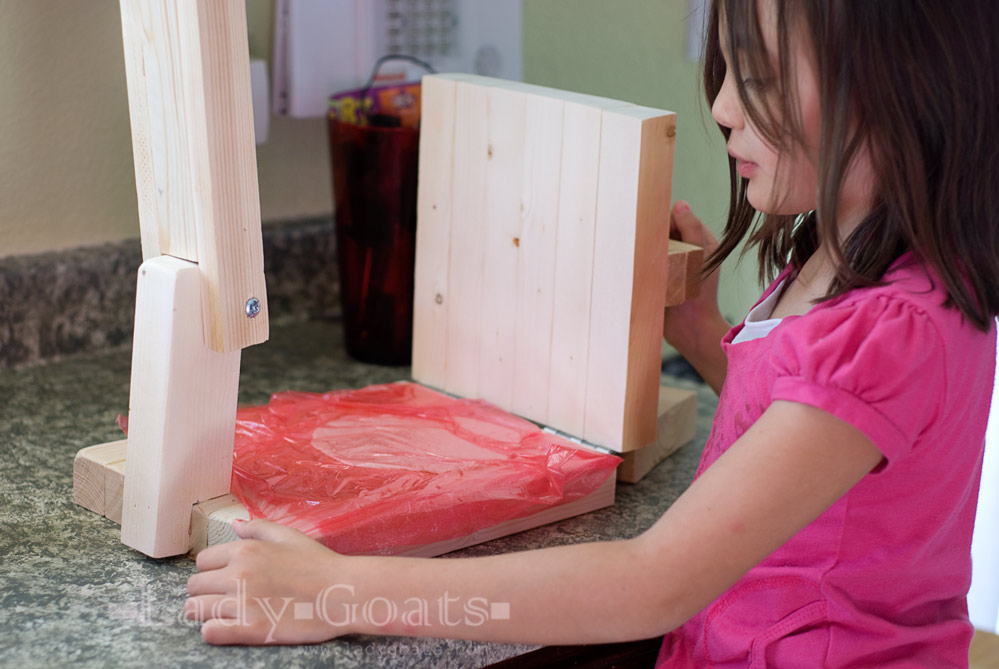
- Spread Saran Wrap across the press
- Place rolled dough onto the press
- Lower the top plank
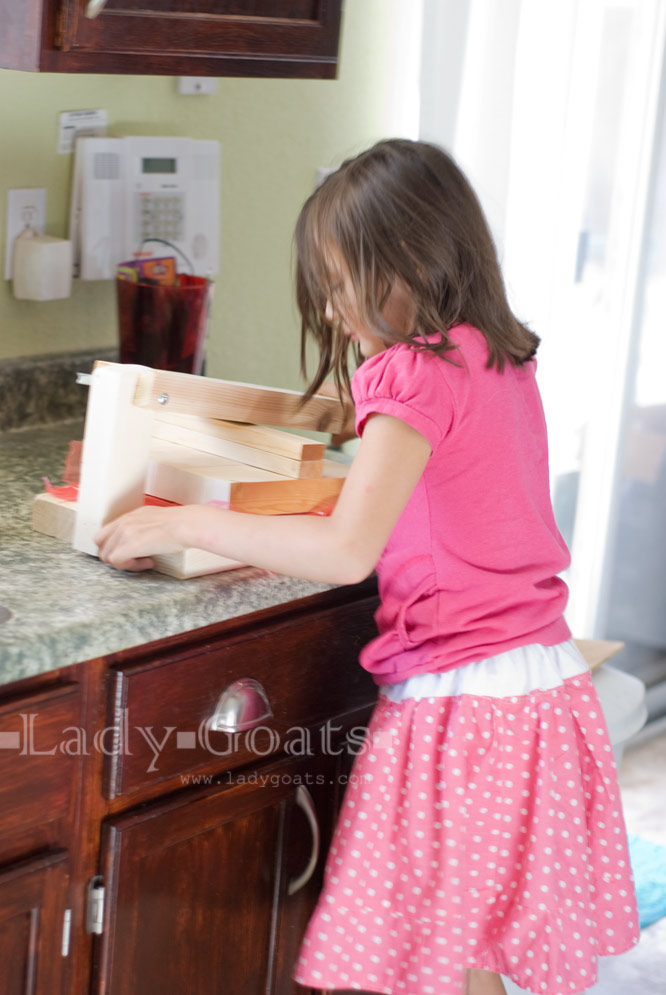
- Have a cute kid press the handle down*
(*Cute kid optional)


TA DA!

Okay, now we’ve built the pressed, used the press, but where are those darned tortillas I’ve been talking about? I promise, I’m not dragging this out on purpose…
Go start your grill.
You want the coals to be mostly white.

Place the tortillas on the grill until they start to “bubble” up, and they’re golden brown. Then flip them.

This should take anywhere from 20-40 seconds, depending on how hot the grill is.

Make sure you put the tortillas far away from where kids can reach, because they will chase you around until they get one.
You can wrap these around some amazing meats/veggies that you’ve grilled with them, or enjoy them my favorite way…
….with stew..!

Whew! This was so fun! At least for me.. Hope you all got something you can take from this post, even if it is just that eating tortillas with stew is a little weird.


