


Why Read This Article?
Finish Nailer Repair - Replacing the Driver Guide (Ridgid Part # 79004001022)
Article Breakdown
Finish Nailer Repair - Replacing the Driver Guide (Ridgid Part # 79004001022)
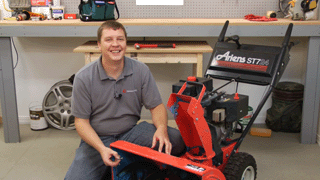
Video
Tools & Materials
- Wrenches
- Punch
Remember to always use shear pins designed for your snowblower to prevent an expensive auger or gear box failure. You can use eReplacementParts.com's lawn equipment part finder to make sure you get the right part for your machine.
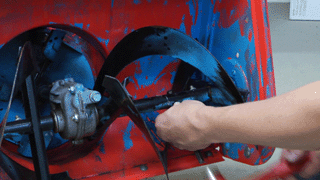
Replacing the Shear Pin
When replacing a shear pin, remember to always use an OEM replacement. Shear pins are designed specifically to break at a specific torque. Using a regular bolt or non-OEM pin can result in damage to your auger or gear box.
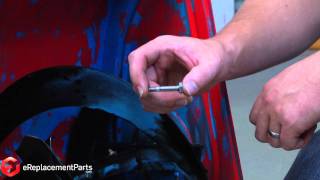
1. Remove the old pin with a punch
Use a punch to remove the pin from the auger.
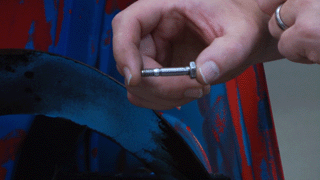
2. Install the new pin
Set the new pin into place in the auger. Add the nut and tighten it down--this is a lock nut, so it does not need to be super tight.
 [Back to Top]
Conclusion
Replacing a shear pin is a very simple repair that you can complete in about 10 or 15 minutes. Completing this repair yourself will save you a lot of money compared to a repair shop, and will have you blowing snow again in no time.
[Back to Top]
What We're About
