Why Read This Article?
Finish Nailer Repair - Replacing the Driver Guide (Ridgid Part # 79004001022)
Article Breakdown
Finish Nailer Repair - Replacing the Driver Guide (Ridgid Part # 79004001022)
Tools & Materials
- Phillips-head screwdriver
- Pick
A well-maintained carburetor will only need a rebuild every few years when the internal components begin breaking down. For information on general carburetor maintenance, check out our article on cleaning a two-cycle carburetor.
The location of model numbers on carburetors vary, but you can find a model number by searching for a combination of letters and numbers.
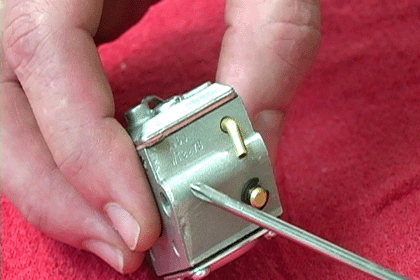 Before you begin this repair, you should ensure you get the right rebuild kit for your Walbro carburetor using eReplacementParts.com's Walbro parts finder.
 For this repair, we used a two-cycle engine Walbro carburetor. Most carburetor rebuilds will be similar to the model we used.
Breaking Down the Carburetor
You will find it helpful to organize the parts into rows for the top and bottom of the carburetor as you break it down.
1. Remove the carburetor base
Remove the four screws holding the base plate to the carburetor.
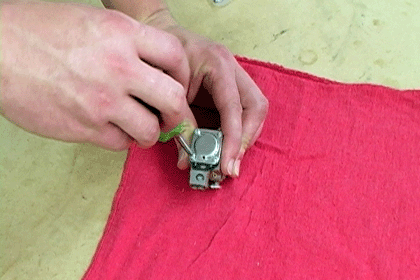
Use the base plate and the four screws to start the row of parts for the bottom assembly.
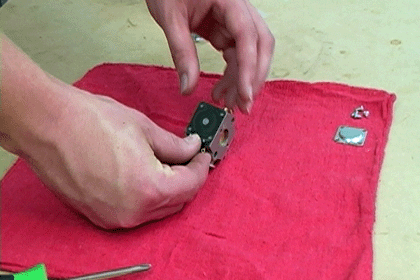
2. Remove the bottom gasket
Remove the gasket from the bottom of the carburetor and separate it from the diaphragm.

Remember to organize the parts in the order you removed them. This will help simplify the carburetor reassembly process later.
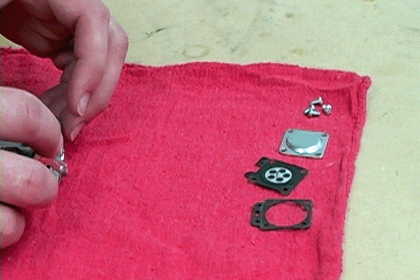
3. Remove the needle assembly
Unscrew the screw that holds the needle assembly in the carburetor.
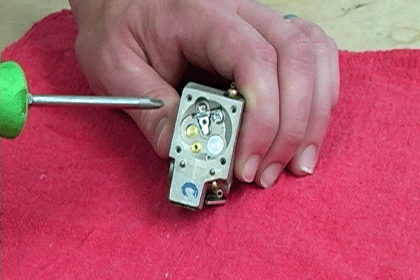
Hold the needle assembly down as you do this. The spring beneath it can cause it to launch across your work area.
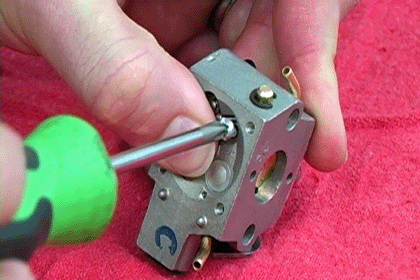
Turn the carburetor around to continue disassembling the top cover.
4. Remove the carburetor's top cover
Remove the screw that holds the top cover to the carburetor.
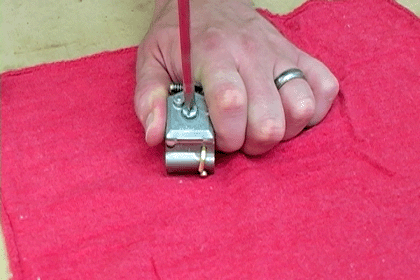
Place the top cover and screw in a new row to keep the parts from each side of the carburetor organized.
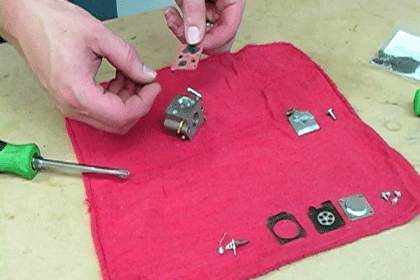
5. Remove the gasket
Remove the gasket and separate it from the reed valve.
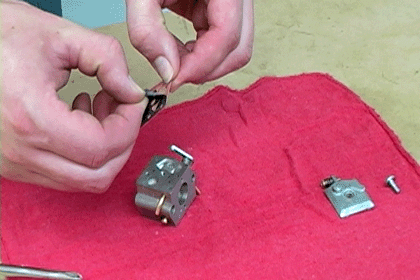
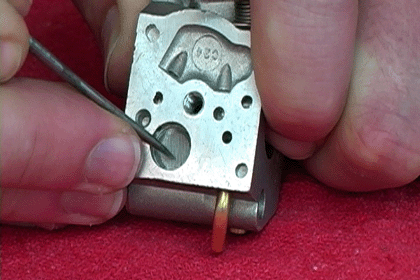
6. Remove the air filter
Use a pick to remove the air filter screen from the carburetor. Don't worry about damaging the screen during removal as you will replace it during the next step.
 [Back to Top]
Swapping Out the Parts
Manufacturers design rebuild kits to service multiple carburetor models, so you may find that your kit has extra parts. This is normal.
1. Pour out the rebuild kit
Pour the rebuild kit onto your work surface. This will make swapping out the parts easier and will also help you identify the extra parts not meant for your carburetor.
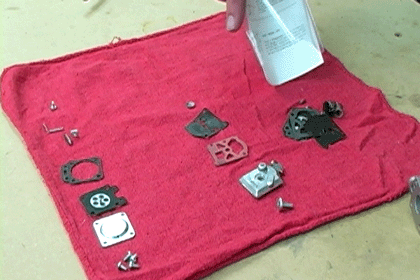
2. Swap out the old parts
Swap the new parts from the rebuild kit with the old parts from the carburetor. When you reassemble your carburetor you will know that all the parts are new.
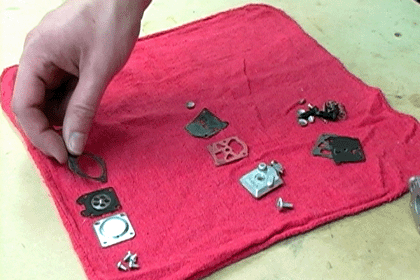
3. Set the old parts aside
Set the old and unused parts aside. When you finish rebuilding the carburetor you can throw these parts away.
[Back to Top]
Reassembling the Carburetor
To finish rebuilding your carburetor, all you have to do is reassemble it. Since you've replaced the rows of old parts with new ones, you can simply begin putting the carburetor back together to finish the rebuild.
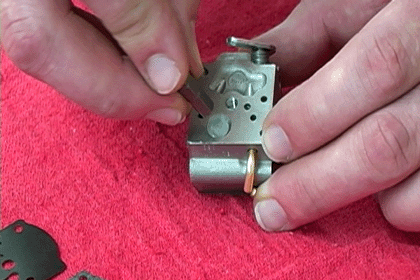
1. Install the new filter screen
The filter screen is a delicate part, so use caution when installing it. You can use a small Allen wrench to press the filter into place, but be careful not to crease or tear it.
2. Replace the top cover assembly
Add the new gasket to the top cover.
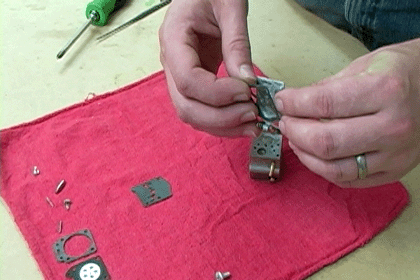
Then add the reed valve.

Place the top cover assembly on the carburetor and tighten the screw.
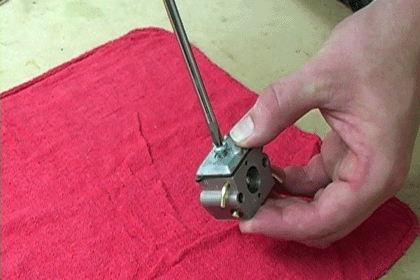
Now turn the carburetor over to finish the reassembly.
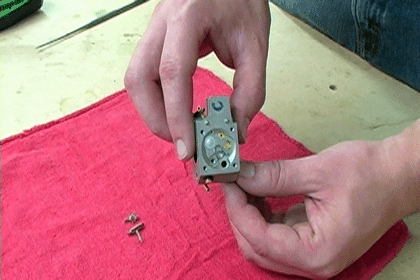
3. Install the needle assembly
Begin the needle assembly installation by setting the spring into the carburetor. Then thread the needle into the lifter assembly.
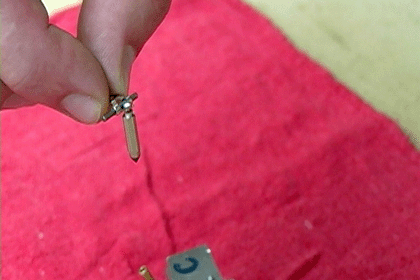
Drop it into place over the spring and hold it in place.
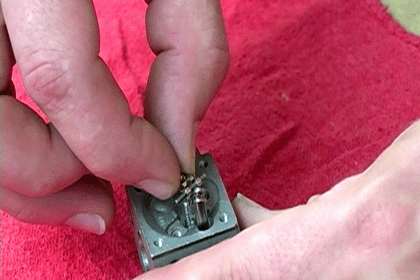
Continue holding the needle assembly and tighten the screw.
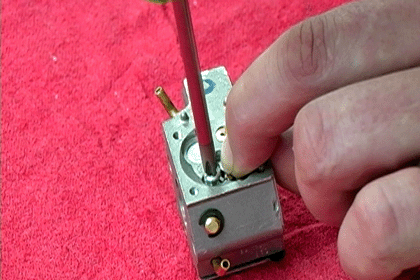
4. Install the bottom cover
Set the bottom gasket in place on the carburetor.
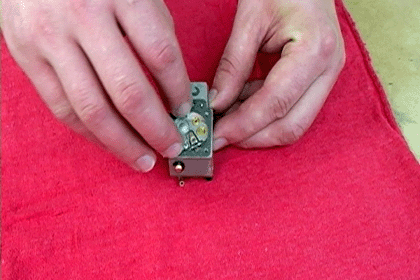
Then set the diaphragm into place.
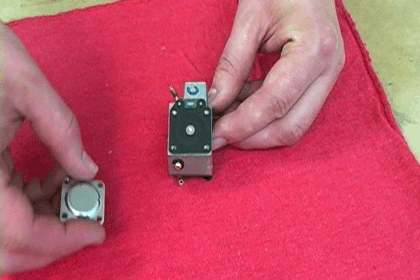
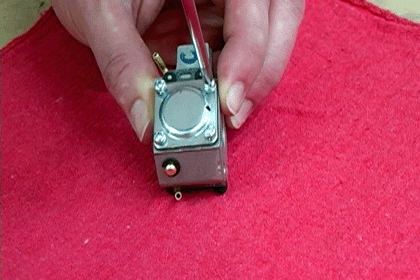
Set the bottom cover into place and begin threading the four screws. Then just tighten the screws to finalize your carburetor rebuild.
 [Back to Top]
Conclusion
Rebuilding your two-cycle engine carburetor helps keep your lawn equipment running the way you need it to and it also saves you loads of money compared to a repair shop.
The best part is that the repair is incredibly simple and only requires a screwdriver, pick and a carburetor rebuild kit from eReplacementParts.com.
Remember to use our model number search feature to find the kit for your model of carburetor.
[Back to Top]
What We're About


