Why Read This Article?
Finish Nailer Repair - Replacing the Driver Guide (Ridgid Part # 79004001022)
Article Breakdown
Finish Nailer Repair - Replacing the Driver Guide (Ridgid Part # 79004001022)
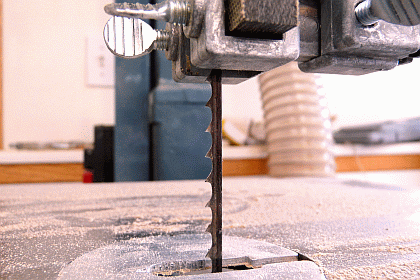 We explain the steps to properly replace a bandsaw blade below.
We demonstrate this blade replacement on the JET JWBS-12OS Bandsaw, however, these steps are generalized to apply to most bandsaw makes and models.
Remove the Old Bandsaw Blade
To free up the old bandsaw blade, simply remove the tension from the blade and the parts holding it in the saw.
1. Remove the necessary bandsaw table parts.
For most bandsaws, the only parts of the saw table that must be removed to perform a blade replacement are the blade insert and the table pin.

Remove the bandsaw's blade insert and table pin and set them aside for now.
[Back to top]
2. Remove the blade tension from the blade.
Bandsaw blades are tightened down onto their bandsaw tires, usually by a tensioning knob.
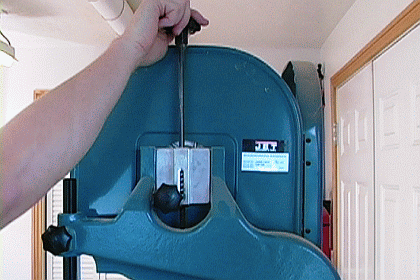
Release the tension from the blade by loosening the bandsaw's tensioning knob.
[Back to top]
3. Thread the old blade out of the saw and table.
With the blade tension released and a clear path out of the bandsaw, the blade can now be threaded out of the machine.
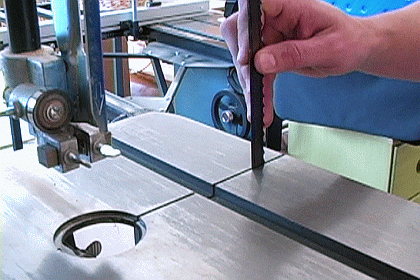
Carefully pull the old bandsaw blade away from the tire areas and then thread it away from the blade guides and out the slot on in the table.
[Back to top]
Prepare the Blade Guides
Getting the blade guides ready before installing the new bandsaw blade will make the installation much easier.
4. Loosen the upper blade guides.
Loosen the upper ball bearing guide and the upper block guides to make as much space for the new blade as possible.
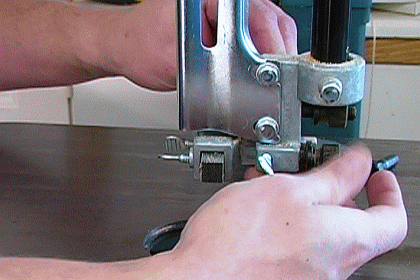
Make sure to loosen the block guides in both the front-back and side-to-side directions.
5. Loosen the lower blade guides.
Similarly loosen the lower blade guides underneath the saw table.
[Back to top]
Mount the New Bandsaw Blade
Tracking the new bandsaw blade before moving on is a step that is often overlooked.
6. Thread the new blade into position.
This is where having the blade guides loose comes in handy.
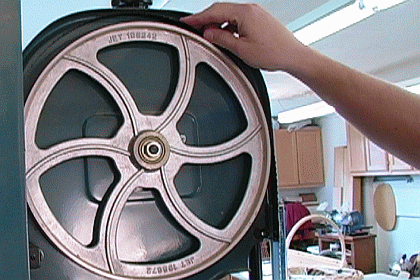
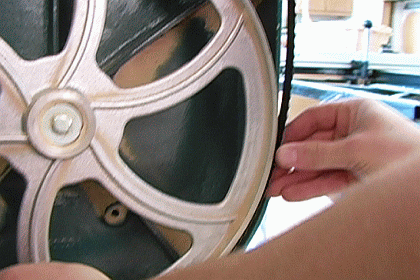
Thread the new blade into the saw table and position it around the upper and lower blade wheels.
 [Back to top]
7. Apply tension to the new blade.
Now the blade can be tightened back down onto the bandsaw tires by turning the tensioning knob.
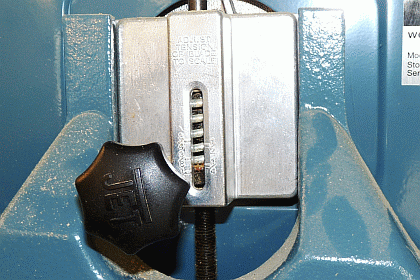
How much tension needs to be placed on the new blade is determined by the width of the blade.
Most bandsaws have a tensioning indicator on the back of them to help with proper blade tension.
The new new blade we're installing on this JET bandsaw is 3/4 inch wide, so we will turn the tensioning knob until the red indicator reaches the "3/4" inch mark, the width of the new blade.
[Back to top]
8. Track the new blade.
The new bandsaw blade also needs to be centered on the saw wheels that turns it.
Centering a bandsaw blade on its tires is called "tracking" the blade.
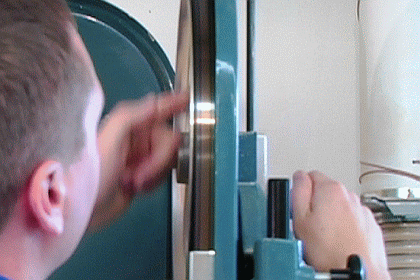
Track the blade using the bandsaw's tracking knob. To center the blade on the tire, turn the tensioning knob while spinning the blade wheel.
[Back to top]
Reset the Blade Guides
Each blade guide has an adjustment knob.
9. Adjust the upper ball bearing guide.
The upper bearing guide should rest just behind the blade, but not quite touching (about 1/32 in.).
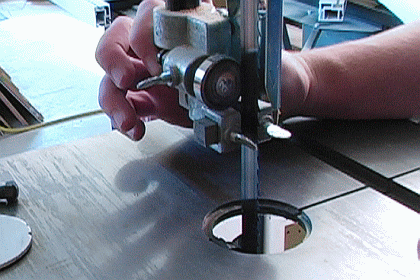
Adjust the bearing guide knob until only a thin sliver of light can be seen between the blade and the bearing.
[Back to top]
10. Adjust the upper block guides.
Two adjustments must be made to the block guides.
First, the block guides must be adjusted in the back-forward direction so that the blocks themselves are centered on the width of the blade.
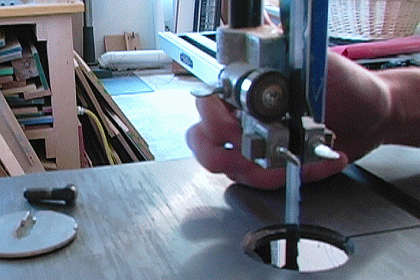
The block guides must also be adjusted in the side-to-side direction.
Adjust the block guides so that the blocks themselves just barely touch the bandsaw blade.
[Back to top]
11. Repeat these adjustments for the lower blade guides.
The bandsaw will have a similar set of lower guides.
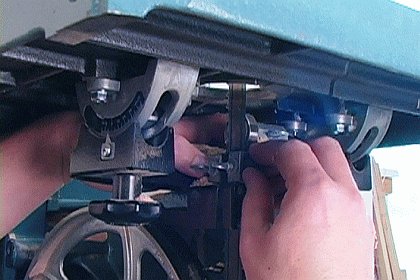
After adjusting the lower blade guides in the same manner as the upper blades guides, the new bandsaw blade is completely installed and ready for use.
[Back to top]
Conclusion
Going over the correct steps to change a bandsaw blade never hurts, even as a refresher, and tool owners familiar with their bandsaws know that the procedure can take only a minute or two after a couple changes.
Visit the eReplacementParts.com Bandsaw Blades page to pick up a blade for your next blade change.
[Back to top]
What we're about.


