


Why Read This Article?
Finish Nailer Repair - Replacing the Driver Guide (Ridgid Part # 79004001022)
Article Breakdown
Finish Nailer Repair - Replacing the Driver Guide (Ridgid Part # 79004001022)
Video

Tools & Materials
- Drivers for your trimmer.
- A new starter for your Echo trimmer model.
 Starter assemblies are some of the most commonly-replaced parts of small engines, including 2-cycle gas engines. Starter assemblies need to be replaced when the trimmer's starter cord or another component of the assembly breaks or becomes inoperative.
Getting used to performing simple tool repairs like this one can save you hundreds of dollars a year at the shop, and this starter repair takes less than five minutes!
Tools and parts needed:
Starter assemblies are some of the most commonly-replaced parts of small engines, including 2-cycle gas engines. Starter assemblies need to be replaced when the trimmer's starter cord or another component of the assembly breaks or becomes inoperative.
Getting used to performing simple tool repairs like this one can save you hundreds of dollars a year at the shop, and this starter repair takes less than five minutes!
Tools and parts needed:
- drivers to dismantle your Echo trimmer.
- a new starter assembly for your Echo trimmer model.
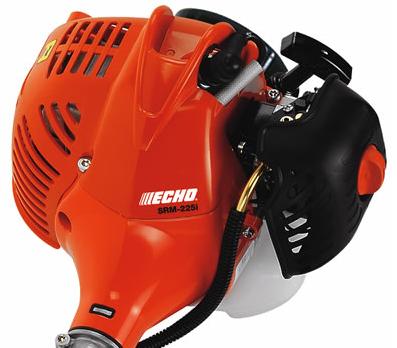
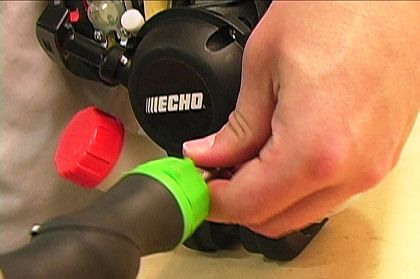
No matter how many shrouds, screws and covers an Echo trimmer model has, removing them to access the starter is the first step in this repair. On our example trimmer, its top cover should be removed first.
- On the SRM-225, the top cover removes after unscrewing two screws.
- The trimmer's spark plug boot must be removed and threaded through the top cover.
- The SRM-225 also has two ignition wires that clip onto the top cover. The two ignition wires must be un-clipped from the cover in order to remove it.
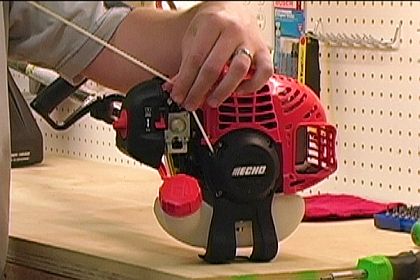
Six more screws must be removed from the Echo SRM-225 in order to free-up its starter.
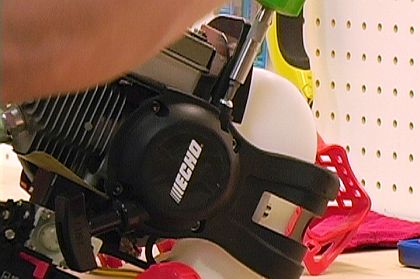
- Remove the screw on the side of the starter assembly. This screw is only accessible after removing the top cover as in step #1.
- Unscrew the screw near the trimmer's fuel tank on the bottom of the starter assembly.
- Remove the four screws on the face of the starter assembly.
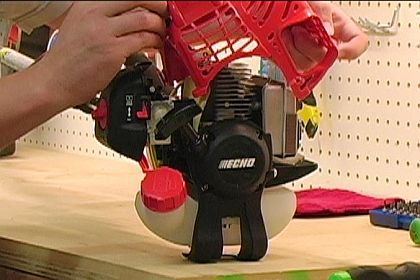
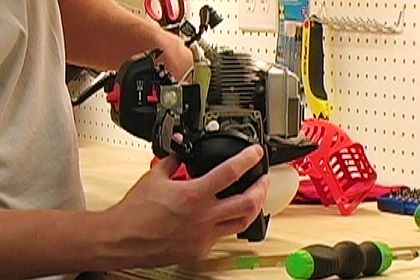
Now that it is freed-up, the starter assembly can be removed from the trimmer.
 [Back to top]
Install the New Trimmer Starter Assembly
Installing a completely new trimmer starter assembly is actually more practical than replacing its parts. It's true that the entire assembly will cost more than just one of its parts, but it will only cost a little more.
The real issue is that rebuilding starter assemblies is difficult and time-consuming. Considering the meager savings on parts, it's usually worth it just to replace the whole assembly.
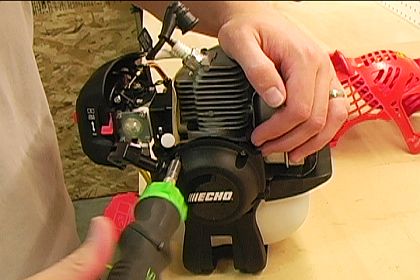
4. Set the new assembly in place.
Your new Echo trimmer starter assembly should be ready to install right out of the package.
- With the shrouds and covers removed, move the new starter assembly into position.
- On the SRM-225, the starter assembly unit also helps to hold the fuel tank in place on the engine.
Here's how the starter on your Echo trimmer works:
The back of the starter assembly engages a clutch-like mechanism on the trimmer shaft. When the starter cord is pulled, the starter assembly's clutch system engages the trimmer shaft and turns it. The turning trimmer shaft causes the flywheel to rotate whose magnets then create an electrical spark in the ignition coil. The electrical spark travels from the ignition coil to the trimmer's spark plug, which then ignites the trimmer's fuel and starts it running.
In order to be properly installed, the starter assembly's clutch-like system must be properly engaged on the trimmer shaft before it is secured down.
- Pull the trimmer's starter cord a little until you feel the starter assembly engage the trimmer shaft.
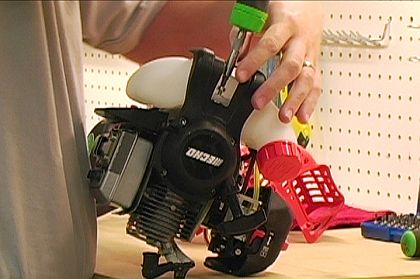
6. Replace the starter assembly screws.
Now that the starter is properly engaged in the trimmer shaft, it is ready to be secured to the trimmer. Start reassembling the trimmer in reverse order.
- Replace the four screws in the face of the starter assembly.
- Replace the bottom and side screws around the starter assembly and the fuel tank.
- Thread the spark plug boot back through the cover and reattach it to the spark plug.
- Once the top cover is positioned, clip the two ignition wires back onto it.
- Reinstall the two top cover screws
[Back to top] What we're about.
