


Why Read This Article?
Finish Nailer Repair - Replacing the Driver Guide (Ridgid Part # 79004001022)
Article Breakdown
Finish Nailer Repair - Replacing the Driver Guide (Ridgid Part # 79004001022)
Video

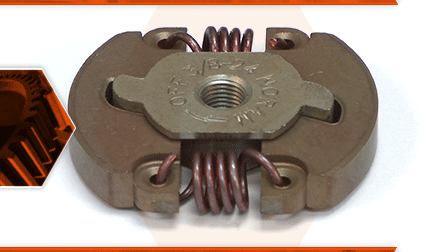
Tools & Materials
The clutch assembly allows the engine to idle without the tool's cutter head moving. When the engine speed is increased, the clutch expands and contacts the clutch drum, causing it to rotate. Common problems with the clutch are worn down clutch pads and weak clutch springs. When the clutch is worn, it will slip under load. Worn springs cause the clutch to never cut out.
Let's get started.
REMOVING THE CLUTCH 1. Loosen the trigger housing.
a. Remove the pivot screw from the trigger assembly.
b. Loosen the remaining screws securing the two halves of the trigger assembly.
2. Remove the clutch cover.
a. Remove the screws securing the clutch cover to the upper shaft assembly.
b. Separate the lower shaft assembly (including the trigger housing and lower drive shaft) from the engine assembly.
c. Remove the clutch cover from the engine housing.
3. Remove the clutch drum.
a. Loosen the screw securing the clutch drum (the screw will remain captive within the drum).
b. Remove the clutch drum from the clutch.
4. Bind the engine.
a. Remove the spark plug boot.
b. Use a spark plug wrench or socket to remove the spark plug.
c. Insert an old starter rope into the cylinder (through the opening for the spark plug). Continue feeding the starter rope into the cylinder until the piston is unable to cycle up and down.
5. Remove the clutch.
a. Use an adjustable wrench to loosen the clutch.
b. Unthread and remove the clutch from the crankshaft.
c. Remove the clutch washer.
INSTALLING THE NEW CLUTCH
6. Install the clutch.
a. Install the large clutch washer.
b. Thread the new clutch onto the spindle.
c. Use adjustable pliers to tighten (and secure) the new clutch.
REASSEMBLING THE UNIT
7. Unbind the engine.
a. Remove the rope from the cylinder.
b. Install the spark plug.
c. Install the spark plug boot.
8. Reinstall the clutch drum.
a. Install the two small clutch washers.
b. Install the clutch drum.
c. Secure the clutch drum with the (captive) screw.
9. Re-connect the lower shaft assembly to the engine.
a. Install the clutch housing over the clutch drum.
b. Connect the lower shaft assembly to the engine.
c. Align the anti-rotation (pivot) holes in the trigger housing with the shaft assembly.
d. Install and tighten the anti-rotation screws.
e. Secure the trigger housing with the remaining screws.
f. Secure the clutch housing with the remaining screws.
