Why Read This Article?
Finish Nailer Repair - Replacing the Driver Guide (Ridgid Part # 79004001022)
Article Breakdown
Finish Nailer Repair - Replacing the Driver Guide (Ridgid Part # 79004001022)
Tools & Materials
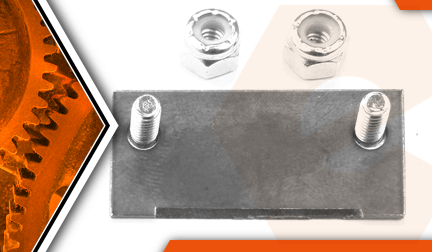

Trimmer out of whack? It's time to face the fix. Whether you are a legendary landscaper or a weekend weed whacker, eReplacementParts.com provides the parts, procedures and facts you need to fearlessly fix what fails you.
The blade assembly mounts to the cutter-head guard on your string trimmer. Its purpose is to cut the trimmer line to the proper length. If the blade becomes very dull (or falls off completely) is important to replace it as soon as possible, because operating the trimmer without the blade will allow the line to continually "eat away" at the guard assembly. Longer line also increases stress on the engine, which can lead to significant engine damage over time.
This article provides step-by-step instructions for removing and installing the blade assembly on a Ryobi trimmer.
Let's get started.
 REMOVING THE BLADE ASSEMBLY [top]
1. Remove the blade assembly.
The original blade assembly is secured to the guard by two rivets. The new blade kit replaces the rivets with bolts and locknuts, so the rivets need to be removed (drilled-out).
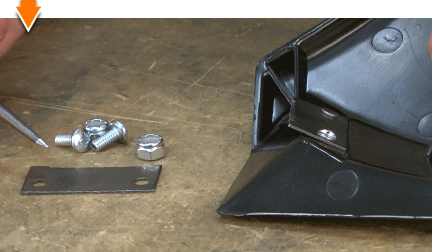
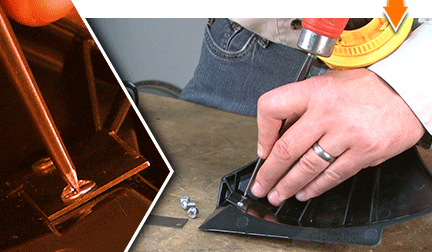
Use a center-punch and hammer to dimple the existing rivets. (This will help prevent the drill bit from drifting.)
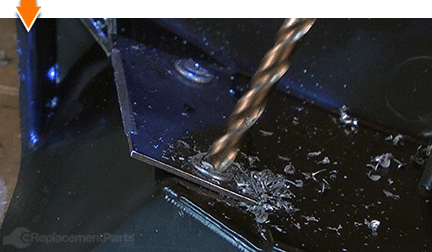
"Drill-out" each of the rivets. Depending on your specific drill/bits, you may need to start by drilling a very small "pilot" hole; then repeat the process with increasingly larger drill bits until the rivet heads (or tails) are sufficiently diminished.
Use long-nosed pliers (as necessary) to remove the blade assembly from the guard.
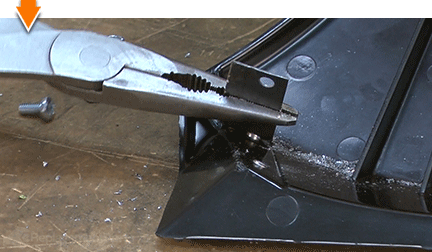
Use a center-punch to clear away any metal debris (rivet material) that remains on the plastic guard.
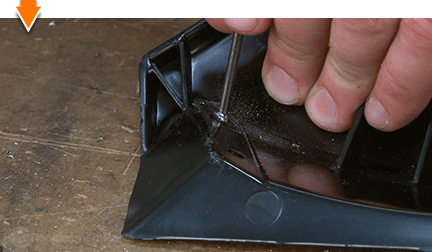
INSTALLING THE NEW BLADE ASSEMBLY [top] 2. Install the blade assembly.
Position the new blade assembly on the guard and align the mounting holes (the beveled edge of the blade should face the trimmer head).
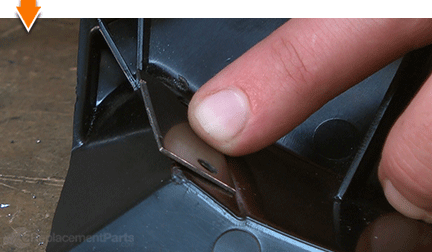
Thread the screws through the mounting holes (the heads should be on the same side as the trimmer head).
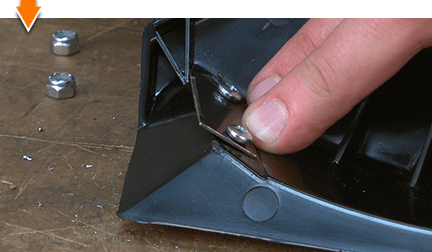
Thread the locknuts onto the screws.
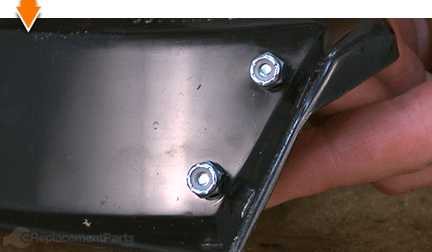
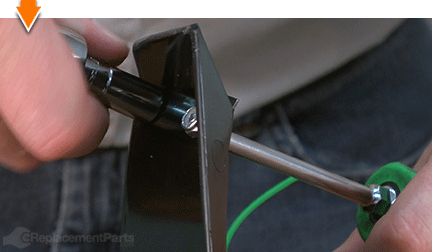
Use a socket (or wrench) and a Phillips screwdriver to tighten the locknuts (and secure the blade assembly).

You don't have to leverage your savings to level your lawns. As you just learned, repairing your own equipment is easy when you follow our step-by-step guides. Not only did you restore trimmer functionality at a fraction of the cost of replacement; you have taken the edge off of future repairs, wherever you may find them.


