


Why Read This Article?
Finish Nailer Repair - Replacing the Driver Guide (Ridgid Part # 79004001022)
Article Breakdown
Finish Nailer Repair - Replacing the Driver Guide (Ridgid Part # 79004001022)
Video

Tools & Materials

If raised grains and elbow strains are sanding away your patience, it's time to face the fix. Whether you are a sanding professional or a seasonal sander, eReplacementParts.com provides the parts, procedures and facts you need to fearlessly fix what fails you.
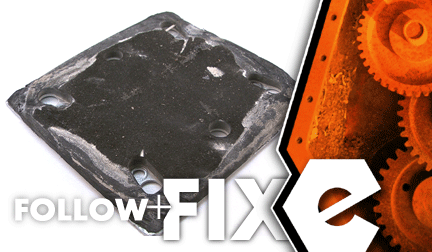
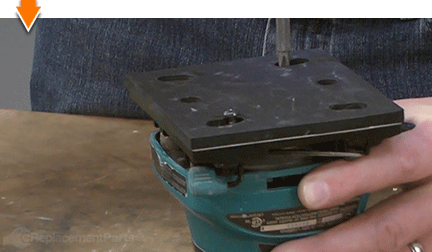
The sanding pad attaches to the base of your sander. It's the component that actually makes contact with the sandpaper. Over time, the sanding pad will become torn or compressed to the point that it no longer provides a smooth foundation for the sandpaper (or your sanding project).
Sanding pad gone bad? This article will show you how to replace it in two simple steps. Let's get started.
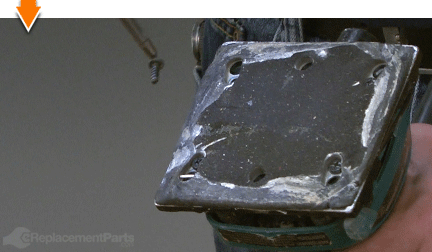
 REMOVING THE SANDING PAD [top]
1. Remove the sanding pad from the base assembly.
REMOVING THE SANDING PAD [top]
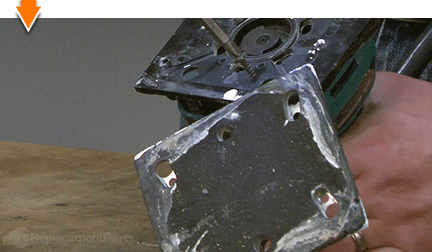
1. Remove the sanding pad from the base assembly.
a. Remove the four retaining screws from the sanding pad.
b. Remove the sanding pad from the base plate.
INSTALLING THE NEW SANDING PAD [top] 2. Install the sanding pad.
a. Align the new sanding pad with the holes on the base assembly.
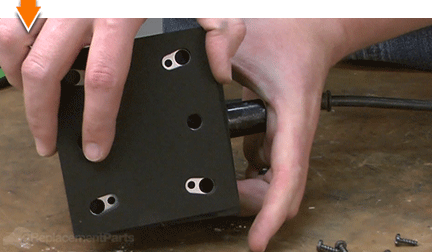
b. Secure the sanding pad with the screws.

Sanding can be a demanding task. But you don't have to rough-up your accountant to smooth-out your countertops. As you just learned, expanding sander functionality can be accomplished at a fraction of the cost of replacement. Good thing, too, because this repair just scratched the surface of what is possible when you follow our step-by-step repair guides. Find your next fix here. [top]
