Why Read This Article?
Finish Nailer Repair - Replacing the Driver Guide (Ridgid Part # 79004001022)
Article Breakdown
Finish Nailer Repair - Replacing the Driver Guide (Ridgid Part # 79004001022)
Tools & Materials
 THE FACTS | THE FIX | THE FINISH
If leaking seals and service bills are distressing your compressor, it's time to face the fix. While air compressors can be as diverse as the individuals that use them, most models share some general characteristics and components. Whether you are inflating your tires or creating empires, eReplacementParts.com provides the parts, procedures and facts you need to fearlessly fix what fails you.
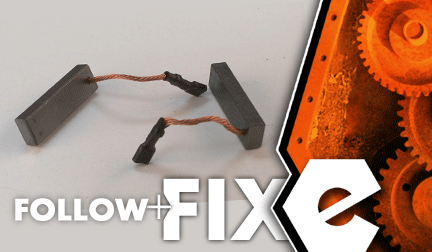
Motor brushes are responsible for transferring power to the motor's armature. Because they remain in constant contact with the spinning armature, the carbon motor brushes will eventually erode and will require replacement.
Less than impressed with your compressor? Replacing the motor brushes may be the solution. This article will show you how to complete the repair like an expert technician. THE FACTS | THE FIX | THE FINISH ! DEPRESSURIZE THE AIR TANK.
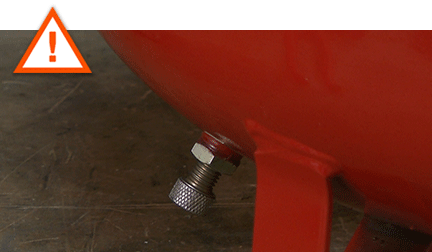
Always depressurize the tank before servicing an air compressor. To do this, open the drain valve and wait until all of the air (and pressure) has escaped.
 REMOVING THE MOTOR BRUSHES [top]
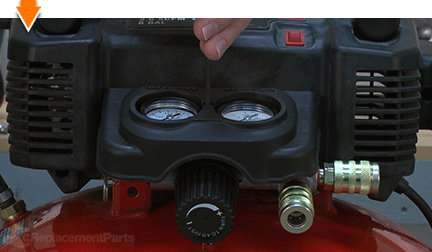
1. Remove the manifold cover.
Remove the retaining screw.
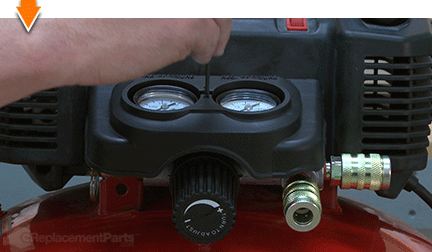
Lift the manifold cover away from the unit.
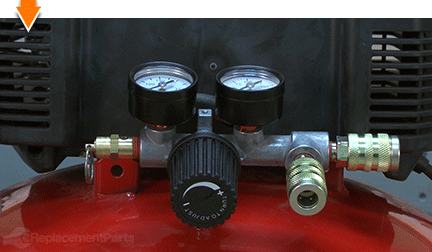 2. Remove the pump assembly from the tank.
Remove the front retaining screw.
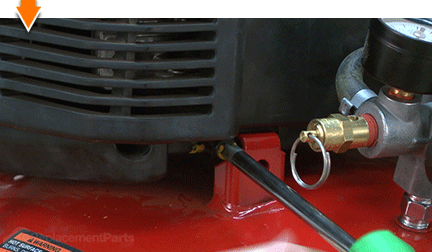
Remove the rear retaining screw.
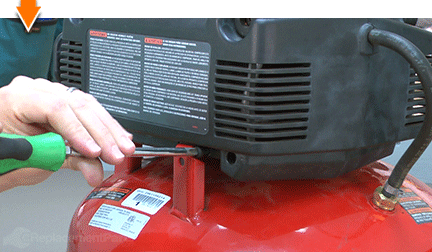
Slide the pump assembly to the side.
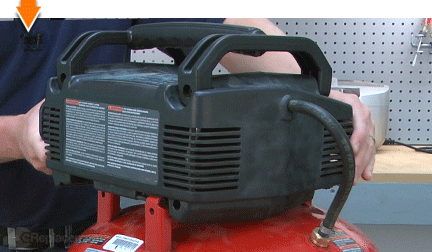
Lift the pump assembly away from the tank.
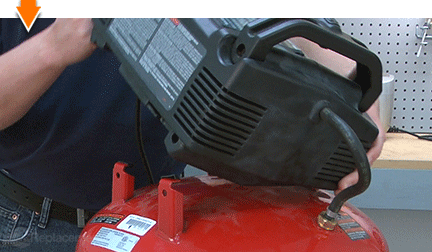
Position the pump assembly upon the isolator feet a flat work surface.
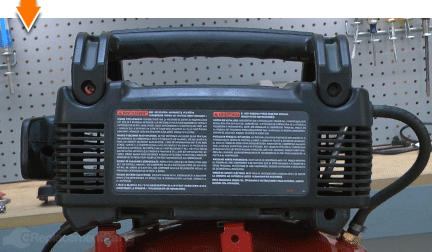 3. Remove the top handle.
Remove the two retaining screws.
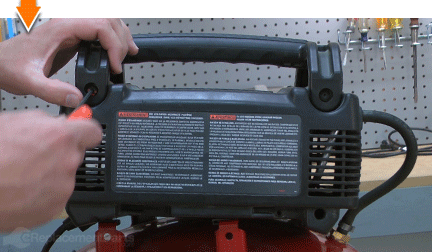
Remove the top handle from the pump housing.
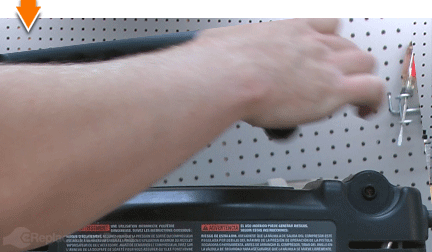 4. Remove the rear pump housing cover.
Remove the three retaining screws.
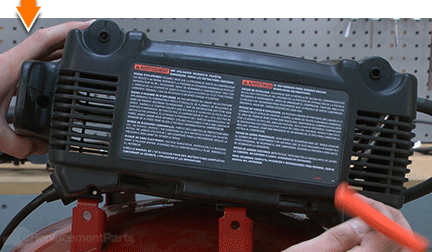
Remove the rear pump housing cover.
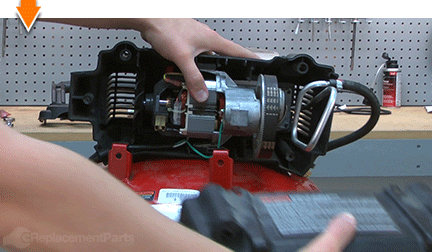 5. Remove the pump from the housing.
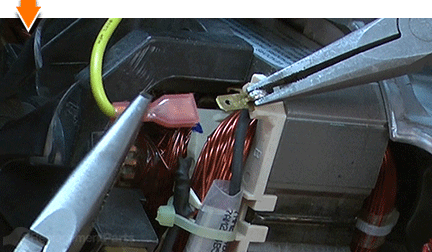
Use long-nosed pliers to disconnect the front (yellow) wire from the field.
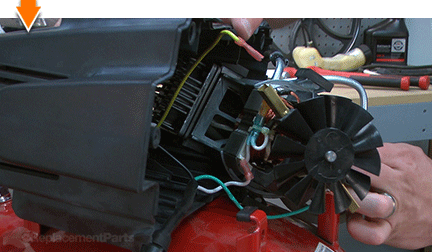
Partially extract the pump from the housing to expose the rear brush holder.
 REPLACING THE MOTOR BRUSHES [top]
SPECIFIX: When possible, avoid allowing the brush springs to extend back into the empty brush holders (when you remove the brushes) by removing and replacing each motor brush individually (as shown in the steps below.)
6. Replace the top motor brush.
Use long-nosed pliers to disconnect the lead wire from the terminal.
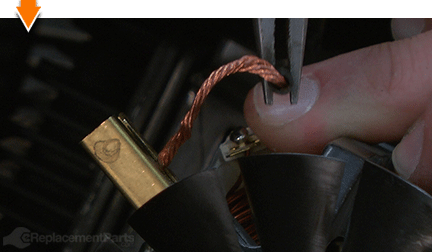
Use long-nosed pliers to carefully disengage the brush spring from the motor brush.
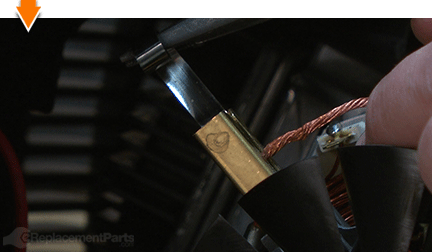
Slide the motor brush out of the brush holder.
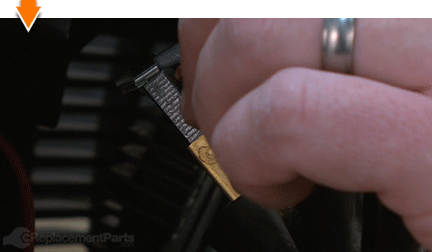
Continue holding the spring in the open position.
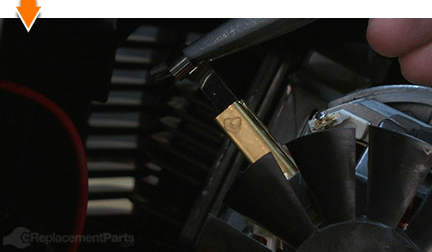
Install the new motor brush into the holder.
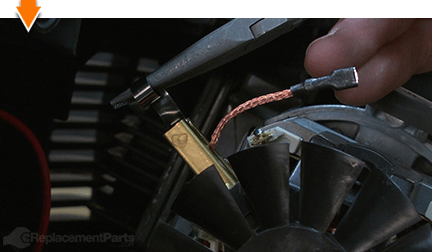
Carefully allow the brush spring to reengage the back of the new brush.
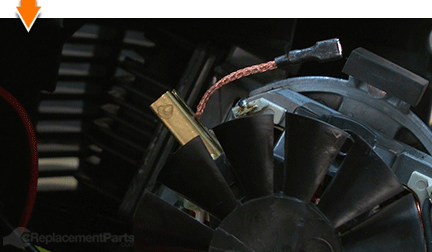
Reattach the lead wire to the terminal.
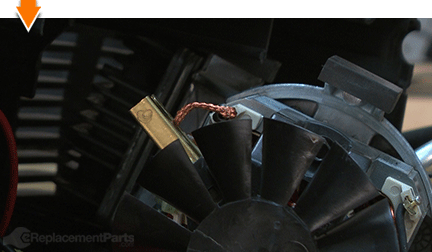 7. Replace the lower motor brush.
Use long-nosed pliers to disconnect the lead wire from the terminal.
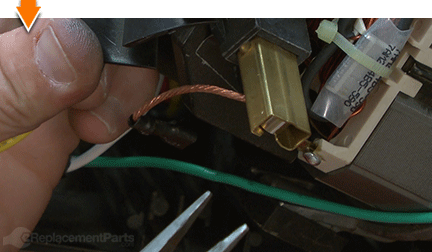
Use long-nosed pliers to carefully disengage the brush spring from the motor brush.
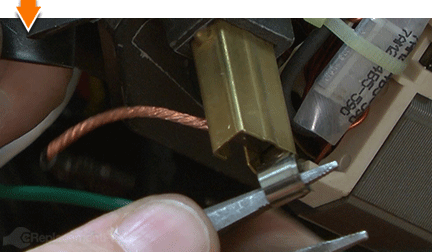
Slide the motor brush out of the brush holder
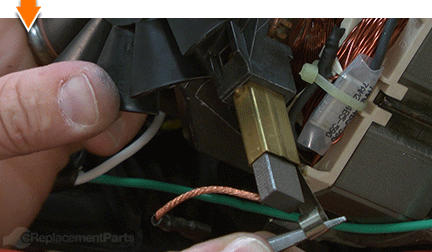
Continue holding the spring in the open position.
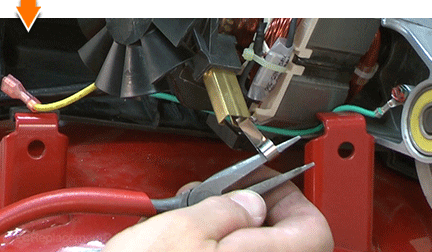
Install the new motor brush into the holder.
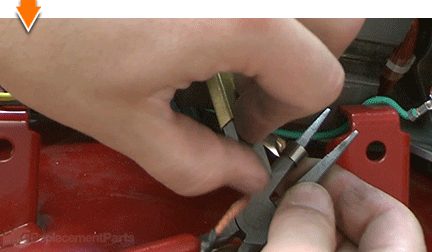
Carefully allow the brush spring to reengage the back of the new brush.
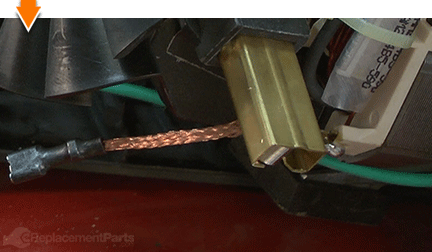
Reattach the lead wire to the terminal.
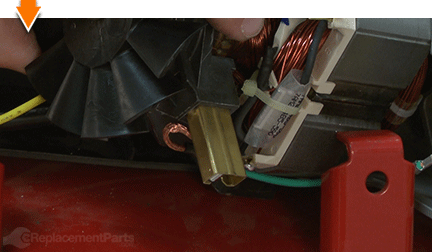 REASSEMBLING THE UNIT [top]
8. Reinstall the pump/motor.
Align the feet on the compressor pump with the grooves in the housing and slide the pump fully into position within the housing.
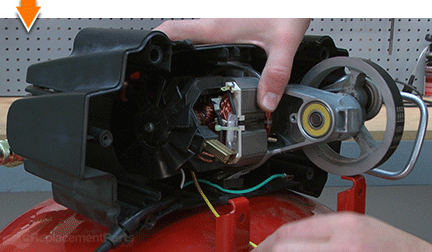
Reconnect the front (yellow) wire to the field terminal.
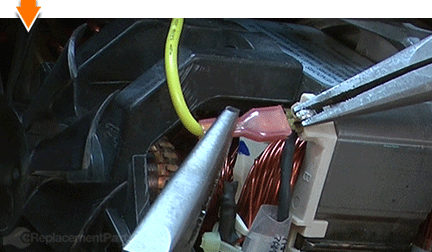
9. Reinstall the rear housing cover.
Install the rear portion of the pump housing.
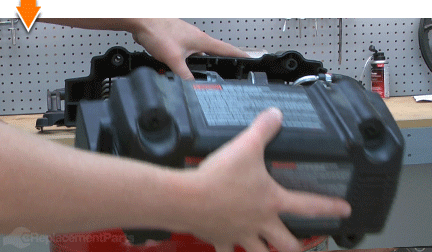
Secure the housing cover with the three screws.
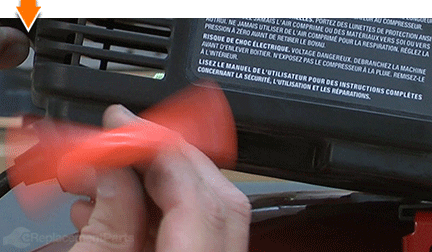 10. Reinstall the top handle.
Install the top handle to the pump housing.
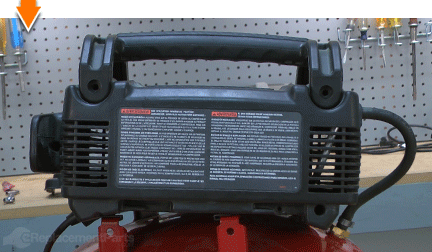
Secure the top handle with the two screws.
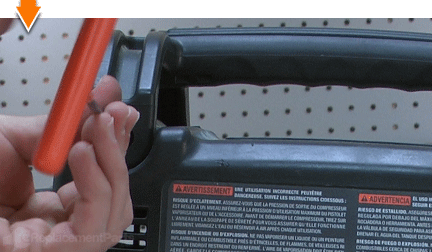 11. Reinstall the pump assembly.
Align the entire pump assembly with the compressor tank.
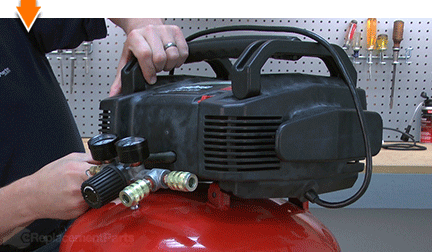
Slide the pump assembly into place upon the isolator feet.
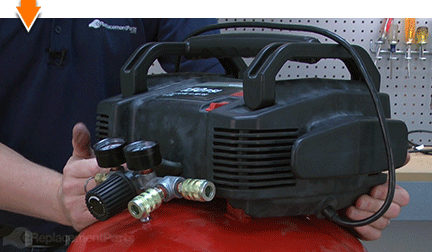
Secure the pump to the tank with the rear mounting screw.
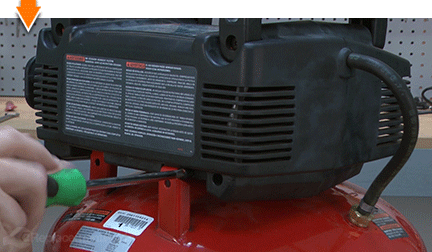
Secure the pump to the tank with the front mounting screw.
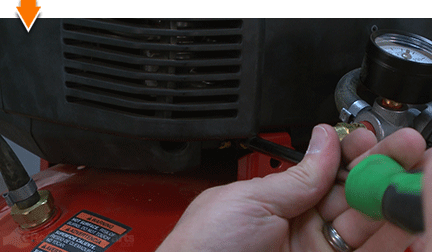 12. Reinstall the manifold cover.
Install the manifold cover.
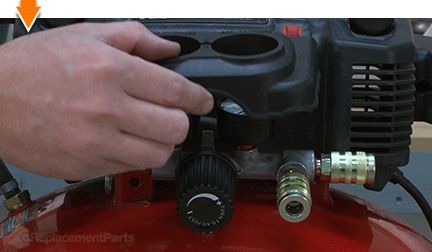
Secure the manifold cover with the screw.
 THE FACTS | THE FIX | THE FINISH
A well-maintained air compressor can mean the difference between performance under pressure, and under-pressured performance. But you don't have to empty your pockets to keep your air tank full. As you just learned, repairing your air compressor is simpler than you think, especially when you follow our step-by-step guides. Not only did you refresh compression at a fraction of the cost of replacement; you have inflated your ability to fearlessly face the next fix, regardless of the pressure involved. Find your next fix here. [top]


