Why Read This Article?
Finish Nailer Repair - Replacing the Driver Guide (Ridgid Part # 79004001022)
Article Breakdown
Finish Nailer Repair - Replacing the Driver Guide (Ridgid Part # 79004001022)
Tools & Materials
 THE FACTS | THE FIX | THE FINISH
If engine rust and concrete dust are cutting into your construction budget, it's time to face the fix. Whether you are a master mason or a backyard builder, eReplacementParts.com provides the parts, procedures and facts you need to fearlessly fix what fails you.
Over time, the drive belt on your cut-off saw will wear out or break. A worn belt will generally allow the blade to rotate normally until friction is applied. However, once the blade touches the work surface, the symptoms will become more obvious (the blade stops). Conversely, if the belt is broken, the engine will run normally, but the blade will not rotate at all.
If your saw is showing signs of slippage, this article will show you how to remove and replace the V-belt on your Makita DPC7311 (Power Cutter) cut-off saw. THE FACTS | THE FIX | THE FINISH REMOVING THE V-BELT [top] 1. Remove belt tensioning cover.
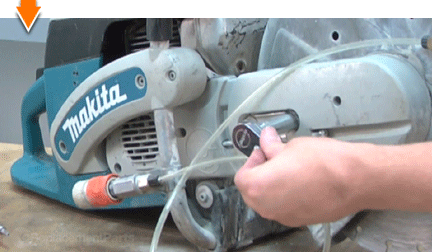
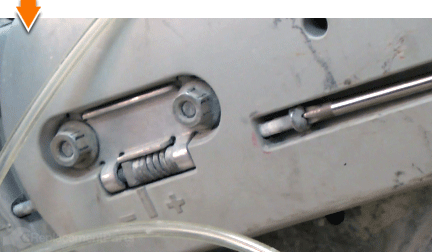
Loosen (but do not yet remove) the nuts on the tensioning cover.
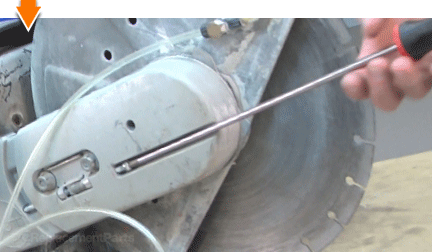
Use a long-handled Phillip's screwdriver to relieve tension on the belt via the belt tensioning screw.
Remove the nuts from the belt tensioning cover.
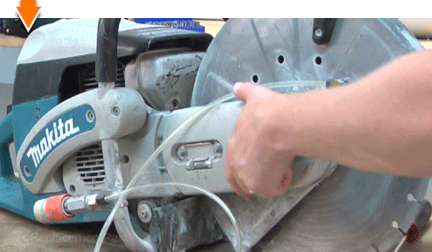
Remove the belt tensioning cover.
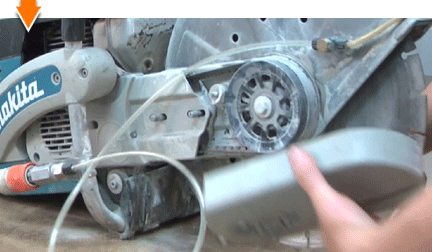 2. Remove the cutter head assembly.
Disengage the drive belt from the pulley on the cutter assembly.
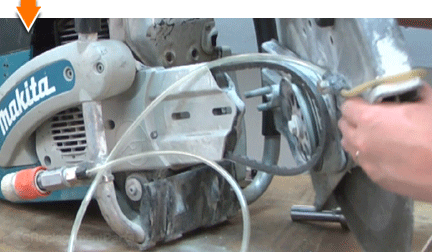
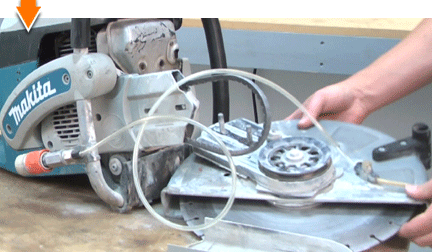
Remove the cutter head assembly.
 3. Remove the handle support bracket.
Remove the three screws from the handle bracket.
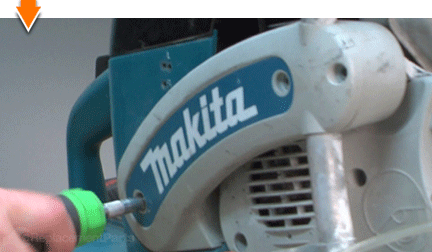
Remove the handle bracket from the saw.
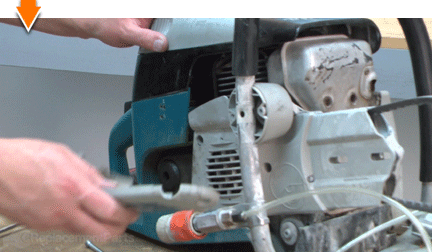 4. Remove the handle support pot.
Remove the nut from the pot.
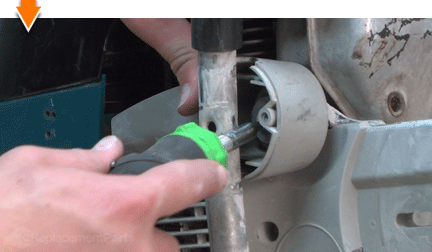
Remove the pot.
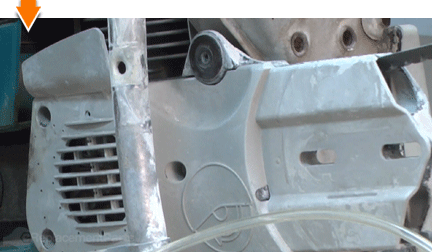 5. Remove the rear belt cover.
Remove the three screws from the rear belt cover.
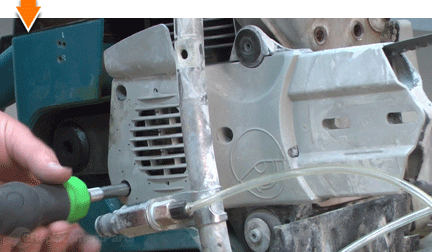
Remove the rear belt cover.
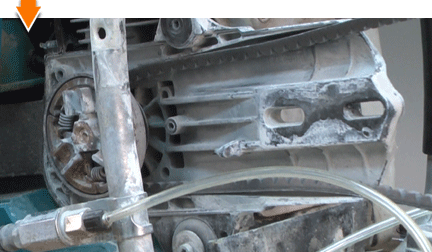 6. Remove the V-belt.
Disengage the belt from the rear pulley.
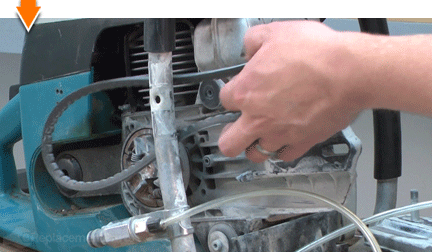
Remove the belt from the unit.
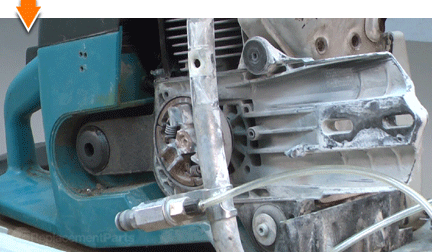 INSTALLING THE NEW BELT [top]
7. Install the new V-belt.
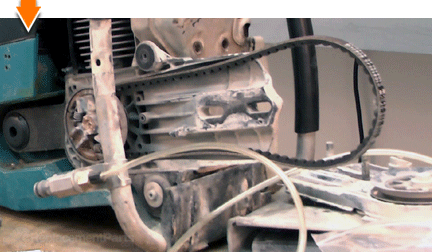
Thread the belt around the clutch and engage the rear pulley.
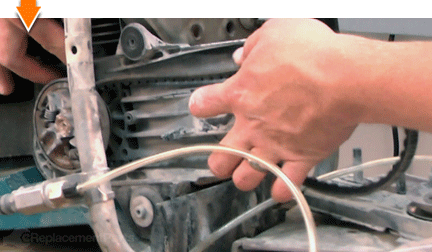
Align the middle section of the belt with the inner belt guard.
 REASSEMBLING THE UNIT [top]
8. Reinstall the rear belt cover.
Install the rear belt cover.
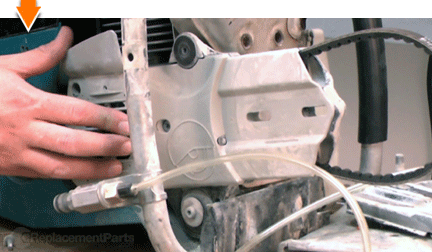
Secure the rear belt cover with the screws.
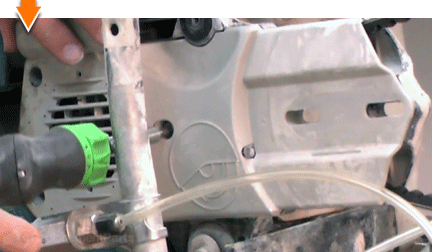 9. Reinstall the handle support pot.
Install the handle support pot.
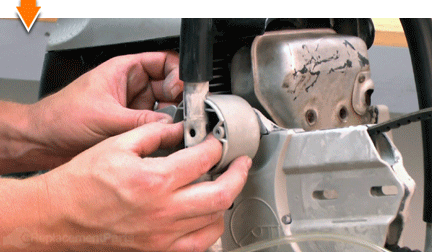
Secure the pot with the screw.
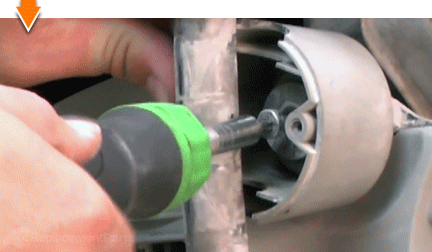 10. Reinstall the handle support bracket.
Install the handle bracket.
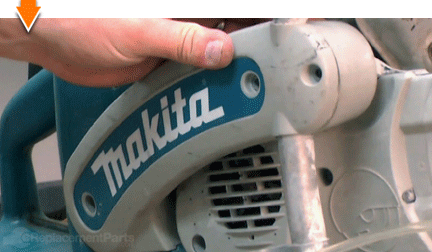
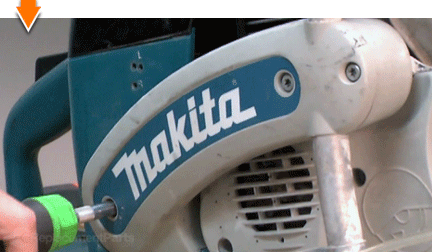
Secure the bracket with the screws.
 11. Reinstall the cutter head.
Thread the belt onto the pulley of the cutter head assembly.
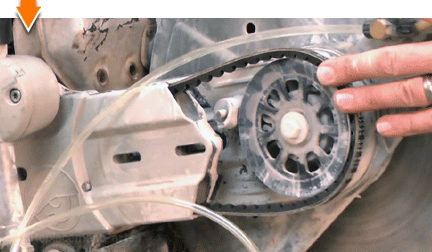
Align the mounting studs with the holes on the arm.
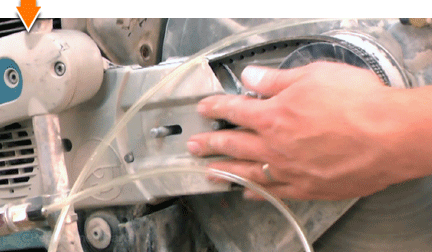
Install the cutter head assembly.
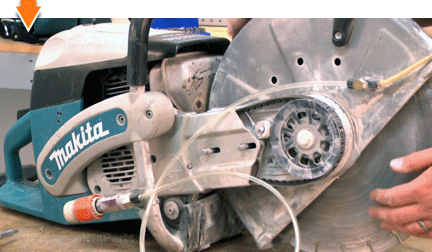 12. Reinstall the belt tensioning cover.
Install the belt tensioning cover.
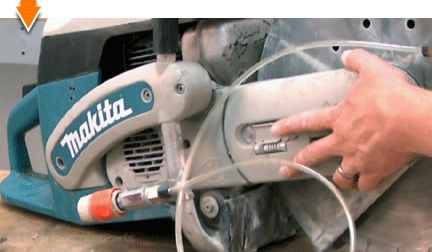
Install (but do not fully tighten) the nuts.
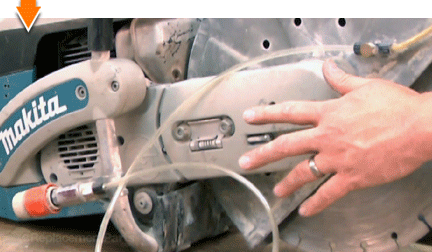
Use a long-handled Phillips screwdriver to increase tension on the belt via the tensioning screw.
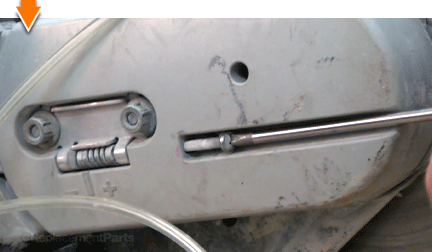
Secure the nuts on the belt tensioning cover.
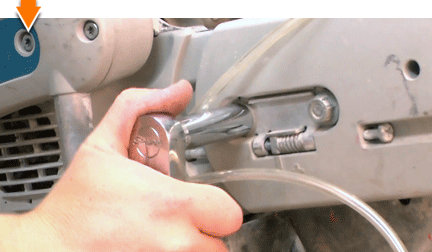
SPECIFIX: At this point, tension on the belt will be approximate. Tension may need to be more accurately adjusted when the saw is put into service.
 THE FACTS | THE FIX | THE FINISH
While cutting concrete can be a valuable skill; cutting costs is priceless. But you don't have to be a master mason to cut out the middle-man. As you just learned, maintaining your own power equipment allows you slash offsite repair costs and empowers you to face future fixes wherever you may find them. Save your saw. See more savings.
Find your next fix here.
[top]


