


Why Read This Article?
Finish Nailer Repair - Replacing the Driver Guide (Ridgid Part # 79004001022)
Article Breakdown
Finish Nailer Repair - Replacing the Driver Guide (Ridgid Part # 79004001022)
Video

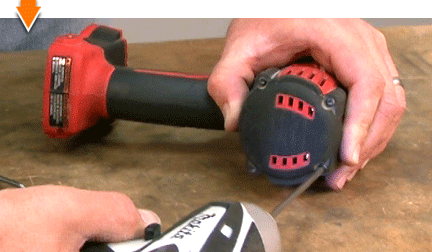
Tools & Materials
 THE FACTS | THE FIX | THE FINISH
If lack of drive is impacting your bottom line, it's time to face the fix. Whether you are a master craftsman or a backyard mechanic, eReplacementparts.com provides the parts, procedures and facts you need to fearlessly fix what fails you.
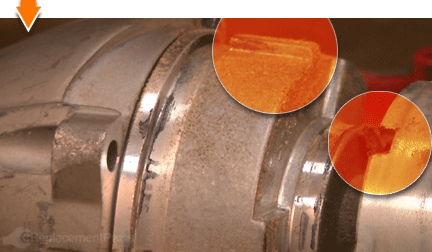
The switch and brush card assembly consists of the switch, circuit board, battery contact block and LED light. Problems with any of these components may necessitate replacement of the entire assembly. Common symptoms include intermittent power loss, sudden power loss, inability to re-activate the driver during routine use, lack of torque, loss of forward or reverse rotation, interruption of power at the battery contact block, and lack of light from the LED.
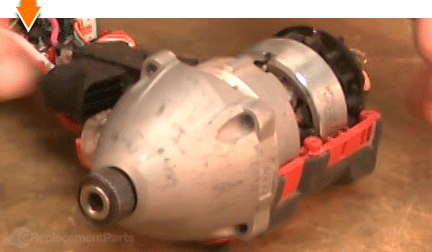
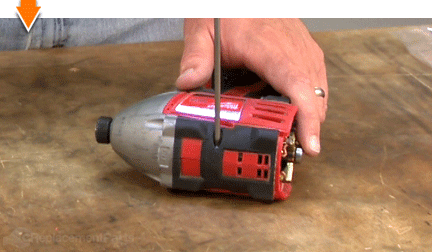
If your impact driver has lost its impact, this article will guide you through the steps required to quickly replace the switch and brush card assembly. THE FACTS | THE FIX | THE FINISH REMOVING THE SWITCH / BRUSH CARD ASSEMBLY [top] 1. Remove the end cap.
Remove the end cap retaining screws.
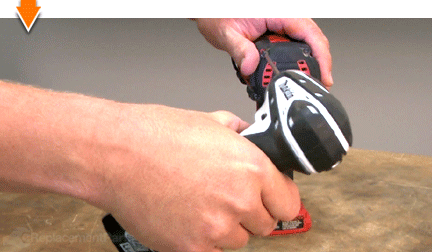
Remove the end cap.
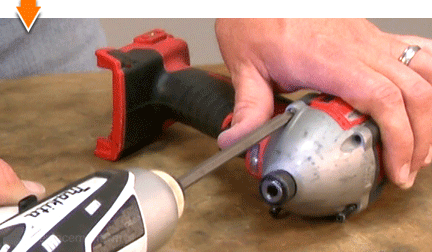
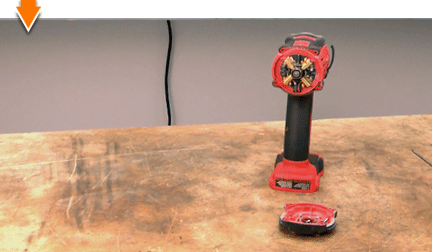 2. Remove the top half of the handle.
Remove the four screws from the gear box housing (front).
Remove the screws from the top half of the handle.
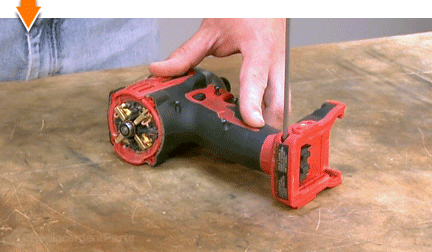
Remove the top half of the handle.
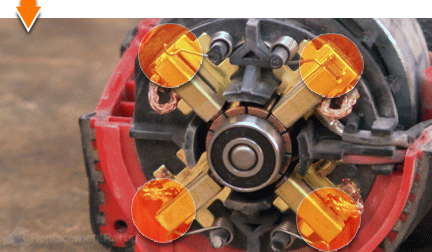
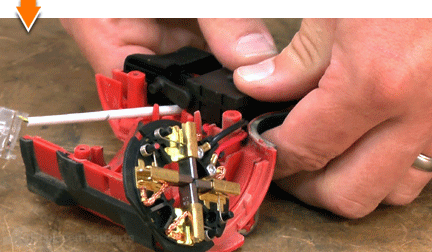
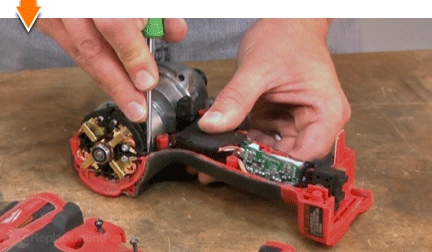
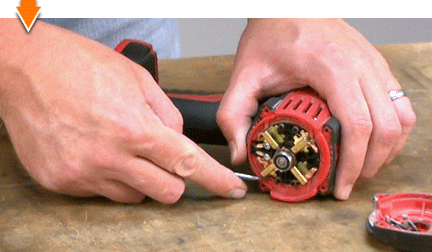
 3. Disengage the brush springs.
Use a small screwdriver or pick to disengage the four brush springs from the brushes on the card assembly. This relieves pressure on the armature, allowing it to slide freely from the assembly.
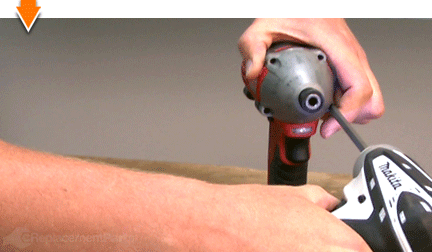
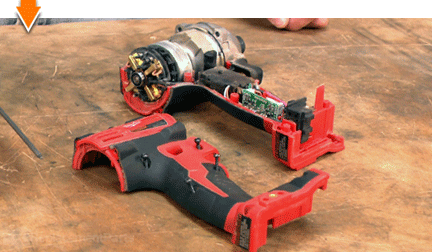
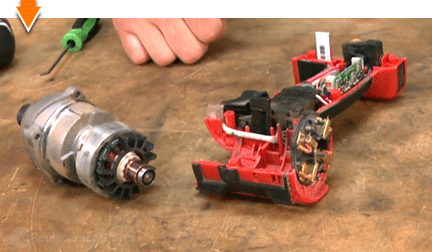
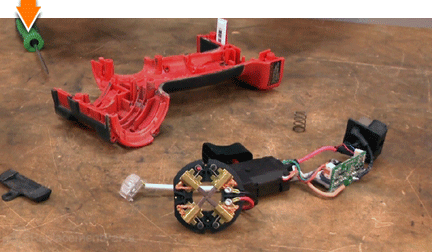
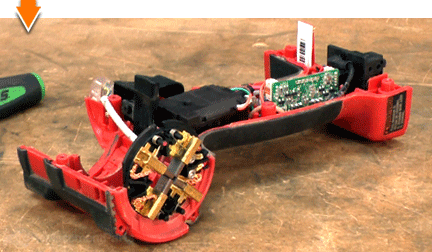
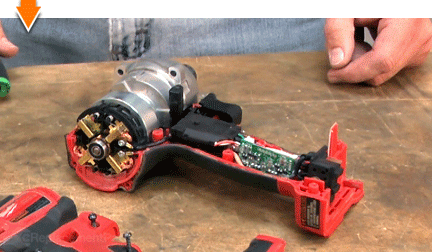
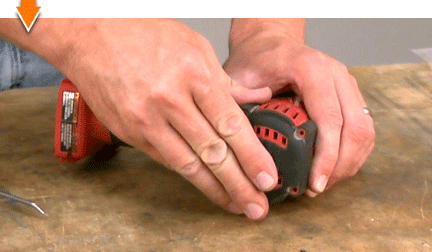
 4. Remove the gear case and motor assembly.
Lift the gear case and motor assembly out of the handle housing.
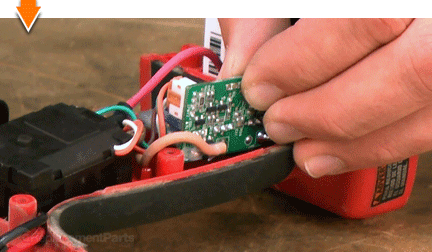
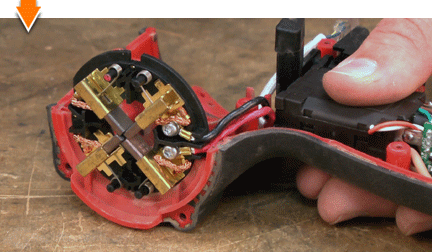
 5. Remove the switch and brush card assembly.
FIX TRIX: When removing the old switch and brush card assembly from the unit, try to maintain the original configuration of the wires and components. This will allow you to use the old assembly as a template for installation.
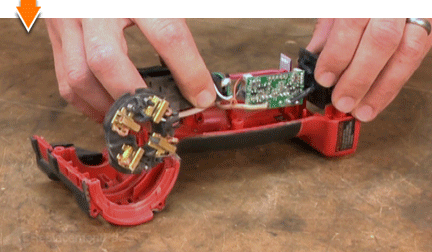
Remove the switch and brush card assembly from the handle housing.
 INSTALLING THE NEW SWITCH / BRUSH CARD ASSEMBLY [top]
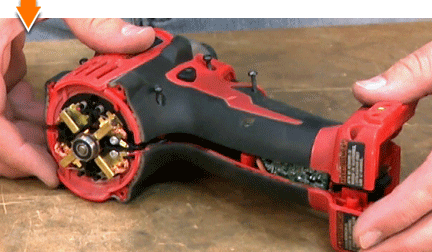
6. Install the new assembly (initial placement).
INSTALLING THE NEW SWITCH / BRUSH CARD ASSEMBLY [top]
6. Install the new assembly (initial placement).
Using the old assembly as a template, compare and configure the wires and components of the new switch and brush card.
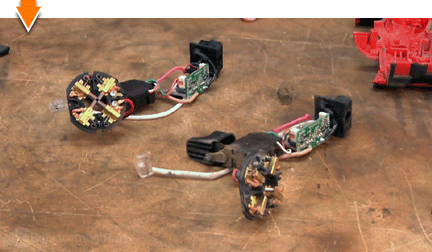
Install the entire assembly into the handle housing (loosely align the specific components to mirror the original configuration).
 7. Install the (internal components) of the new assembly.
Install the switch into the recess in the handle.
Install the circuit board into the recess in the handle.
Install the LED light into the recess in the handle.
Install the forward/reverse shuttle.

Install the spring into the battery contact block.
Install the battery contact block (and spring) into the recess in the handle.

Install the brush card into the recess in the handle.
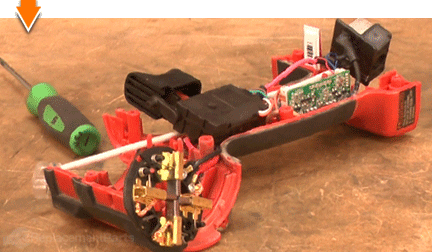
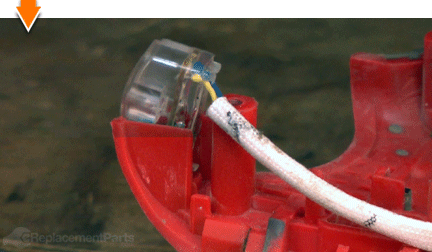
 8. Tuck the wires into the housing.
SPECIFIX: Each wire is designed to fit into a specific guide or trap within the handle housing. Take your time with this step to ensure that each wire (from each component) is addressed.
Use a pick or small screwdriver to carefully tuck each of the wires into their respective wire traps or guides.
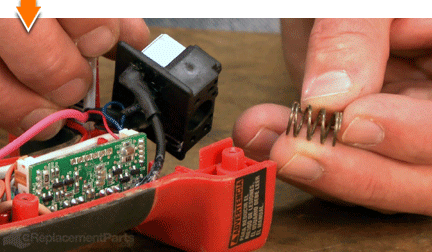
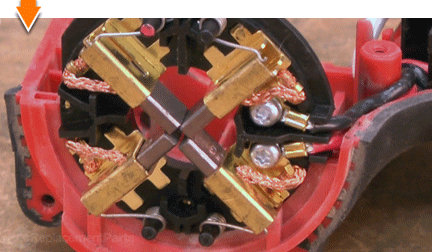
 9. Disengage the new brush springs.
Use a small screwdriver or pick to disengage the four brush springs from the brushes on the card assembly. This will relieve tension on the brushes and allow the armature to slide freely into the new assembly.
 REASSEMBLING THE UNIT [top]
10. Reinstall the gear case and motor assembly.
REASSEMBLING THE UNIT [top]
10. Reinstall the gear case and motor assembly.
SPECIFIX: Note the position of the tabs (on the gear case) and the notches (on the motor). These must be aligned with the corresponding tabs and notches on the housing.
Install the gear case and motor assembly into the housing, ensuring alignment as described above.
 11. Reinstall the top half of the housing.
Visually inspect the entire unit to verify that all wires and components are properly seated.
Install the top half of the handle.
Secure the top half of the handle with the screws.
Secure the gear case assembly with the screws.
 12. Engage the brush springs.
Use a pick or small screwdriver to move the brush springs into position (against the backs of the brushes).
 13. Reinstall the end cap.
Install the end cap.
Secure the end cap with the screws.
 THE FACTS | THE FIX | THE FINISH
You can't put a price on a job well done. Unless you did it yourself. (Which you just did.) Now you can put the savings right back into your own pocket. Or back into your business. Not only did you revive driver functionality at a fraction of the cost of replacement; you have impacted your ability to fearlessly face the next fix, whatever it may be.
Find your next fix here.
[top]
THE FACTS | THE FIX | THE FINISH
You can't put a price on a job well done. Unless you did it yourself. (Which you just did.) Now you can put the savings right back into your own pocket. Or back into your business. Not only did you revive driver functionality at a fraction of the cost of replacement; you have impacted your ability to fearlessly face the next fix, whatever it may be.
Find your next fix here.
[top]
