Why Read This Article?
Finish Nailer Repair - Replacing the Driver Guide (Ridgid Part # 79004001022)
Article Breakdown
Finish Nailer Repair - Replacing the Driver Guide (Ridgid Part # 79004001022)
Tools & Materials
 THE FACTS | THE FIX | THE FINISH
If falling leaves and a faulty blower are threatening to bury you beneath a pile of debt and debris, it's time to face the fix. Whether you are a seasonal garden enthusiast or a seasoned landscape professional, eReplacementparts.com provides the parts, procedures and facts you need to fearlessly fix what fails you.
While the gas tank on your blower is designed to withstand a variety of impacts and environments, most tanks will begin to show signs of wear within a few years. Accidental impacts, careless transport and improper storage can also affect the longevity of a gas tank. Cracks and leaks are some of the most common damages. Mounting hardware can also loosen under the torque of the engine.
Regardless of how slowly the damages may have occurred, replacing the gas tank is a task you can finish quickly and confidently when you follow this step-by-step guide.
THE FACTS | THE FIX | THE FINISH REMOVING THE GAS TANK [top] 1. Remove the air filter cover.
Unscrew the retaining bolt; remove the air filter cover from the engine.
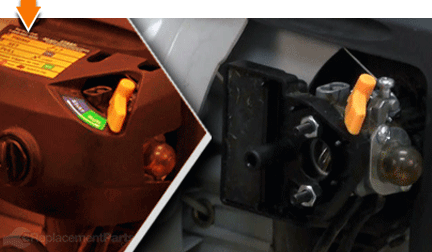 2. Remove the fuel lines from the carburetor.
FIX TRIX: It is advisable to clamp the fuel lines prior to removal. If you do not have fuel line clamps, you can drain the fuel from the fuel tank.
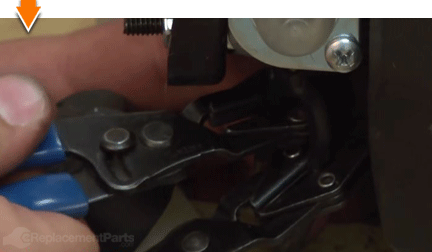
Clamp fuel lines with fuel line clamps.
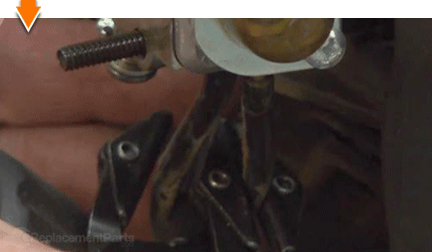
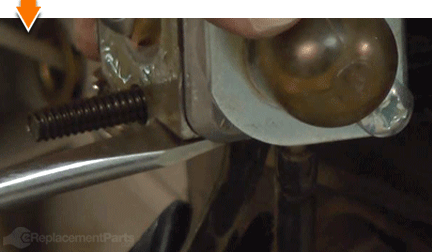
Use a flathead screwdriver and/or long-nosed pliers to disconnect the fuel lines from the carburetor.
 3. Remove the gas tank from the engine.
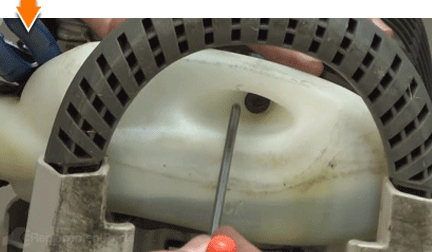
Remove the three screws holding the gas tank to the engine.
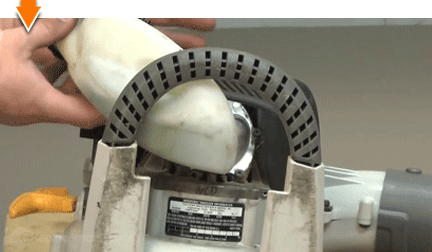
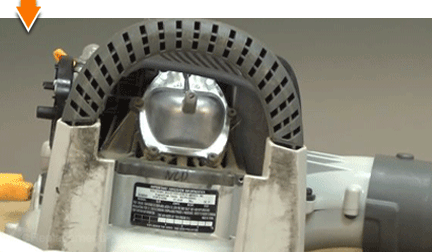
Remove the gas tank assembly from the engine.
 INSTALLING THE NEW GAS TANK [top]
4. Install the new gas tank.
Install the new gas tank into the engine compartment.
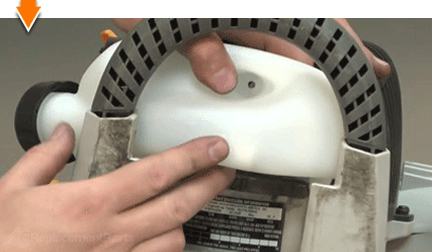
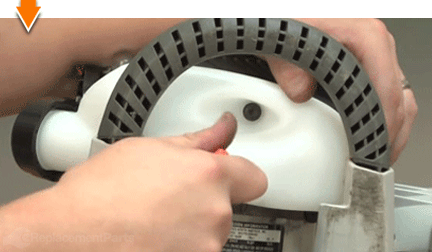
Securely attach the new gas tank to the engine with the mounting screws.
 REASSEMBLING THE UNIT [top]
5. Identify the FILTERED fuel line.
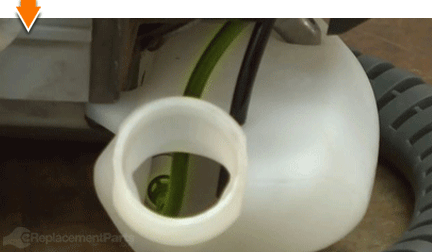
Remove the cap from the gas tank.
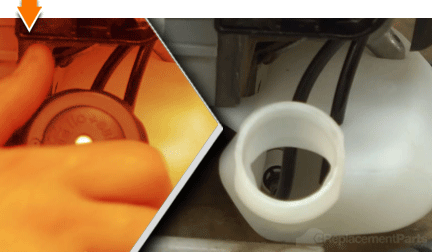
Visually identify which fuel line contains the fuel filter.
 6. Identify the carburetor pipes.
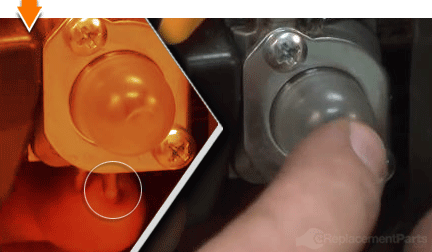
Place your finger over either of the carburetor pipes. With your other finger, press and release the primer bulb several times. If the primer bulb becomes HARDER (preventing further priming), you have isolated (and identified) the RETURN pipe.
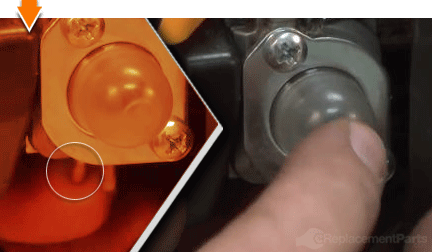
If the primer bulb becomes SOFTER (and fails to return to its original position), you have isolated (and identified) the INTAKE pipe.
 7. Reinstall the fuel lines.
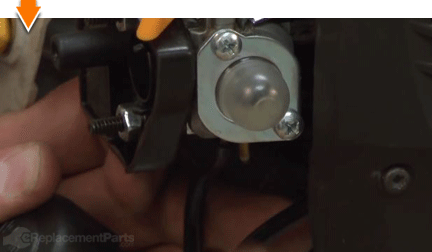
Install the FILTERED fuel line (identified in step 5) to the INTAKE pipe of the carburetor (identified in step 6).
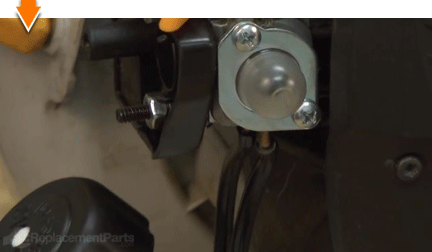
Install the fuel RETURN line to the RETURN pipe of the carburetor.
 8. Reinstall the air filter cover.
Reposition and seat the air filter gasket; align and secure the air filter cover.
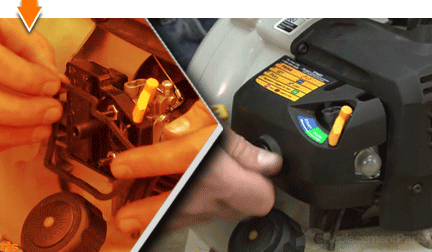 THE FACTS | THE FIX | THE FINISH
You can't place a value on a job well done; unless you did it yourself. (Which you just did.) Now you can place the value right back into your own pocket. Or back into your business. Not only did you restore blower functionality at a fraction of the cost of replacement; you have blown away all doubts about your ability to fearlessly face the next fix, whatever it may be.
Find your next fix here.
[top]


