How to Build a Custom Miter Saw Work Bench
If you are looking for a permanent workbench for your miter saw, you’ve come to the right place! We’ve put together step-by-step instructions to build a workbench with an indented groove for the miter saw and elevated work platforms on each side. The instructions outlined below are general steps, so we suggest following along with our video, too!
Gather These Materials:
- Handheld circular saw
- Handheld jigsaw
- Cordless drill
- Miter saw
- Measuring tape
- Pencil
- Square
The first thing you will want to do is assess the floor. Having a perfectly smooth and level floor whenever you are building something is ideal. You will also want to consider where you are going to place the workbench, and where it most makes sense in terms of the space available and how you will be bringing your workpieces into the space.
1. The legs
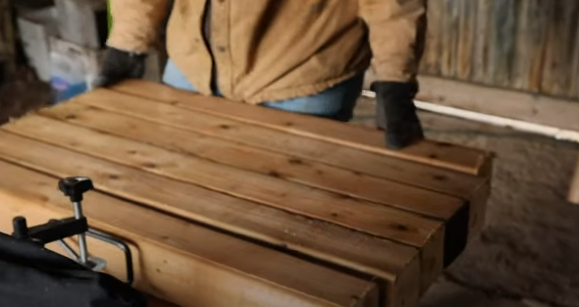
We started our project with the legs. You will need to pick up some 4 x 4’s for this. We decided on a height of 35 inches, but this can be modified to suit whatever is most comfortable for you. For the purpose of these instructions, they will be based on a height of 35 inches.
- Cut 4 x 4’s into 6 individual legs at a height of 34.5 inches (this leaves room for a half-Inch plywood sheet that is going to be the countertop)
2. Elevated Platforms (framework)
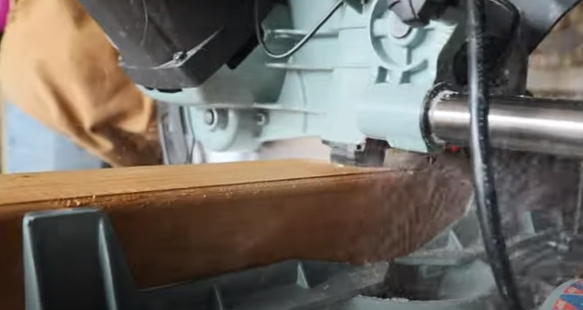
Use 2 x 4’s to cut out the framework for the elevated platforms.
- Cut 2 x 4’s to a 36-inch length
- Cut the 2 x 4 side pieces to a 21-inch length
3. Assemble Top Panel Support Pieces
- Use the 2 x 4’s to make the top panel pieces and drill them together
4. Attach the Legs
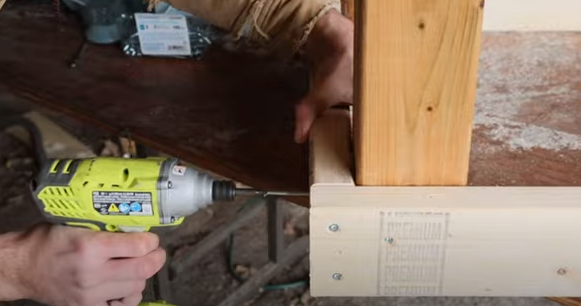
- Use a level to ensure the legs are straight when attaching them to the top panel
5. Make the Second Platform
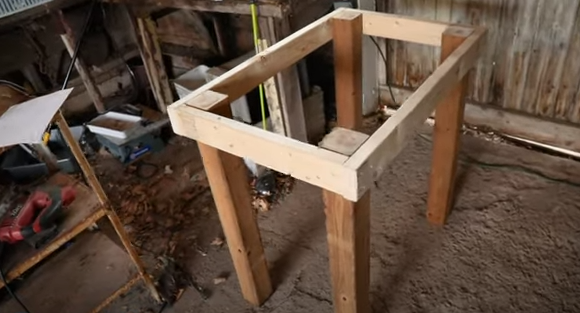
- Repeat the same steps above to make the second side
6. Top Panel
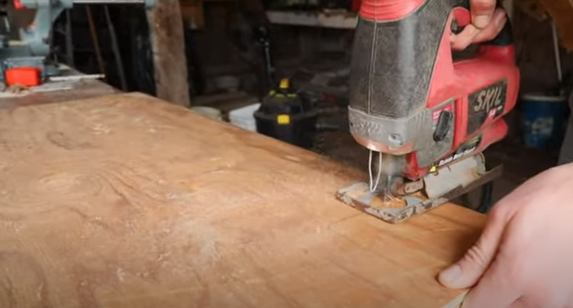
- Use your pencil to trace around the top of the legs so you can create cut-outs where the lower panel (shelf) will fit
- Use your jigsaw to cut out what you traced
7. Attach the Two Platforms Together
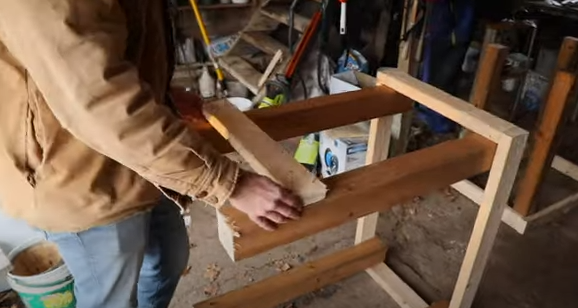
- Attach two 10-foot 2 x 4’s to the front and back of the two platforms to secure them together, using the correct distance for your miter saw.
- Attach the two 21-inch pieces
8. Attach the Lower Panel (bottom shelf)
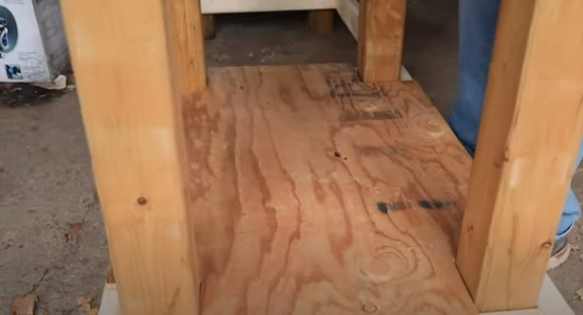
- It should fit snugly around the legs
- Drill into place to secure
9. Attach the Shelf Portion
This is one of the most crucial steps. The shelf portion is what holds the miter saw. The height needs to be perfect so there is a smooth transition from the elevated portion of the platform right onto the miter saw.
- Measure the height of your miter saw and make sure it lines up perfectly with the platform (ours measures 3-3/4-inches)
- Measure from the edge of the top 4 x 4 down to 3-3/4 inches
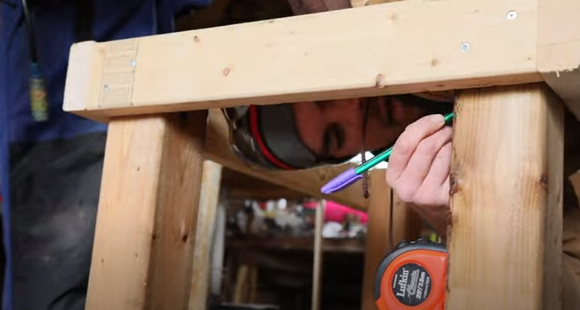
- Attach the two 2 x 4 support pieces using one screw (in case you need to make adjustments to the height)
- Attach a brace going the width of the structural portion to support the sides of the counter that hold the miter saw
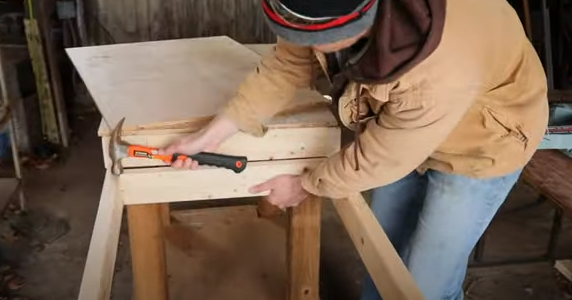
- Attach the two outer wing shelves
- Attach the middle shelf
10. The Final Product!
There should be a little opening right below the miter-saw bench to place a shop vacuum for collecting debris – just put the miter saw and shop vacuum in place, and you’re done!
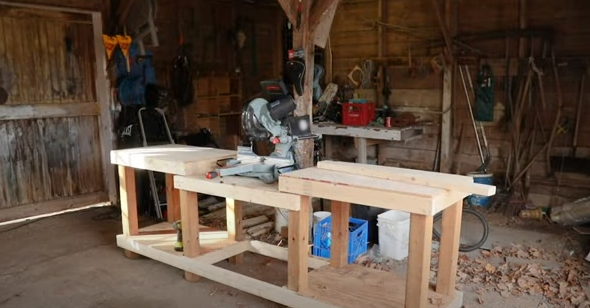
Using a custom miter saw bench such as this will help increase your productivity, accuracy and elevate your working space. We hope this inspires you to create your own version! Don’t forget, if you ever need an OEM replacement part for your miter saw, we have you covered!


