DIY Custom Cookie Cutters and Gingerbread on the Grill
To get into the Christmas spirit, we decided to bake some gingerbread, but of course, we needed to raise things up a notch and put a little spin on this fun family tradition. We decided to make our own DIY custom cookie cutters, and then baked our gingerbread on the grill because… why not?! These homemade, heavy-duty cookie cutters are so much fun to make, and you can make them into any shape you want, making them the perfect customizable gift to give someone on your Christmas list, or to use yourself! Follow along to our steps for making your own cookie cutters, and then stick around to see how our gingerbread on the grill turned out!
Materials Needed for DIY Cookie Cutters:
- Safety gear (eyewear, face protection, ear protection)
- Cut out paper templates
- Metal (we used aluminum)
- Aluminum pop rivets
- Tin snips
- Vice grips
- Ball peen hammer
- File
- Sheet metal pliers
- Drill
- Foam edging
- Vice
- Soft measuring tape
- Clamp
- Square
We decided on an aluminum metal that has a 22-gage thickness, unlike a regular cookie cutter that usually comes in a 30-gage. These thinner-made cookie cutters are more prone to bend and warp over time, so we decided to up the ante!
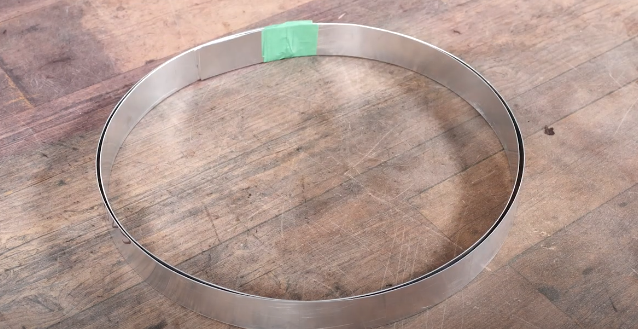
Steps for Making a DIY Cookie Cutter:
1. Print and Cut Templates
The first step in making your DIY cookie cutter is finding some templates for the shape you would like to create. We suggest searching the internet for your favorite shapes.

2. Measure the Aluminum and Cut to Length
The next step will be figuring out how much aluminum you are going to need to make the shape. You can do this by measuring the outline with a soft measuring tape, adding an extra half of an inch for an overlap at the very end.
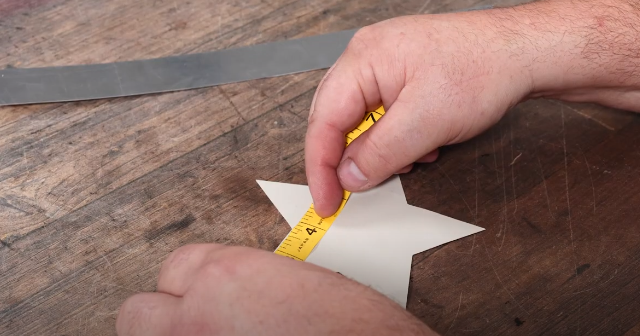
3. Bend Cutter into Customized Shape
Now you will need to make the marks on your metal where the bends will need to take place. You can do this by lining up the metal with the edge of your template and using another piece of scrap metal to make a fine line (or a marker) where the bend needs to happen. Continue marking and bending according to your desired shape (check out the video for a better visual on how this works).
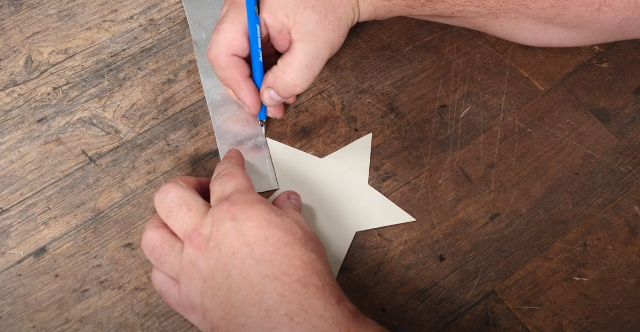
Use a square to make a straight line where you have made all of your marks. Take your metal clamp and line it up with the straight line and make your bend. Keep repeating this same process, of marking the bend, making your straight line, and making the bend with your clamp, until all the bends are complete. Make a mark to allow for half an inch of extra metal and take your tin snips to cut off the extra metal. Use your vise grips to hold it securely together and just double check that it lays nice and flat and looks how you intended it to look.
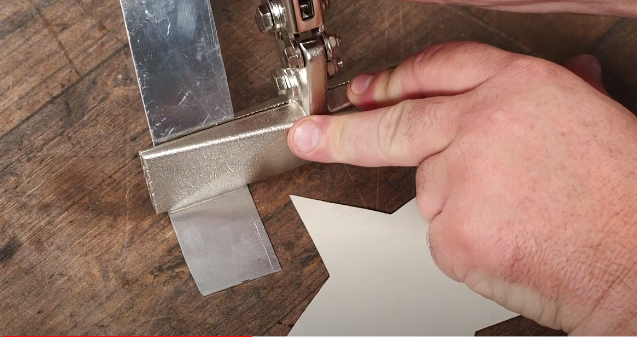
4. Drill Holes for Rivets
Take your cookie cutter (still secured with the vice grips) and place it into the vice to hold it steadily in place. Take your drill, making sure the bit matches the rivets you are using, and drill through the metal where the two pieces overlap. Place the rivet in the opening, remove the pliers and lock them on the other side, and drill your hole. If you are going to be using any edging, be mindful of how much room you will need to leave when drilling the second hole.
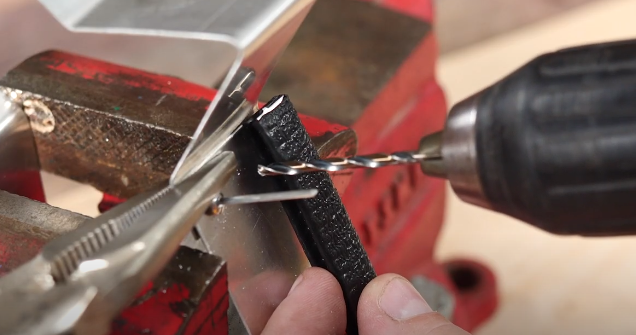
Place a rivet in the second hole, remove it from the vice, and make sure your pliers are holding it all in place. Remove the pop rivets and take a spun rivet, thread it through the drilled hole so the rivet comes out the other end, and then remove the pin. Do the same for the other hole.

5. Flush the Rivets
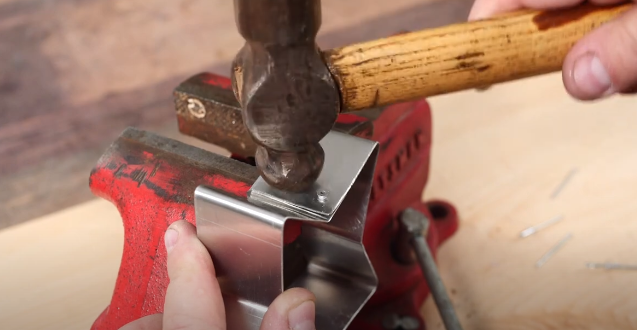
Place the cookie cutter onto the vice to help hold it while you hammer the rivets, so they mushroom out. Flip the hammer around and continue to hammer until it is almost flush.
6. Attach the Edging
Use either a heavy-duty foam edging or food-safe tubing and wrap it around the entire edge of one side of the cookie cutter. Once you’ve made your way back to the start, use your cutters to clip off the excess.
Now that your cookie cutters are done, put them to good use! Follow along with our gingerbread-on-the-grill recipe.

How to Make Gingerbread Cookies on the Grill
We used a very simple gingerbread cookie recipe, so you will only need very basic ingredients and a few tools to make this. We put a little twist on our method and decided to bake our cookies on the grill! Before you get started, you will want to fire up the grill to about 350 degrees. Next, separate the dry and wet ingredients.
Wet Ingredients:
- 2/3 cup of molasses
- 1 large egg
- 1 tablespoon of vanilla extract
- 2/3 cup of unsalted butter (room temperature)
- 3/4 cup of packed brown sugar
Dry Ingredients:
- 3-1/2 cup of all purpose flour
- 1 teaspoon of baking powder
- 1/2 a teaspoon of salt
- 1 tablespoon of ground cinnamon
- 1 tablespoon of ground ginger
- 1/2 teaspoon of ground cloves
- 1/4 teaspoon of ground allspice
Start by placing the butter into a stand mixer and mix it up with a paddle attachment (this can also be done with an eggbeater) at a low setting, until it becomes nice and creamy. Next, add the brown sugar and molasses, egg, and vanilla extract, and mix it up on a medium/high setting until it is combined (about two minutes).

In a separate bowl, you will now mix all your dry ingredients together until they are well combined. Slowly add the dry ingredient mixture to your wet ingredients in the stand mixer. Adding it into the bowl bit by bit, on a low-speed setting.
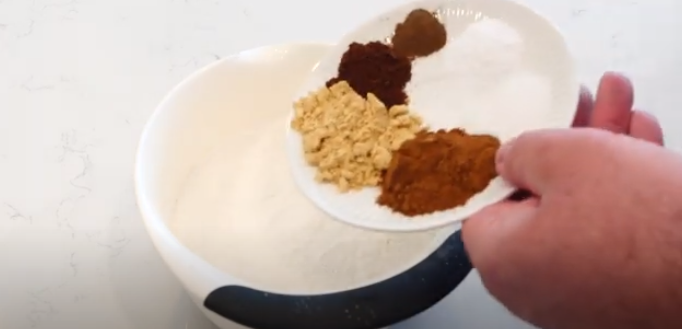
Once it is all mixed together, divide the dough in two and place half of it into some plastic wrap, flattening it out just slightly by hand, and then do the same thing with the other half. Place them into the fridge. They will need to stay in the refrigerator for at least three hours (preferably overnight), and up to three days.
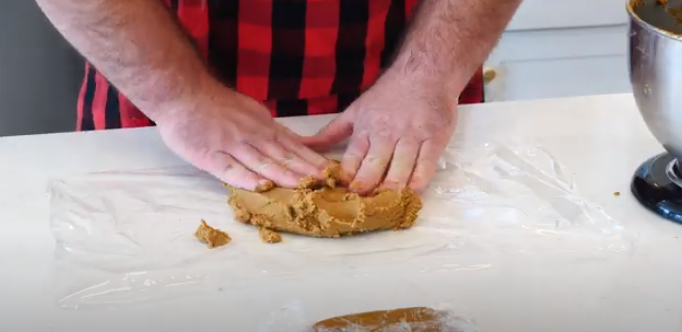
Once the dough has had time to rest and firm up in the refrigerator, it is ready to be rolled out and cut into cookie shapes. Start by flouring the workspace and putting some flour on the dough itself and rolling pin. Roll the dough out until it is about one-quarter inch thick. Take your custom cookie cutter (or store-bought ones) and cut out your shapes.
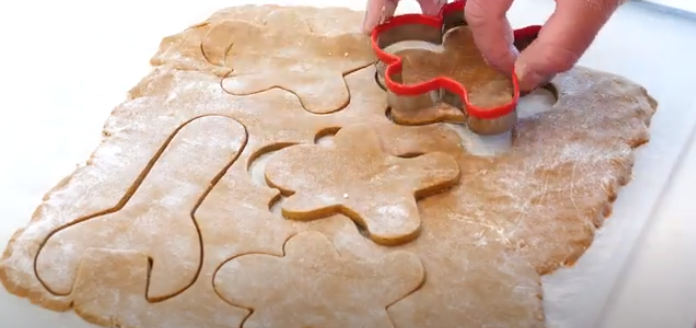
Line a baking sheet with parchment paper and place your cookies on top, leaving a little bit of space between them. Head on out to the grill to check on the temperature. Keep in mind that it is a little bit harder to reach an exact temperature on a grill, so you will want to keep a very close eye on the cookies as they bake. You will let them bake with the lid closed for about 9 to 11 minutes, depending on the size of your cookies.
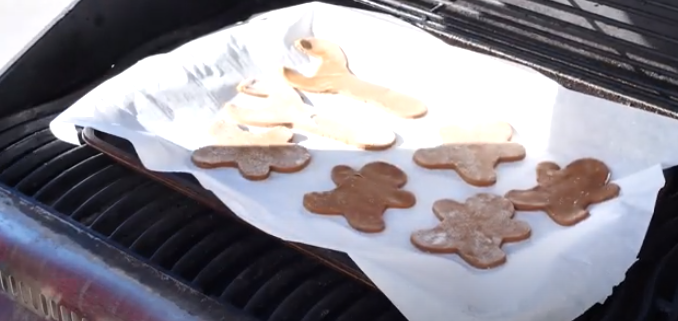
Take the cookies off the grill once they appear done and place them on a cookie rack to let them cool. Once they’ve cooled, it’s time for the fun part, decorating!

We hope you enjoyed our DIY gingerbread cookie cutter tutorial and recipe and had fun along the way! Check out our YouTube channel and leave a comment on our videos above. We would love to hear how your cookie cutters and final products turned out! Happy Holidays!


