How to Align Your Table Saw
Whether you are doing your regular maintenance, bought a new or used table saw, or moved it to a new location, checking the alignment of your table saw is a MUST. If the blade is out of alignment, this can make it harder to push the workpiece through, can cause burn marks, and worst of all, it can cause dangerous kick-back. If you are experiencing any of these symptoms, your table saw’s alignment should be first on your to-check list. Follow along to see how easy it is to check the alignment of your table saw yourself, and how to make adjustments for a safer and more accurate cut.
Track Alignment
The first thing you will do is check to see the alignment of the track to the edge of the table using a measuring tape. If you’d like to be a little more accurate, sometimes the old mechanical method is best. Take a dowel (you can take a block of wood and hammer a nail in as well) and measure along the edge to measure the track on the right side. Place the nail along the edge and then place the pencil on the other side to measure.
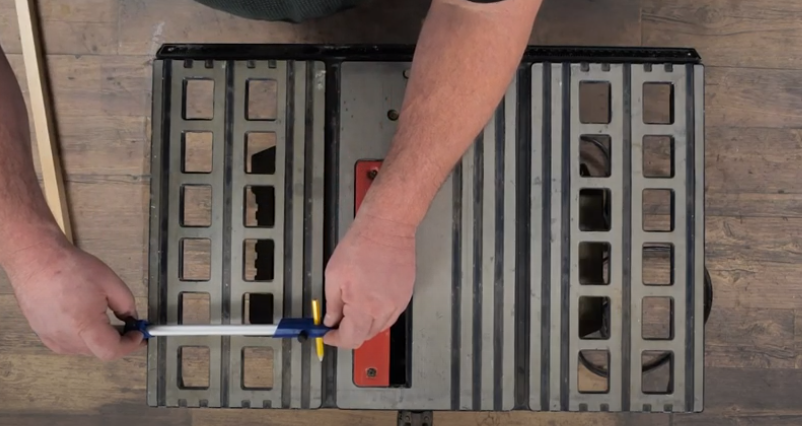
Next, you’ll measure the middle from one slot to the other using the same method.
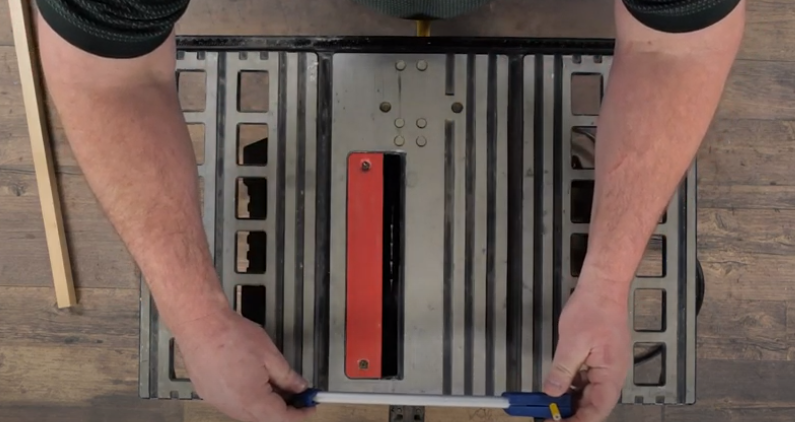
Next, you’ll do the same thing on the left side of the table saw, using the same method. If any of these measurements are not exact, you’ll need to take that into consideration when making cuts.
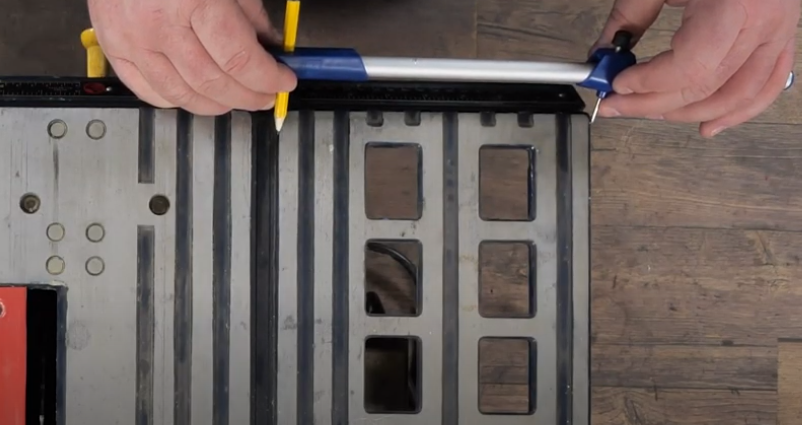
Fence Alignment
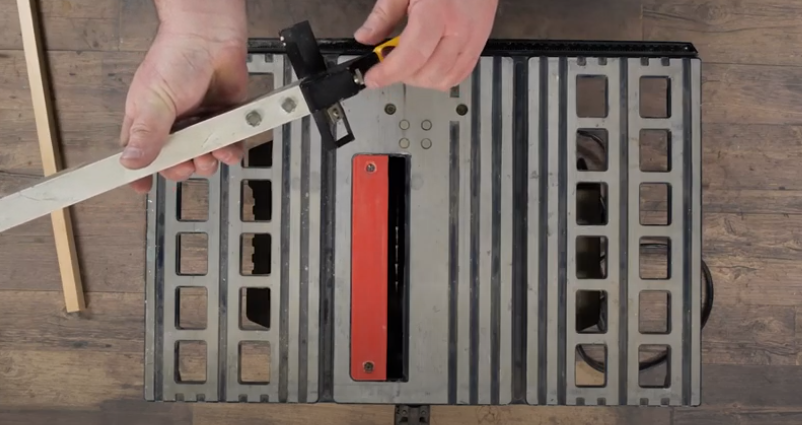
Next, you’ll need to lock the fence in place and test to make sure it is secure. If the fence does not fit right onto the table saw, it could be because the bolt is on too tight, making it so the arm is not far enough. Once the fence is stable in position, try wiggling it free to test it. It should not move at all and should be solid in position. You’ll then want to do a little test, by placing the fence on crooked, locking it, and seeing if it straightens itself out or not. If it doesn’t straighten itself out, you will just need to be aware so you can make measurements accordingly. To make sure it is locked in place properly, press in front of it with your finger and make sure it is sitting flat. If it is pressed properly, it shouldn’t move at all.
Blade Alignment
Once the fence is aligned with the slot, you’ll then need to align the blade to the fence. To align the blade with the fence, start by cranking the table saw up. When lining up the table saw the best thing to do is pick a particular tip that you want, take a marker, and make a reference tip to use for all your measurements.
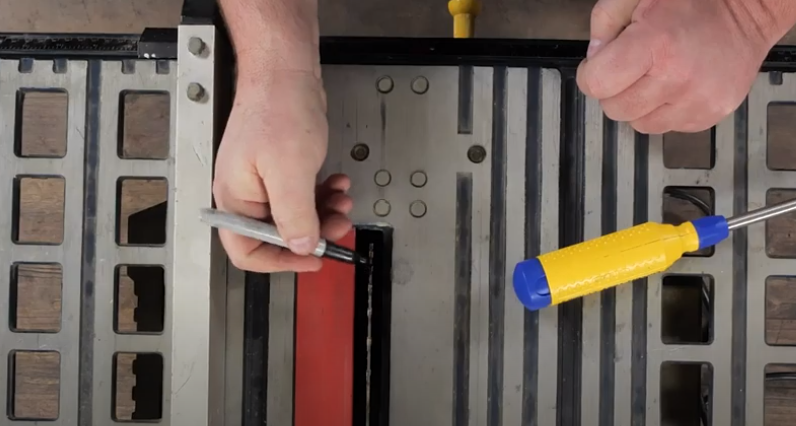
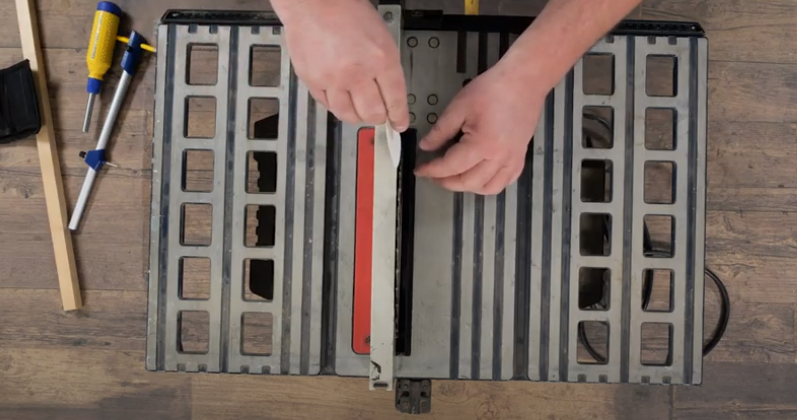
The first thing you will need to do is bring the blade all the way up to a stop position. Once it is in a 90-degree position, lock it. Once the blade is perfectly in place vertically and in a 90-degree position to the table, you’ll need to check the distance from the front of the blade to the back. Find your reference tooth, take a business-card-sized piece of paper (or dollar bill for even more accuracy) and place it in between the blade and slot. Move it back and forth and check for the pressure between the two. The pressure should feel consistent when moving it back and forth (refer to the video for a better visual of how to do this). If it feels consistent, you then know that the blade is perfectly aligned with the fence and that the table saw slots are also aligned properly.
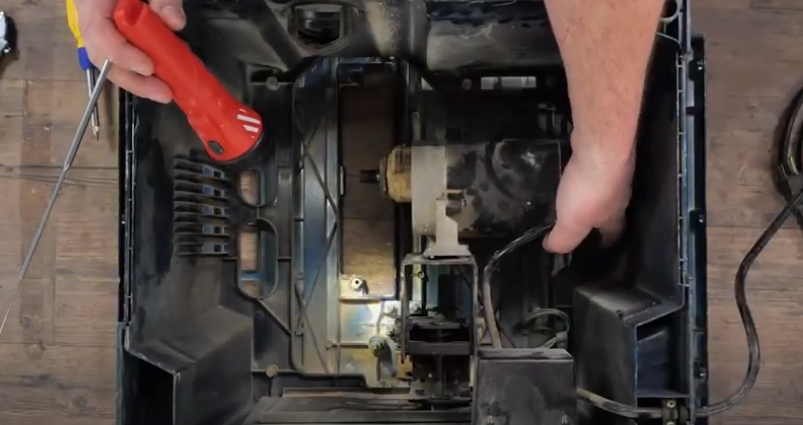
If you can’t get the blade perfectly aligned, you will need to flip it over. Before flipping it over you will need to take the blade off by loosening the two bolts holding it in place. When you flip it over you will see three bolts holding the motor, and the blade is attached to the motor itself. If you turn the handle, this will move the motor up and down. There aren’t that many adjustments that can be made, but you will just want to check all the pivot points and drill some of them out to provide a little bit larger play. You may need to keep modifying and adding shims to reach a straighter alignment. Keep in mind that achieving complete accuracy can be challenging and sometimes impossible, in which case you will need to compensate with a bit more skill and using a measuring tape.
We hope these table saw alignment tips helped you make more precise and safe cuts. For more tool tips, tricks, and tare downs, check out our YouTube Channel.


