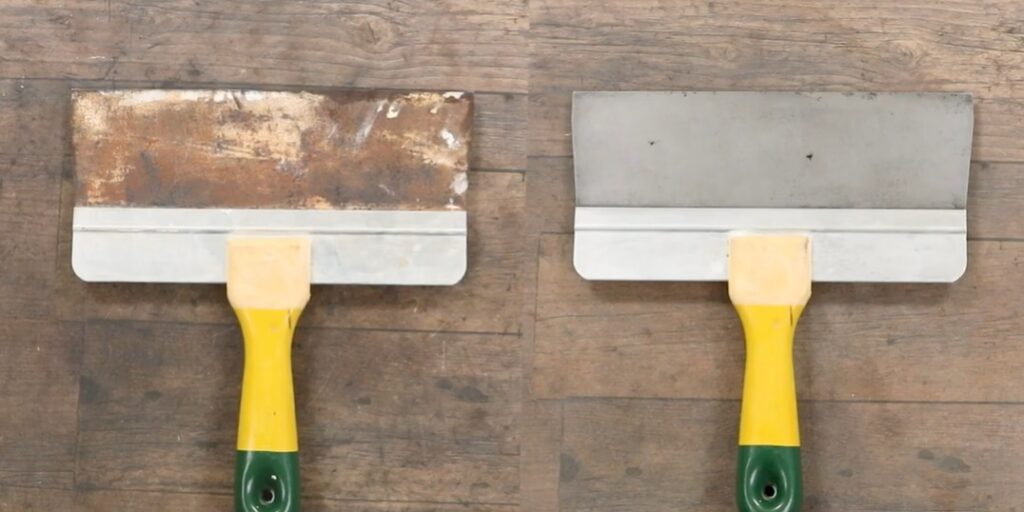
Restoring an Old Putty Knife
To repair that broken tool, or not to repair, that’s the question every DIYer faces at some point. On the one hand, buying a new tool is quick and can be more convenient. On the other hand, restoring an old tool can save you money and in some cases be more convenient than buying new. If you have an old putty knife that needs to be repurposed, fixing it up can be done in a few simple steps and this process can work for several hand tools.
You’ll Need:
- A Wire Wheel or Brush
- A Power Drill (Optional)
- A Face Shield or Goggles
- A Scrubbing Pad
- Cleanser

Scrap Away the Rust
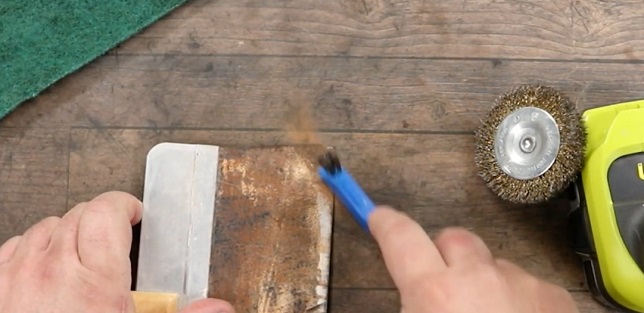
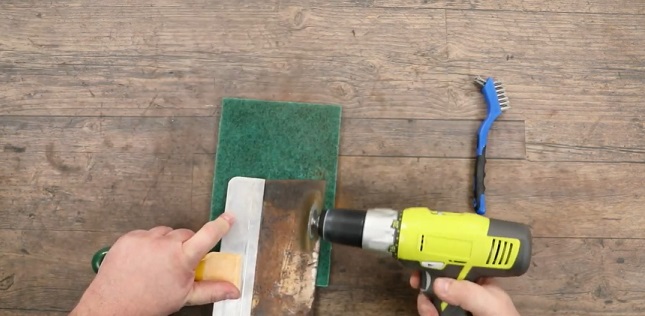
Your first step will be to use your wire wheel or brush to scrape away any rust you see on your tool. If you have a power drill and wire brush that can attach to it, this process will go even faster! Make sure to use your power drill in reverse so that if it happens to catch onto an edge, the tool will fly away from you, not toward you. We recommend using a vice to clamp your tool down if you have one, however, you can also simply hold your tool firmly while you are removing the rust.
Make sure you do this step on an old table or surface that you don’t mind getting scratched. Once all the rust has been removed, go into any crevices with your wire brush and remove any dirt.
Polish
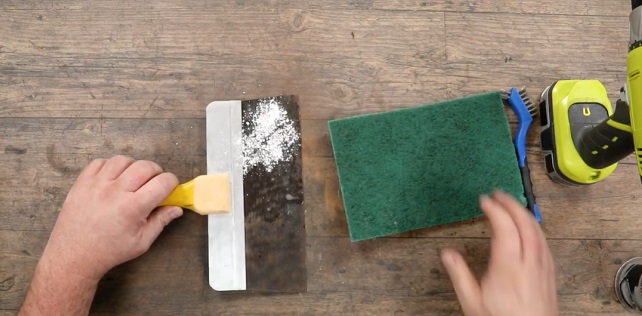
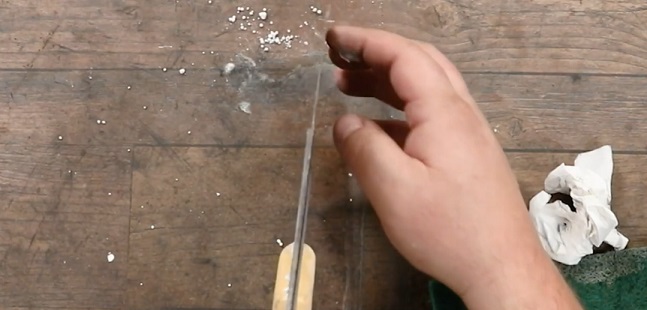
Once your putty knife has been cleaned of all dirt and rust, it’s time to polish it so it looks close to new again. The easiest way to do this is to use a scrubbing pad and rubbing compound. We chose to use a sink cleanser. You will also need a lubricant, such as water or a little bit of oil. First, put the lubricant onto your putty knife, then sprinkle a bit of sink cleanser (or whatever rubbing compound you are using). Take your scrubbing pad and start rubbing until the sink cleanser is gone. Take a tissue or piece of paper towel and wipe the knife to clear away any residue and move on to the next section of your knife that needs to be shined and repeat the process.

Ensure the Blade is Flat
Finally, you should inspect the blade to make sure it’s flat and straight. If the blade isn’t straight, you can bend it to flatten it out again. If your blade isn’t flat, you can take a very fine file, put it at the tip of the blade, and file it across the knife a few times just to make sure it’s flat – no one wants to see little divots, holes, or rust spots when they are doing putty work!

Finishing Touches
If there are any paint or putty flecks on the handle, you can take colored marker and fill in the spots, so the handle looks like new again – this step is totally optional!
The last important step is to take some oil – we used motor oil, but it doesn’t matter what kind of oil you use – and give your knife a fine coat on both sides of the blade. Rub the oil all over the blade – the last thing you want is for any rust to come back after all your hard work! Use a tissue or paper towel to wipe any excess oil off.
You’re done! With just a few minutes of work, you managed to save yourself some money and turn a putty knife that was headed for the trash into something useful again.
