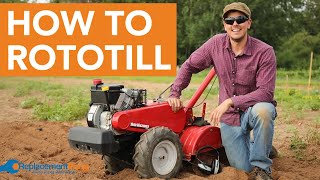
How to Till a Garden Using a Rototiller
Tilling your garden in the springtime will help to break the ground, cultivate the soil, and enrich your garden so the roots of new plants have what they need to flourish. While it is possible to till your garden manually with a shovel and rake, this will take you a lot more time and effort. If you have a rototiller, they make the job much easier. Rototillers have strong, stainless steel blades that break through the soil without causing damage to the weeds. Follow along with these steps to ensure your plants have a reliable area to develop and produce high-quality food or plants.
Steps for Rototilling Your Garden
Step One: Do a Walkaround of the Tiller
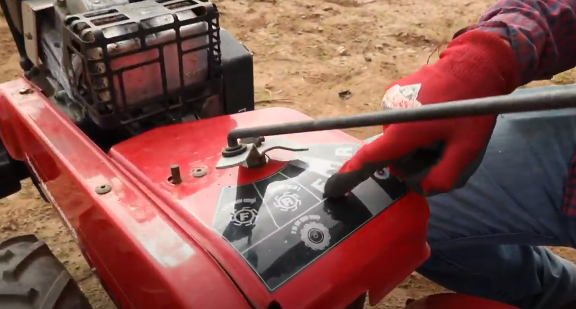
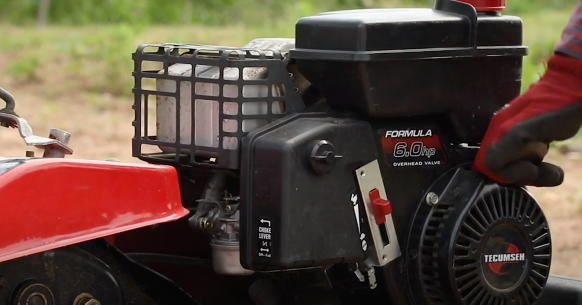
It is a good idea to start any project by doing a quick walk around and check of the overall condition of the equipment, and in this case, the rototiller. This is also a good time to get to know your equipment if you have never used it before. Check to see what kind of gear options it has, which in this case it has five: reverse, neutral, forward, reverse till, and forward till. Most rototillers will also have a push lever to switch gears. It is also a good idea to know and understand the safety devices of your rototiller and how to come to a complete and quick stop. For most models, the tiller will not move unless the pull lever handle is engaged. So, if you are tilling and you need to come to a quick stop, release this handle and it should stop the rototiller immediately.
Quick Rototiller Part Checklist Before You Begin:
- Check the engine oil level (letting it drop down too low can cause damage to your engine)
- Make sure you have enough fuel to complete the job
- Check the tire pressure on both tires and replace if necessary
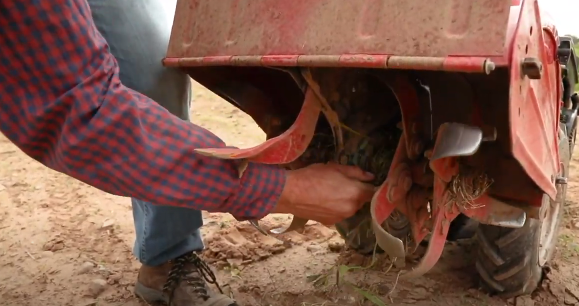
- Check the tines to make sure they are in good condition, still intact, and free of debris
- Check to make sure the push-pull lever that controls the gears is working properly
Step Two: Prepare Your Land for Tilling
Walk around the land to ensure it is free of debris or large objects that could get caught in the tines. This includes any large rocks or sticks. This will ensure your safety and prevent any unnecessary damage to your rototiller.
Step Three: Use the Proper Safety Gear
- Gloves
- Eye protection
- Hearing protection
- Avoid overly loose-fitting clothing or anything that can get caught in the machine
- Proper footwear (never wear open-toed shoes – steel-toed is best)
Step Four: Starting the Rototiller
For a pull-start engine, start by putting the throttle control in the maximum position, and turn the choke control on (located near the back of the engine), and give it a pull to start.
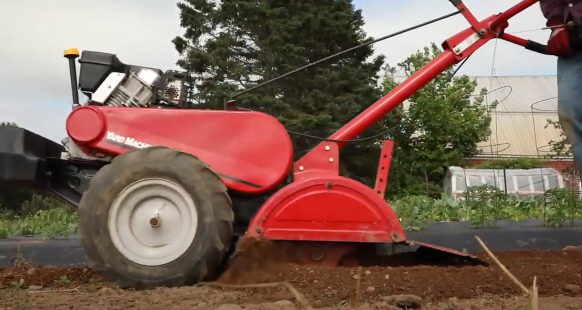
Step Five: Start Tilling
It is up to you which gear you would prefer to till in, but we tilled our garden in the reverse till gear, and find it much easier in that position. If you happen to run into a large rock underneath the soil, this will likely stop your engine. If this happens, tilt the rototiller over on its side, remove the rock, and re-start your engine.
We hope this guide helped you complete a successful till of your garden, and your plants flourish this summer season. If your rototiller is in need of any repair parts to ensure a successful tilling season, use your model number to search our large library of OEM replacement parts. Happy tilling!