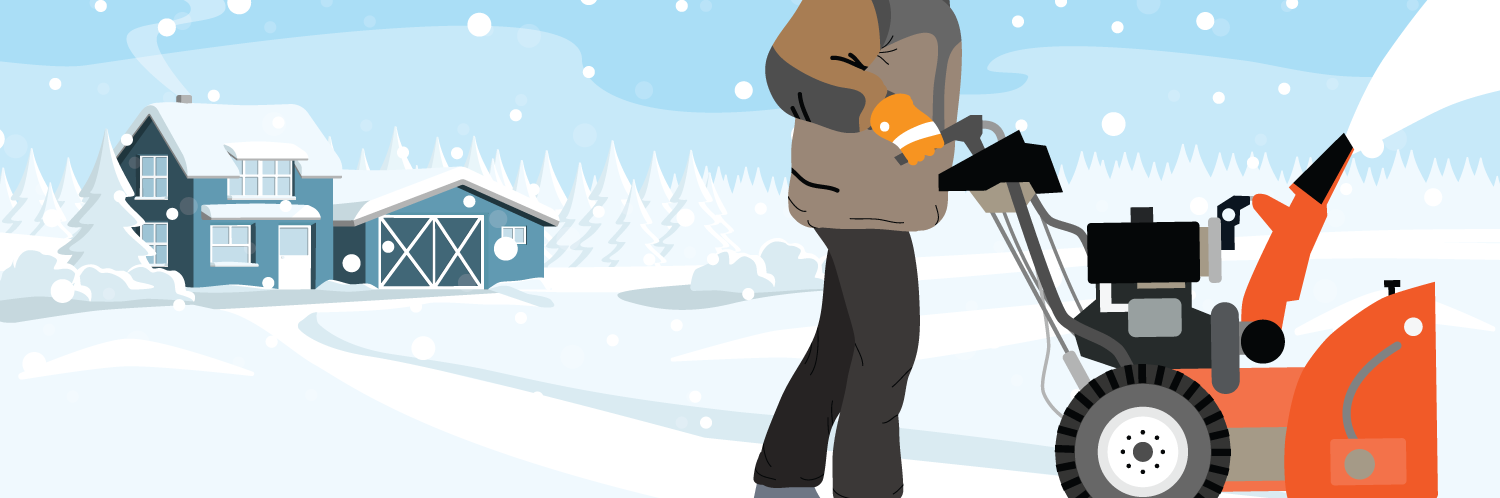
Snowblower Tune-Up Guide!
There might be nothing worse than having to shovel your entire driveway after the first snowfall because your snowblower isn’t ready! Even if the first snowfall isn’t expected for a few weeks, now is the time to make sure your snowblower is ready to handle the long winter ahead. By performing a few routine maintenance tasks, you could extend the life of your snowblower by years!

Replace the Spark Plug
Most experts recommend changing your spark plugs annually to ensure your snowblower is operating at maximum efficiency. While it will vary slightly from model to model, the general process for replacing a snowblower spark plug is:
- Locate the spark plug: It will most likely be found attached to the engine block, behind a rubber or plastic cover
- Remove the old spark plug: Disconnect the spark plug wire and remove the spark plug by using a deep socket and ratchet
- Gap the new spark plug: Refer to your owner’s manual to determine what gap setting your spark plugs should be set to.
- Install the new spark plug: Hand-tighten the spark plug into the threading until it is tight, and then use a ratchet with a deep socket to tighten it another 1/4-1/2 turn. Spark plugs use a soft aluminum threading, so be sure to not over tighten your spark plug as you may strip the threading.
Shop Manufacturer-Approved Replacement Snowblower Spark Plugs >
Change the Oil
Similar to spark plugs, experts recommend changing your oil at least once per season, and the beginning of the season is the perfect time to perform this task! Check your owner’s manual to confirm the exact process for changing the oil on your model, but most models follow a similar process:
- Check the oil level: If your oil is above the minimum fill line, start your snowblower and let it run for a few minutes. Not only does warm oil flow much easier than cold oil, but running the engine will also stir up any debris in the oil that should be flushed out
- Remove the oil plug and drain the oil into an oil pan or another receptacle: If you started your engine during step 1, ensure you turn the engine off prior to removing the oil plug
- Replace the oil plug: Once all the oil has drained, reinstall the oil plug, ensuring that you tighten it enough to create a proper seal
- Add new engine oil: Fill the engine with clean oil to the manufacturer’s recommended level. Once you have filled the oil, run the snowblower for a few moments and look for leaks around the drain plug and oil pan
Wheel Inspection & Service
While snowblower wheels do not have to be replaced frequently, there are other maintenance tasks and inspections that you should be performing annually:
- Inspect the wheels: With the gas tank emptied, slowly tilt the snowblower on its nose and remove the wheels. Visually inspect the wheels for any signs of cracking or damage.
- Lubricate the axle: Before reinstalling the wheels, clean any dirt or old grease off the axle and then coat it in multi-purpose automotive grease.
- Check tire pressure: After reinstalling the axle and wheels, check the air pressure of each tire. The recommended pressure should be found on the sidewall of the tire or in your owner’s manual
Fuel Service
In addition to draining any old fuel left from last season and adding new stabilized fuel, there are a few other parts that should be inspected as well. We recommend the following annual fuel service:
- Drain old fuel and add fresh fuel: Ensure you add fuel stabilizer to the new fuel prior to pouring it into your snowblower
- Replace the fuel filter: As dirty gas can clog your filter, you will want to inspect your filter at the beginning of every season. Most manufacturers recommend replacing your fuel filter annually.
Shop Manufacturer-Approved Replacement Snowblower Fuel Filters > - Inspect the fuel line: Perform a visual inspection for cracks, wear, and ensure that it is still flexible and soft.
Shop Manufacturer-Approved Replacement Snowblower Fuel Lines > - Inspect the fuel cap: Ensure that it creates a proper seal and that it is not damaged or worn
Shop Manufacturer-Approved Replacement Snowblower Fuel Caps >
Inspect Shear Pins and Service Auger
Now that you have made sure your snowblower engine and wheels are ready for the season, it’s time to ensure that it will throw snow properly.
Before working around the auger, you should always disconnect the spark plug wires to ensure your safety:
- Inspect the shear pins: Shear pins are intended to break in order to prevent further damage to the auger, so you should always inspect them at the beginning of the year. Because they are designed to break, you should also keep a few spare shear pins on hand to avoid being stuck in a snowstorm with a broken snowblower
Shop Manufacturer-Approved Replacement Snowblower Shear Pins > - Lubricate the auger shaft: Using a grease gun, grease the auger shaft attaching the gun to the grease fittings. Manually turn the auger to spread the grease around the inside of the auger, wiping away any excess grease that may leak out
- Lubricate the auger cable bracket: Found on the bottom of the snowblower, Clean the cable bracket and apply a spray lubricant to mitigate the risk of damage and rust
- Inspect the auger control: Take your snowblower outside and verify that the auger spins when the control is engaged and stops when it is disengaged. If either of these does not hold true, you will need to adjust the auger tension. The process for this varies from model to model, refer to your owner’s manual to determine how to adjust the auger tension on your snowblower.
Wrap-up and Cleaning
We hope that this article helped you get your snowblower ready for the winter! Taking the time to maintain your snowblower regularly not only improves the performance, but it could end up saving you hundreds in replacement costs!
Now that you’ve prepared the inside of your snowblower for the season, don’t forget to also prepare the outside. To prevent rust and unnecessary wear, you should be drying and cleaning your snowblower after every use, as well as a deep-cleaning at the beginning of the season.
Using a rag and a degreaser spray, clean all external parts of your snowblower. If the cleaning gets difficult, use a brush but use caution to not damage the paint. If you find any paint chips while cleaning, apply a small amount of lubricant to the area to prevent rust.