Tools & Materials
 THE FACTS | THE FIX | THE FINISH
If leaking seals and service bills are distressing your compressor, it's time to face the fix. Whether you are adding rooms to your home or air to your tires, eReplacementParts.com provides the parts, procedures and facts you need to fearlessly fix what fails you.
Primary pump components inside this compressor include the piston and rod assembly, the cylinder, cylinder gaskets, the valve plate and the pump head. These components work toward a single purpose: pressure-building. Damage to any of these components can trigger symptoms such as the inability to build sufficient air pressure, frequent or constant pump operation, or a total loss of air pressure.
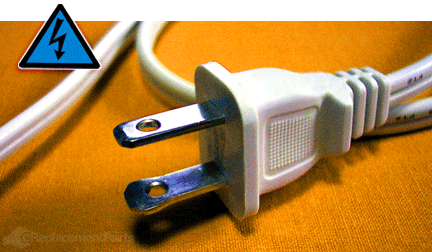
If a low-pressure system is threatening to drain the air out of your project, this article will show you how to easily rebuild the pump in your Ridgid Tri-Stack air compressor. THE FACTS | THE FIX | THE FINISH DISASSEMBLING THE PUMP [top] ! Unplug the machine.
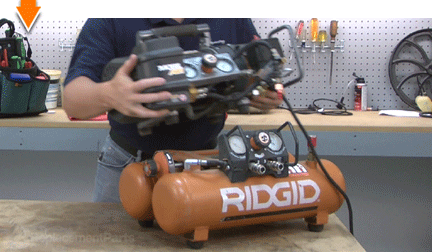
 1. Remove the compressor from the main tank.
Disconnect the unregulated air hose from the main tank.
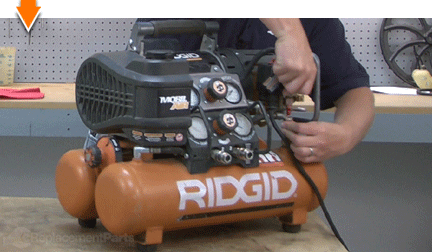
Pull the lock/release knob and turn counterclockwise to the unlock position.
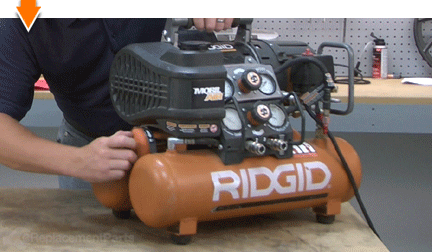
Lift and remove the compressor from the main tank assembly.
 2. Remove the pump housing cover.
Remove the four retaining screws.
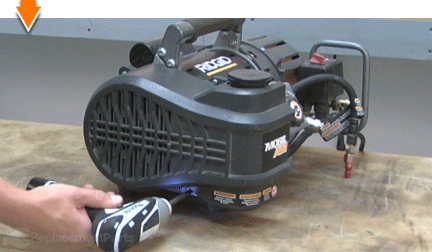
Remove the pump housing cover.
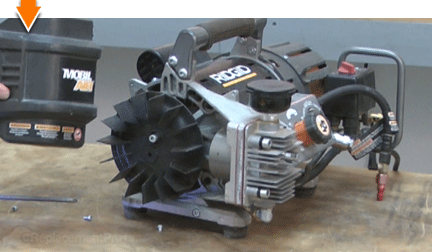 3. Remove the cooling fan.
SPECIFIX: This cooling fan contains additional mounting holes to accommodate installation on multiple compressor models. As such, note (or inscribe) the location of the current mounting hole to ensure proper reassembly.
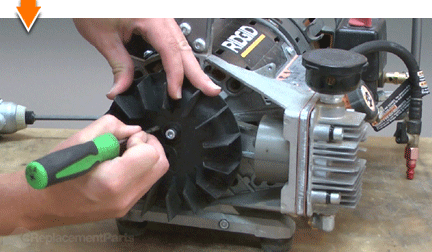
Insert a screwdriver through an unused hole on the cooling fan. Rotate the fan until the screwdriver binds against the side of the connecting rod. This will prevent the fan from rotating when you remove the bolt.
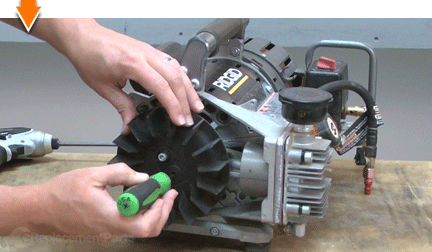
Remove the retaining bolt.
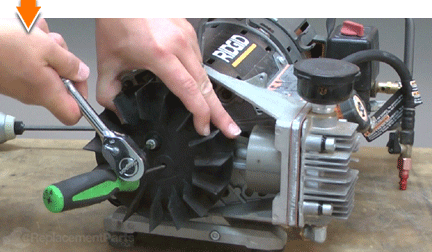
Remove the cooling fan.
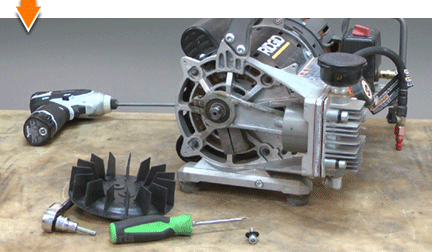 4. Remove the air tube from the pump.
Use a wrench to loosen the compression nut.
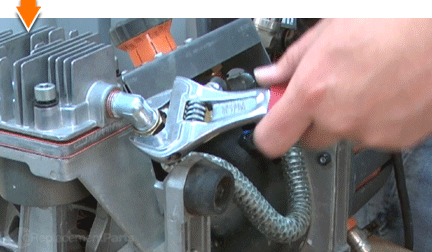
Disconnect the air tube from the pump outlet.
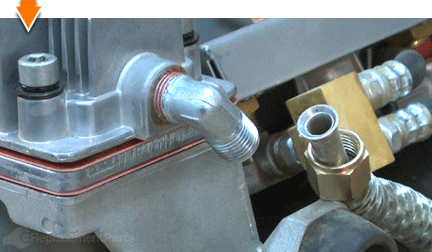 5. Remove the mounting bolts from the pump.
Use a hex wrench to extract the four bolts from the pump assembly.
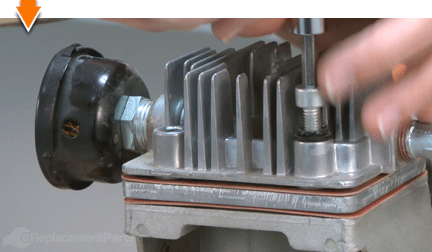 6. Disassemble the pump.
FIX TRIX: Take photos or notes to document the steps as you remove each of the pump components. This will ensure that you install the new components in the correct order.
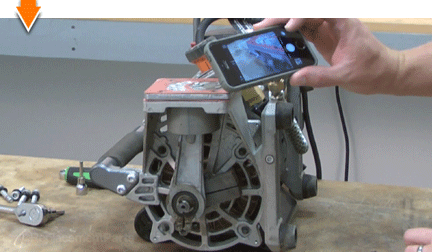
Remove the pump head.
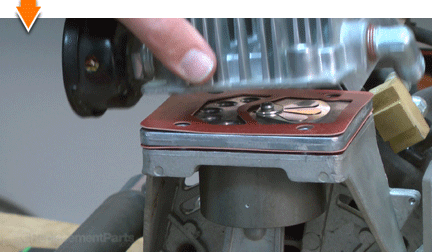
Remove the head gasket.
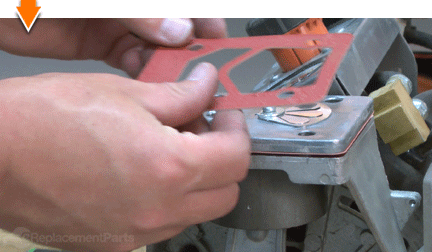
Remove the valve plate.
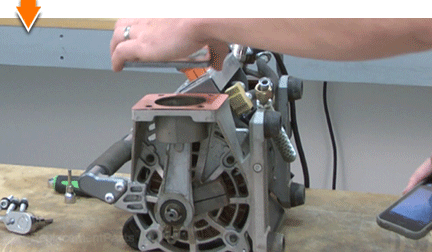
Remove the lower cylinder gasket.
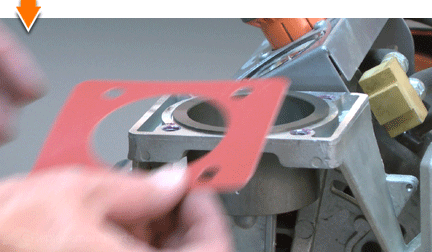
Remove the cylinder.
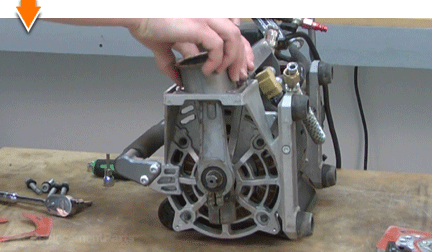 7. Remove the piston assembly from the motor.
Loosen the locking bolt at the bottom of the connecting rod.
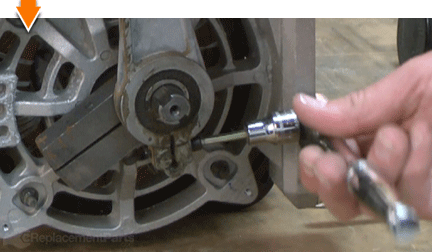
Strike the end of the motor shaft with a rubber mallet while applying outward pressure to the bottom of the connecting rod.
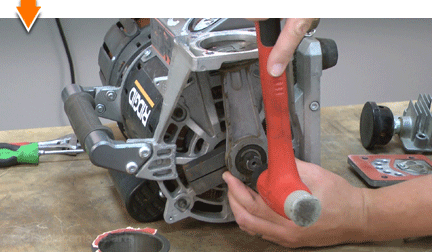
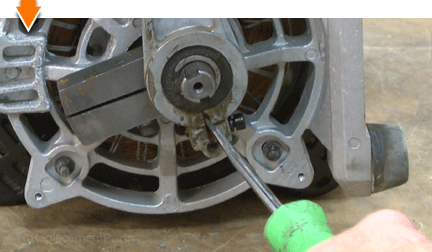
FIX TRIX: If the connecting rod cannot be removed after multiple strikes from the mallet, insert the blade of a screwdriver into the slot at the base of the rod assembly and twist the blade to loosen the connection. Repeat these steps as necessary.
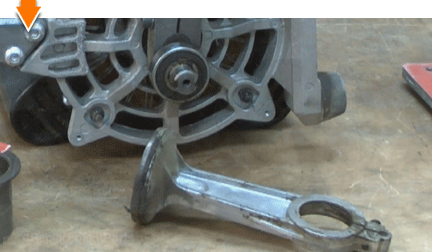
Remove the piston assembly from the motor.
 INSPECTING THE OLD COMPONENTS [top]
8. Inspect the old pump components.
SPECIFIX: Although the pump rebuild kit replaces all of the following components, you may wish to inspect the old components to determine the specific cause of failure.
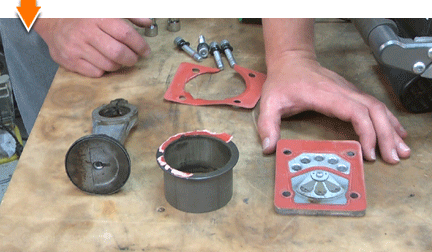
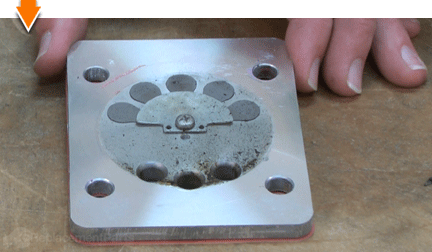
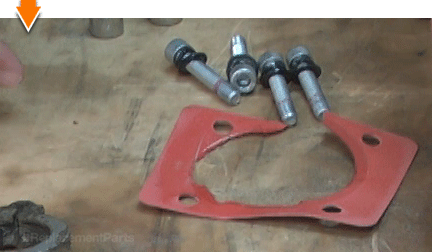
Valve Plate: Inspect the valves on the valve plate for damage, wear or deterioration.
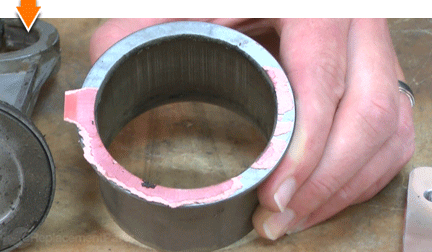
Cylinder: Inspect the cylinder for damage or deterioration. Common signs of cylinder damage include grooves or tracks along the inside of the cylinder sleeve.
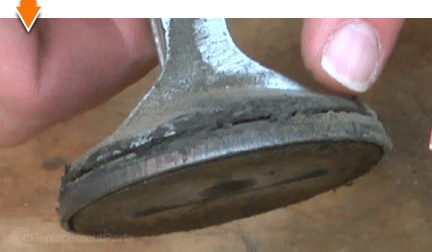
Piston Assembly: Inspect the piston ring for damage or deterioration. Worn-out seals on the piston rings are one of the primary causes of pump failure.
Gaskets: Inspect the gaskets for damage, wear or deterioration.
 REBUILDING THE PUMP [top]
9. Install the new piston and cylinder.
Insert the base of the connecting rod through the cylinder.
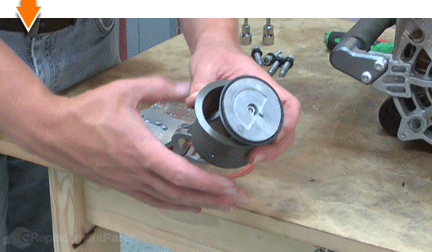
Position the flange of the cylinder flatly against the edge of a work bench or table.
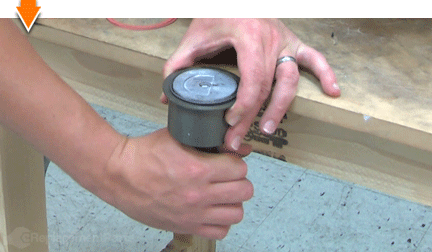
Hold the cylinder firmly in place while pulling the piston assembly (from the bottom) into the cylinder sleeve.
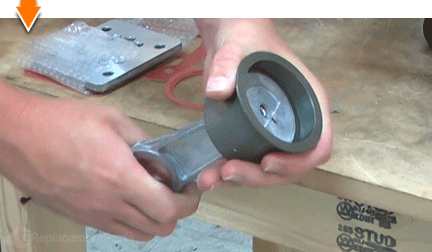
Install the three new cylinder O-rings onto the cylinder. The O-rings should seat flatly against the flange.
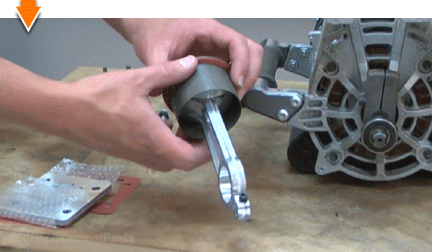
Install the new piston and cylinder assembly into the compressor.
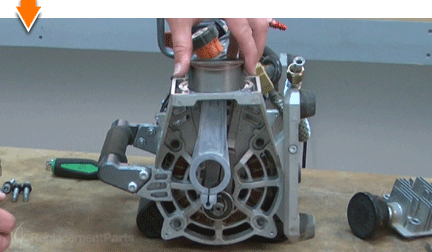 10. Install the connecting rod to the motor shaft.
Set the counterweight in perpendicular alignment (90 degrees) with the connecting rod.
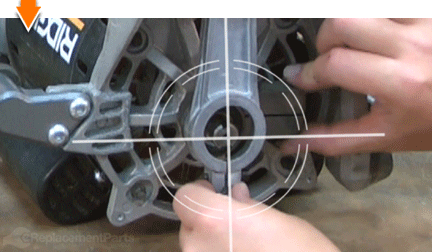
Tap the connecting rod with a rubber mallet to seat it firmly on the motor shaft bearing.
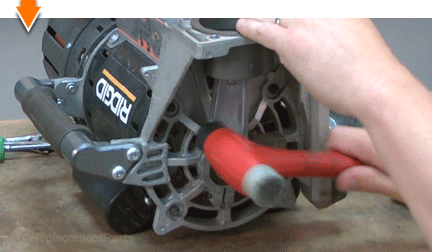
Secure the connecting rod to the motor shaft bearing with the bolt.
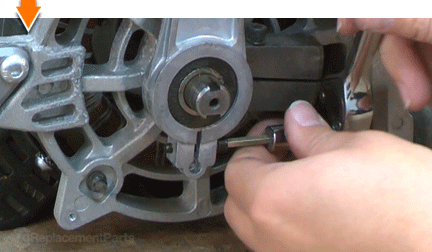 11. Install the new pump components.
SPECIFIX: Use the photos or notes taken earlier to ensure correct assembly.
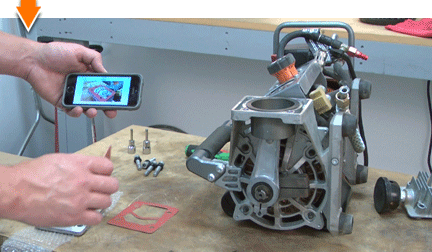
Install the new cylinder gasket.
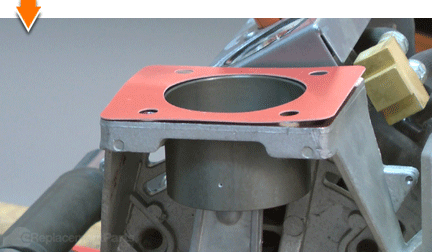
Install the new valve plate.
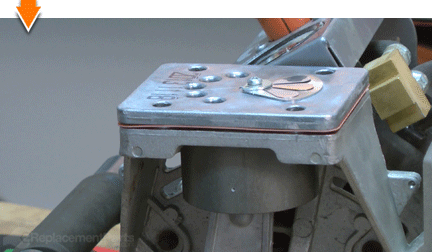
Install the new head gasket.
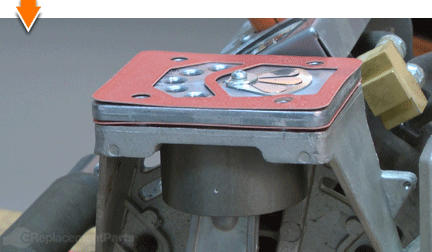
Install the pump head.
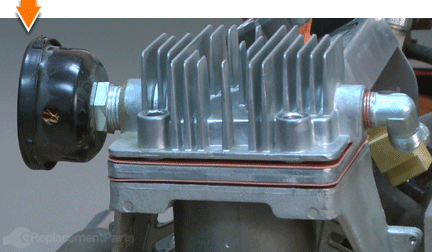 12. Reinstall the pump head bolts.
SPECIFIX: Although the manufacturer does not provide torque specifications for this model, the bolts should be tightened evenly in a cross pattern for best results.
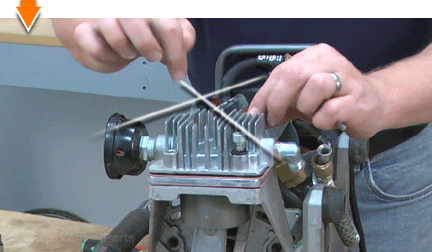
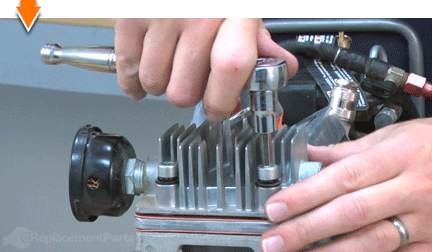
Install and hand-tighten the four pump head bolts.
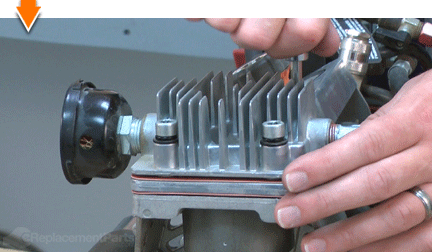
Tighten the bolts in a cross pattern (working diagonally from one to the next).
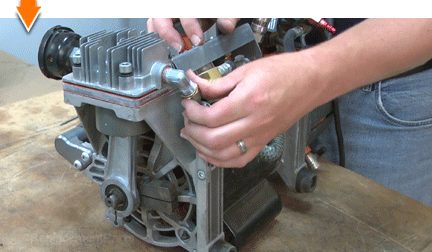
 13. Reinstall the air tube.
Reconnect the air tube to the pump outlet.
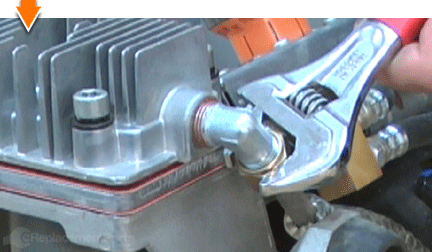
Secure the compression fitting with a wrench.
 14. Reinstall the cooling fan.
Align the long side of the offset (on the fan) with the counterweight (on the motor).
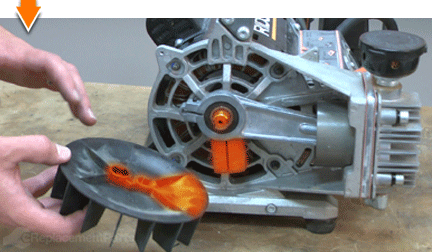
Secure the fan with the bolt.
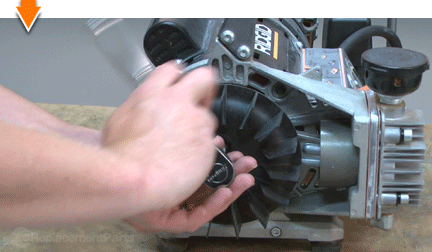 15. Reinstall the pump housing cover.
Install the housing cover.
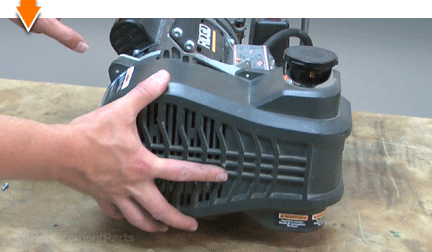
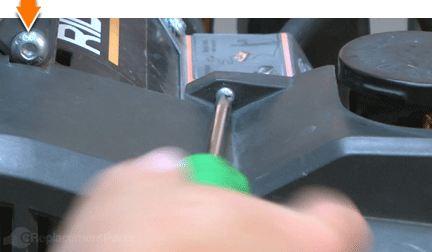
Secure the cover with the four screws.
 16. Reattach the compressor to the main tank.
Lift and set the compressor onto the main tank assembly.
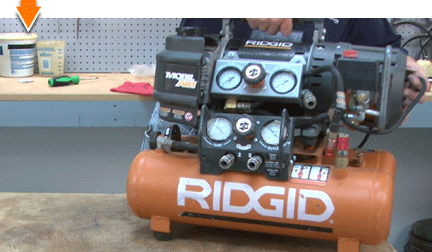
Turn the lock/release knob to the lock position. Lift the unit slightly to ensure that the two halves are securely locked together.
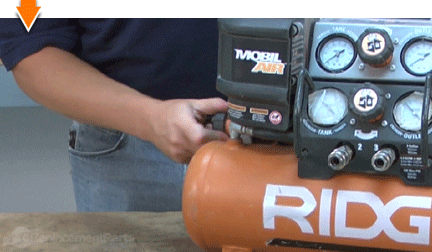
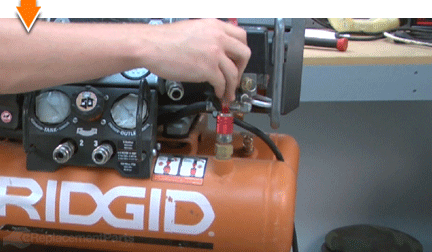
Reinstall the unregulated air hose to the air intake coupler on the main tank.
 THE FACTS | THE FIX | THE FINISH
A well-maintained air compressor can mean the difference between performance under pressure, and under-pressured performance. But you don't have to empty your pockets to keep your air tanks full. As you just learned, rebuilding a compressor pump is simpler than you think, especially when you follow our step-by-step guides. Not only did you refresh compression at a fraction of the cost of replacement; you have inflated your ability to fearlessly face the next fix, regardless of the pressure involved. Find your next fix here. [top]


