Why Read This Article?
Finish Nailer Repair - Replacing the Driver Guide (Ridgid Part # 79004001022)
Article Breakdown
Finish Nailer Repair - Replacing the Driver Guide (Ridgid Part # 79004001022)
Tools & Materials
- Open-ended wrench
- Flat-head screwdriver
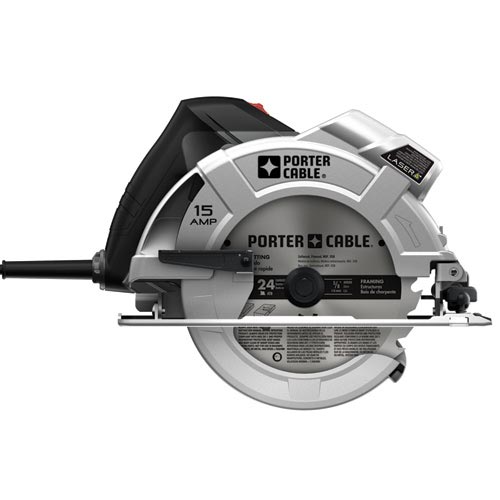
Remember to use eReplacementParts.com's Porter Cable parts finder to find the right parts for your Porter Cable power tools.
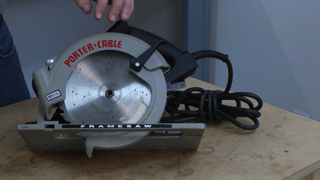
For this article, we used a Porter Cable circular saw. Some saws will be similar and others will use a different type of guard spring, so the repair may not follow these instructions exactly.
Replacing the Blade
When installing and removing your saw blade, remember that the nuts use opposite threading: lefty tighty, righty loosey.
1. Remove the saw blade
Remove the nut that secures the blade to the saw.
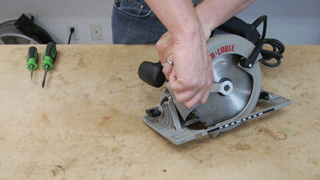
Now you can remove the saw blade.
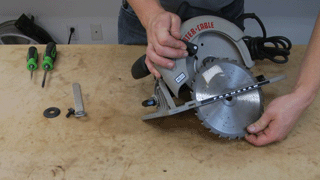
You should also remove the flange that rests between the saw blade and saw body.
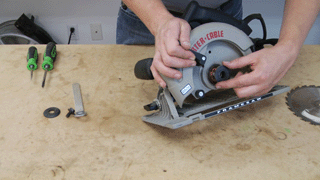
2. Remove the guard
Use a flat-head screwdriver to pry up the guard retaining ring.
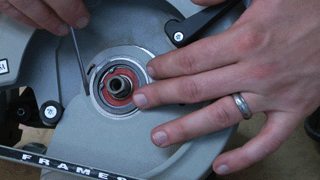
Now you can pull the guard away from the saw.
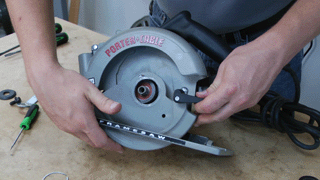
3. Replace the guard
Use your screwdriver to pop the hooked end of the spring into the hole on the guard cover.
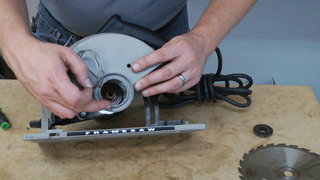
Wind the spring so that it nestles into the housing on the guard.
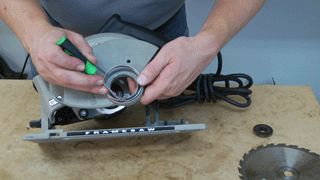
Now you can mount the guard onto the saw.

Use your screwdriver to slide the other end of the spring into the hole on the saw body.
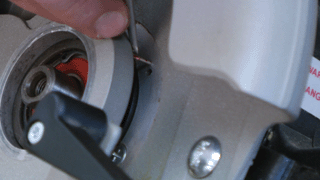
Now rotate the guard around to seat the spring.
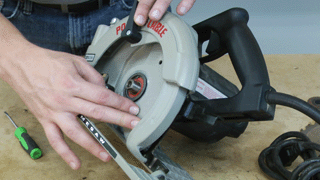
Replace the retaining ring to secure the guard.
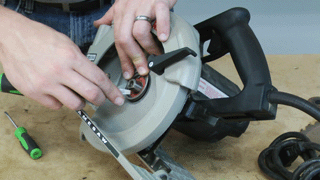
4. Reinstall the blade
First set the flange back in place.
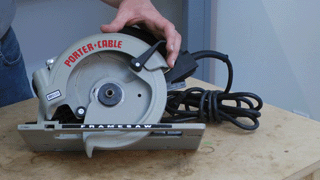
Then add the blade and tighten down the nut to finish the repair.
[Back to Top]
Conclusion
Replacing your Porter Cable circular saw guard is about as easy as a repair gets. The repair will help keep your saw blade properly covered when it's not actually cutting, which means your saw will be safer than if you used it without the guard.
Before you begin any power tool repair, make sure you have the right parts for the job by using our power tool product number search.
[Back to Top]
What We're About


