


Why Read This Article?
Finish Nailer Repair - Replacing the Driver Guide (Ridgid Part # 79004001022)
Article Breakdown
Finish Nailer Repair - Replacing the Driver Guide (Ridgid Part # 79004001022)
Video
Tools & Materials
- wrench
- some flat head screwdrivers
This repair can take less than ten minutes and will save a snowblower owner a handful of money.
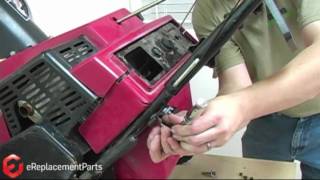
Check out the demonstration video as an additional, visual repair guide.
Remove the Old Primer Bulb
The control plate has to come off of the snowblower in order to remove the primer bulb. This is because the primer assembly must be pressed out of the back side of the plate.
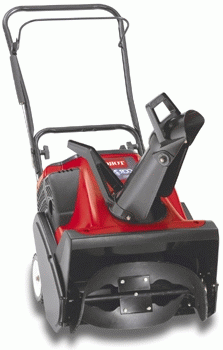
Most Toro single stage snowblowers have very similar designs, so these steps will apply to nearly every Toro single stage machine.
1. Remove the control plate cover.
The first step in removing the control plate is to first remove the control plate cover.
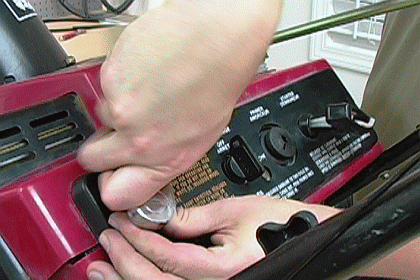
To remove the control plate cover, first remove the three fasteners that hold it to the control plate.
Next, remove the ignition key from the control plate cover. Now the control plate cover can be lifted from its position.
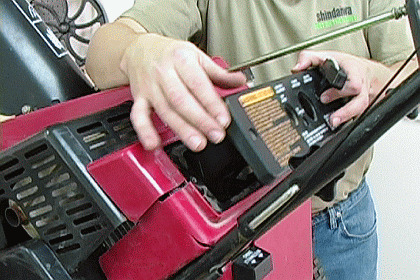
The cover will still be attached to the snowblower's starter rope, so you will have to wind the rope around the handle bars to keep it and the control cover out of the way during the remainder of the repair.
[Back to top]
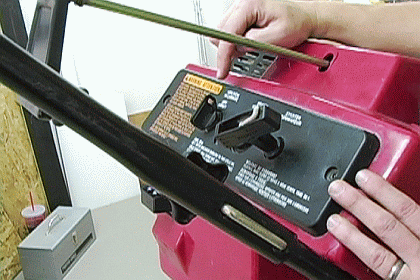
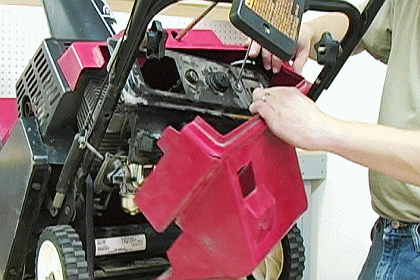
2. Remove the front cover.
The front cover also holds the control plate down. And two handle bar screws hold the front cover to the machine.
Use a wrench to remove the two handle bar screws, one on each side of the snowblower.
Now the front cover can be removed. It may take a little coaxing to get it away from the handle bars.
 [Back to top]
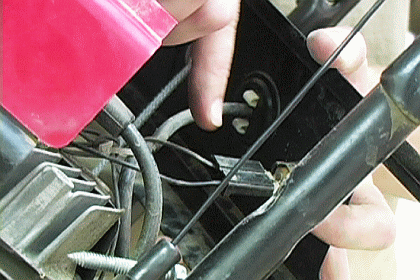
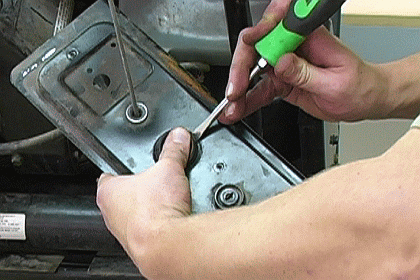
3. Carefully remove the control plate.
[Back to top]
3. Carefully remove the control plate.
It's time to lift the control plate away from the snowblower, but this has to be done carefully.
The back of the snowblower's choke lever attaches to the carburetor.
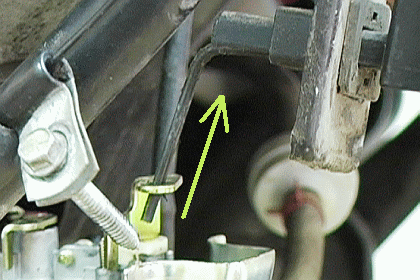
While lifting the control plate away from the machine, the choke lever must be carefully threaded out of the carburetor.
[Back to top]
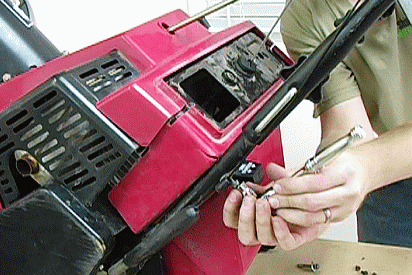
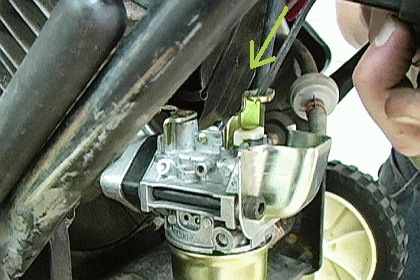
4. Separate the ignition wires and the fuel line from the control plate.
The control plate still won't be able to turn over because it will still be attached to the machine by a fuel line and a pair of ignition wires.
Remove the ignition wires by pulling their attachment clip out by hand.
It will take a little more work to get the primer fuel line out.

It's risky to try to pull the fuel line out by hand, because it may easily break the line.
Instead, try using a flat head screwdriver to gently push the line away from the primer. It may take a little longer, but it poses less danger to the line.
[Back to top]
5. Press the primer assembly out.
Now that the control plate is completely free, turning it over to access the back of the primer assembly is no problem.
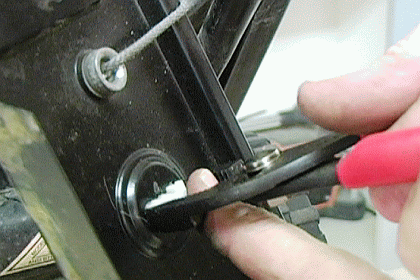
In order to press the primer assembly out of the control plate, there are two tabs that need to be pressed inward.
Use a pair of pliers to press the primer tabs while pushing the assembly out of the plate.
[Back to top]
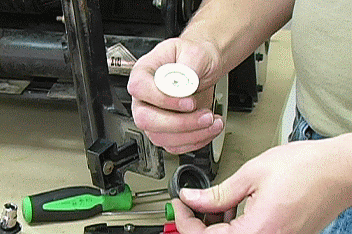
6. Separate the old bulb from the primer base.
The primer assembly is made up of two pieces, the soft rubber bulb cap and a hard plastic base.
Pull the old primer bulb off of the base so that the base can be reused.
 [Back to top]
Install the New Primer Bulb
Most of this part of the repair involves simple reassembly. but getting the front cover back on the machine can be a little tricky.
1. Fit the new primer bulb onto the primer base.
The new bulb will usually fit a little tightly (which is good), so it may be necessary to use something like a small flat head screwdriver to work the bulb cap over the base.
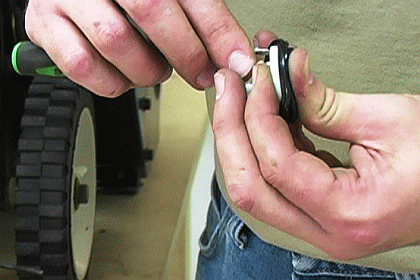
Take care not to puncture the new primer bulb when doing this.
[Back to top]
2. Press the new bulb into the control plate.
Press the primer assembly back into position on the control plate.
It may be necessary to use another flat head screwdriver to push the primer's tabs in while pressing the bulb downward.
 [Back to top]
3. Replace the ignition clip and the primer fuel line.
Both the ignition wires and the fuel line will easily fit back into position on the reverse side of the control plate without the use of any tools.
4. Replace the control plate.
The control plate can now be returned to position.
Remember that the choke lever needs to be threaded back on the carburetor as the plate is adjusted into place.
 [Back to top]
5. Fit the red cover back onto the front of the snowblower.
This may be the trickiest part of this repair.
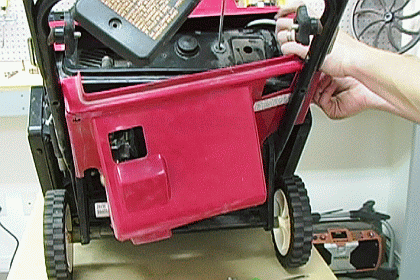
Trying to ease the cover around all the necessary parts and back into place may take a few attempts, but a little patience will go a long way.
[Back to top]
6. Return the handle bar fasteners.
This will finish securing the front cover to the machine.
7. Replace the control plate cover.
It's finally time to unwind that starter rope from around the handle bars and return the control plate cover.
Make sure to secure the cover down with the three fasteners removed earlier, and last, return the ignition key to its place.
[Back to top]
Conclusion
It's very common to find a snowblower with a cracked primer bulb at the beginning of the snow season, especially if the machine just spend the summer sitting in the garage or shed.
This quick repair will get your Toro single stage snowblower up and running like new again.
Visit our Toro Snowblower Parts page to get a new primer bulb for your Toro snowblower, or type the model number of your snowblower in the search field at the top of this page.
Think about picking up a new spark plug and filter for your snowblower if you already need to replace the primer bulb.
Since the primer bulb repair accesses the necessary areas of the machine to perform a tune-up, performing both parts replacements together is a great time saver.
[Back to top]
What we're about.
