


Why Read This Article?
Finish Nailer Repair - Replacing the Driver Guide (Ridgid Part # 79004001022)
Article Breakdown
Finish Nailer Repair - Replacing the Driver Guide (Ridgid Part # 79004001022)
Video

Tools & Materials


Dust seals leaking? It's time to face the fix. Whether you are a master carpenter or a seasonal sander, eReplacementParts.com provides the parts, procedures and facts you need to fearlessly fix what fails you.
The canister o-rings create a seal between the dust canister and the base. Over time, it's common for the o-rings to harden, crack and break. When this occurs, the canister cannot form a tight seal onto the base, and dust will begin to escape into the air.
This article provides step-by-step instructions for removing and installing the dust canister o-rings on a Porter Cable Quicksand 333 series sander.
Let's get started.
 REMOVING THE O-RINGS [top]
1. Remove the O-Rings.
REMOVING THE O-RINGS [top]
1. Remove the O-Rings.
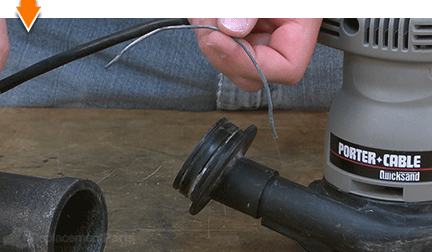
Remove the dust canister from the sander.

Remove the (2) O-rings (and all fragments) from the canister base.
INSTALLING THE NEW O-RINGS [top] 2. Install the O-rings.
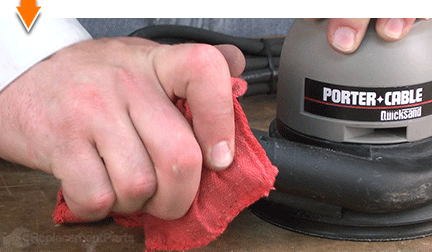
Use a shop towel or rag to wipe away any debris that remains on the canister base.
Lightly coat the new O-rings with silicone grease. This will help the canister slide on and off the assembly more easily, as well as extend the life of the new O-rings.
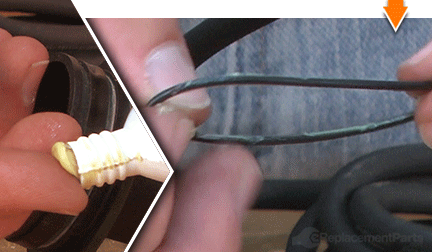
Install the new O-rings into the grooves on the canister base.
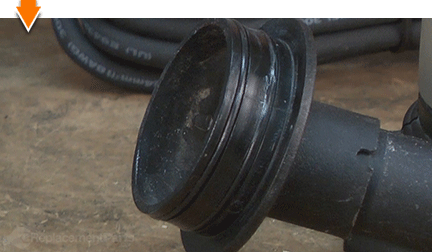
REASSEMBLING THE UNIT [top] 3. Reinstall the dust canister.
Install the dust canister onto the base.

Sanding can be a demanding task. But you don't have to rough-up your accountant to smooth-out your countertops. As you just learned, repairing your own power tools is simple when you follow our step-by-step guides. Not only did you expand sander functionality at a fraction of the cost of replacement; you have taken the edge off all future repairs.
