


Why Read This Article?
Finish Nailer Repair - Replacing the Driver Guide (Ridgid Part # 79004001022)
Article Breakdown
Finish Nailer Repair - Replacing the Driver Guide (Ridgid Part # 79004001022)
Video
Tools & Materials
- Rag
- Cleaning agent
 Find parts and accessories for your air cleaner by visiting our Aprilaire parts page.
Prepare your air cleaner for servicing
Find parts and accessories for your air cleaner by visiting our Aprilaire parts page.
Prepare your air cleaner for servicing
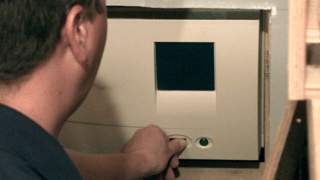
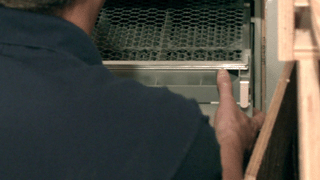
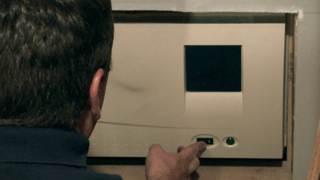
1. Turn the thermostat and power switch off
The switch is usually located on the front of the air cleaner.
2. Remove the cover
There are a few tabs holding the cover onto the body of the air cleaner. Simply pull on the cover and it will come off.
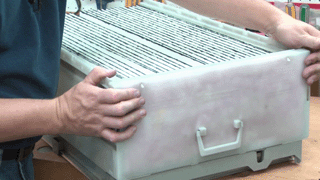
3. Pull the filter unit out of the housing
Pull on the handle of the filter unit and remove it from the housing.
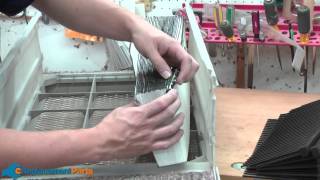
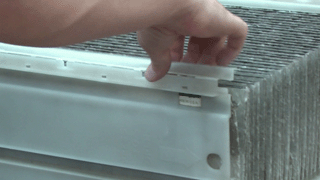
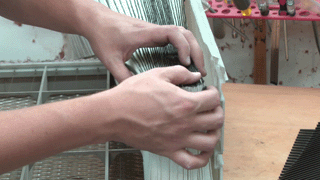
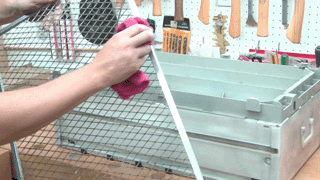
1. Remove the pleat spacers
Give them a little twist and they should pull right out.
![]()
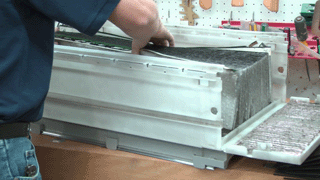
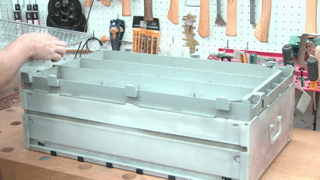
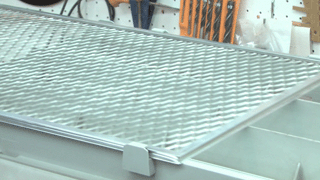
2. Open the ends to the filter unit
Push in on the two tabs on each side of the filter end to open the filter unit.

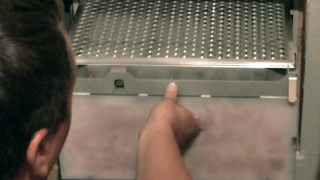
3. Open the hinge strips
Use your fingers to pry the hinge strips up.
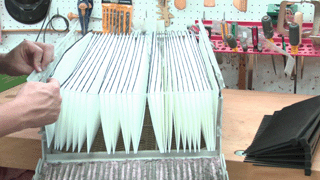
4. Remove the filter media
With all of the tabs and strips released, the filter media can be removed.
5. Install the new filter media
Place the new filter media into the filter tray.
6. Slide the cardboard edges over the tabs
To secure it in the filter tray, you'll need to place the cardboard pieces into the tabs located on each end of the sides--then repeat for the other side.
7. Snap the hinge strips closed
Simply snap the hinge strips closed over the filter sides.
8. Snap the end-panels back into position
Just push them back into position, they should snap right back into place.
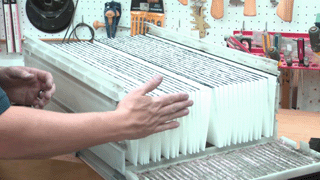
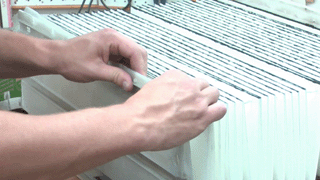
9. Replace the pleat spacers
Make sure when replacing the pleat spacers, you only have one pleat between each of the spacers.
![]()
Cleaning the control electrode
1. Flip the filter unit over
This gives you access to the control electrode.

2. Slide the control electrode off of unit
It shouldn't be secured with tabs. Simply slide it off.
3. Wipe clean with rag
This is all you need to clean the control electrode.
4. Replace the control electrode back onto the unit
Slide it back on the same way it was removed.
Prepare your air cleaner for use
1. Replace the filter unit into the air cleaner
Make sure to slide it back in with the control electrode side up.
2. Replace the cover
It will just snap right back onto the front of the unit.
3. Turn the switch and thermostat to their original positions
You're all done!
[Back to Top] Conclusion By following each step in this article, anyone should be able to perform routine maintenance on your air cleaner. And remember that by doing this at home, you're saving hundreds of dollar's compared to calling a repair man. Do you need parts for a different air cleaner? We've got them here. [Back to Top] What We're About
