Troubleshooting Smoke and Fire in Power Tools
If your power tool is producing smoke or even fire, it can be quite alarming. Not to worry, we will walk you through how to troubleshoot this symptom and determine what the cause may be. Follow along as our expert Dave examines an old grinder experiencing this very symptom, and how he concludes the exact parts that need replacing to get it back up and running again!
Take Apart the Tool
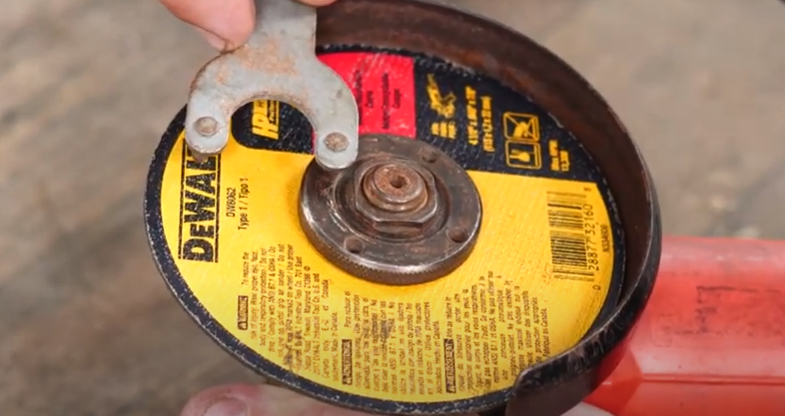
The first step in diagnosing a smoking power tool is to take it apart and inspect the parts inside. The first step in taking apart any tool is getting rid of all the extra parts that you don’t need. For the grinder we used as our example, we unscrewed the handle and used a wrench to remove the blade (following the arrow if applicable), and if no arrow is there, power it up to see which way it spins. When removing blades, whether it’s a grinder, circular saw, or pretty much anything, it is usually a very similar process. Whichever way the blade turns is the same way you have to turn the nut to remove it. Lock the wheel in place, and then remove the nut with your wrench. Remove the nut, wheel, and then the second nut, and finally the guard. For the grinder we used as an example, the motor assembly is held in place with four screws, which will need to be loosened.

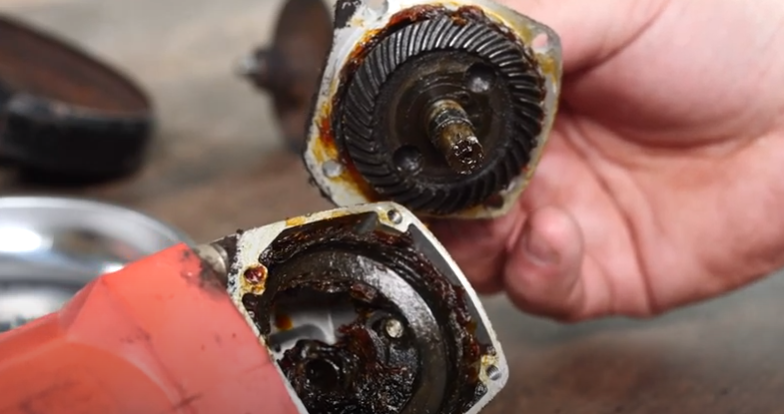
After removing the gearing head this will expose the gears and allow you access to the screws underneath. You’ll want to give the gears a quick inspection to make sure they are still in good condition. Typically, gears don’t cause fire and smoke, but it’s always good to give them a quick look while you have the tool apart.

Now that the gearing head is removed, you should now be able to reach the four screws underneath, which will need to be removed. This will allow you to remove the entire head and armature from the tool.
Check the Armature and Bearings
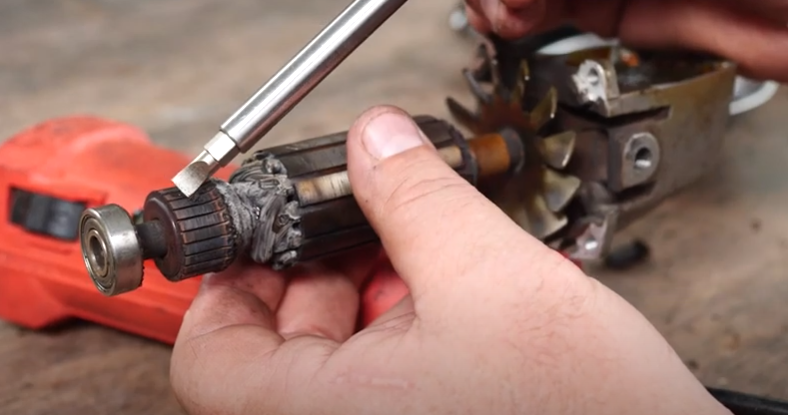
The first thing we noticed when looking at the armature is a lot of black discoloration and soot from the fire. It also has some seriously worn areas where it meets the carbon brushes on the commutator. The wiring also looks discolored and shorted. Check the bearing to see if it has any wobble and if it is still spinning freely. In the case of our example, the bearings were not the reason for smoke and fire in this tool, and they are in good enough condition to keep them. To be absolutely sure that the armature has failed, you may also want to run a resistance test, but in our case, the fire caused too much damage, and it is not salvageable.

Check the Carbon Brushes
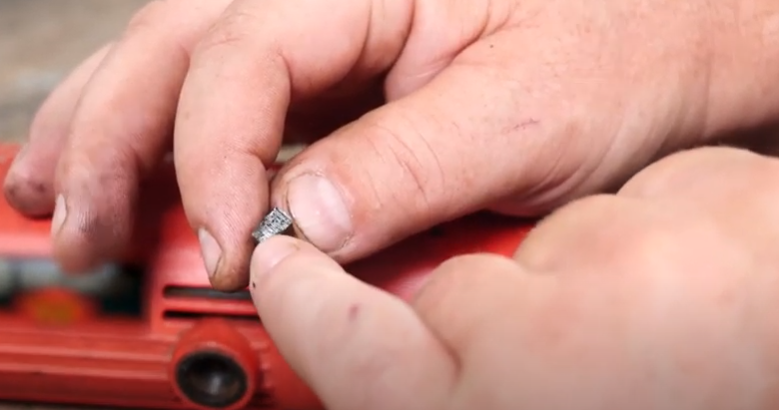
Inspect the carbon brushes for signs of wear or damage. In our example, the carbon is almost worn down to nothing, so the brushes needed to be replaced. Our best guess for this tool is that because the carbon has dwindled down to almost nothing, this caused it to make contact with the metal on the commutator, which shorted it out, and resulted in smoke and fire.
To remove the brushes, there is an access point on the side of the cover, which will need to be removed, and the brushes should fall right out, or you may need a pair of needle-nose pliers to pull them out.

Overall, we will need to replace the armature (we can preserve our old bearings) and both carbon brushes. When your tool is experiencing smoke and fire, you will find in most cases, this is due to an electrical issue. A mechanical issue usually presents itself with squealing or other noises, which indicate worn bearings or bushings. If you are in need of any electrical or mechanical parts to get your smoking tool back up and running, eReplacementParts carries all the parts you need. For more troubleshooting tips, check out our YouTube channel.


