How to Replace Power Cords on Your Power Tools
Power tool cord replacement is one of the most common problems we see. If you are new to repairing power tools, changing out a damaged power cord can feel like a daunting task. You will be happy to learn that it is actually a fairly quick and easy repair once you learn the process. Follow along to our article below and video for all you need to know about replacing a power cord with a brand new one. This process will apply to most power tools, so this tutorial will help guide you once you are ready to take on the challenge!
Remove the Old Wires and Grommet
The first thing we will do is open it up. Start by cutting off the cord (you’ll be replacing it anyway) so you can get it out of the way. Loosen up the screws and open the cover. Cut the wires off from the grommet. You’ll notice either two wires (for a two-prong cord) or three wires (for a three-prong cord). Make sure the wires have been cut so that they are completely flush to the grommet on both sides. Take that grommet to a drill press and drill right through the center, and then you can re-use that grommet with a different cord.
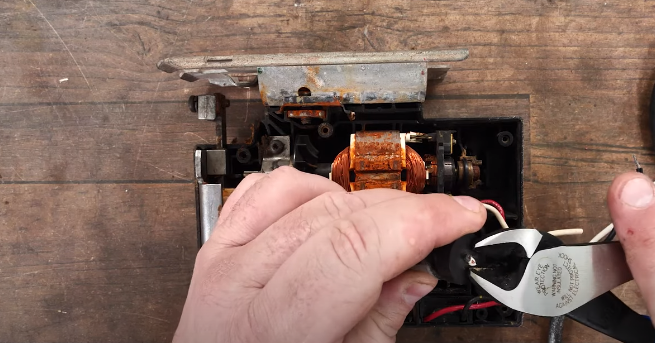
Remove the Wires from the Switch
The switch on our example tool has wires that are pushed in and locked. A simple solution to remove those wires without having to open the switch is using a needle. Hold the needle with a pair of pliers and place it in between the wire and switch opening, looking for the spring. Wiggle the needle around until you are able to pop out the wire from the switch.
Now you’ll need to make sure you have long enough wires being exposed from the housing. If you do not, figure out how much wire you need, take your knife and cut around the housing, and score it, being very careful not to actually cut the wires inside. If there is string material inside, that can be removed by just cutting it off, so it is flush. Make sure the grommet is on your new power cord, and the proper wire length was accomplished.
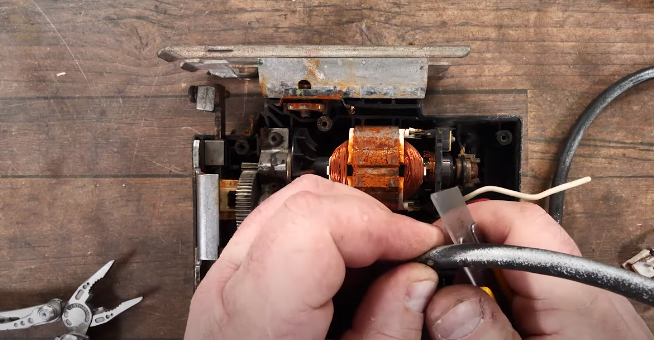
Strip and Solder the Wires
Line up the wires in the stripping tool and make your cuts on all the wires. Twist-up the wire ends on the black wire and dip it in flux. Solder the ends until the flux is starting to melt and then let it cool down once it looks ready to go. Make any necessary cuts so it fits the switch properly. Push that black wire into the switch until it locks.
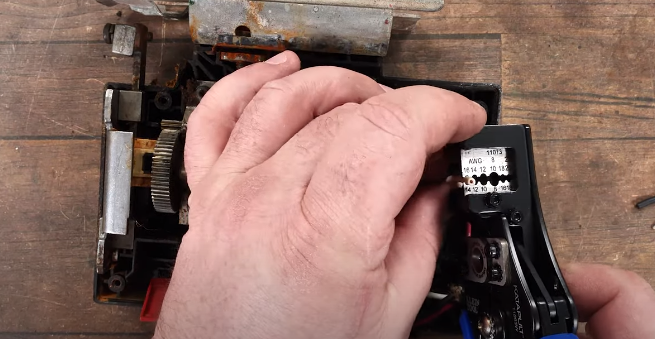
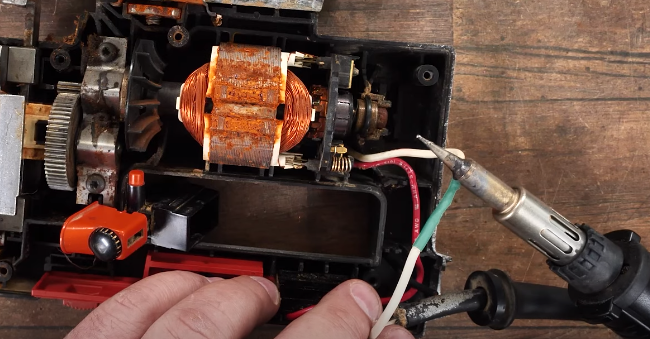
For the white wire, we added some heat shrink (that has a bit of movement) to the wire, moving it as far away from the joint as we can so the heat doesn’t affect it. Crisscross the white wire inside the tool with the one from the power cord, wrapping them over each other so they will not pull apart. Go underneath the wire to heat it up, putting a little bit of solder on the bottom to give it better connectivity. Solder on the top half of the wire as well. Once the connection is good, let it cool.
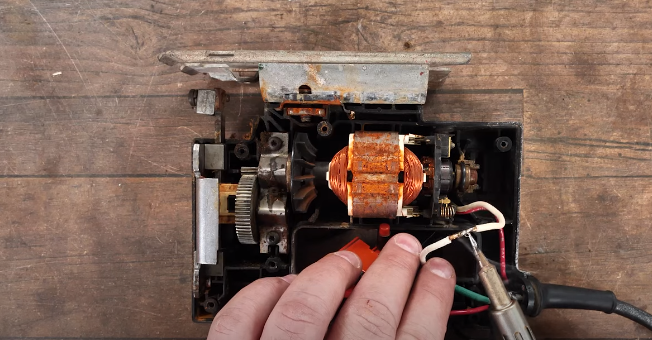
Once it is cool to the touch, take the heat shrink and slide it over top of the two wires. Take your soldering iron (or heat gun), and without touching it, just come very close to it and let the radiation heat shrink it. Once it is shrunk, make sure there are no openings and give it a good tug to make sure it is secure.
Reassemble the tool by closing it back up and giving the tool a quick test to make sure it is working properly. We hope this gave you the skills and confidence you need to try a power cord replacement on your own tools! Be sure to subscribe to our YouTube channel for more power tool tips and repair advice!


