How to Sharpen Your Lawn Mower Blade
A perfectly cut lawn starts with a properly maintained lawnmower blade. When grass is cut with a sharp blade, it cuts each blade cleanly, allowing the grass to rebuild quickly. A dull blade tears the grass, causing harm to it and putting it under stress. This can make the healing of the grass much slower, which provides room for disease. Your mower blade should be inspected at least once a season, whether it is the start of the mowing season, the middle, or the end.
How to Tell if You Need to Sharpen Your Mower Blade
Often the first signs of a dull blade are evident from your lawn. A sharp blade allows the blades of grass to heal promptly, and only about 1/32 inches to 1/16 inches of the tip will turn brown. A dull blade tears the grass, making it harder to heal, resulting in 1/8 inch or more of the tip turning brown. It also doesn’t cut the grass as finely, which can result in clumps of grass on the lawn. A sharp blade also ensures a more efficient cut, by powering through the grass with much less effort than a dull blade. Faster blade speed means increased engine efficiency and a longer engine life!
How to Remove Your Mower Blade
Once you have determined that your blade is in fact dull, you will need to remove it. Start by turning the mower onto its side, and so that the carburetor is facing up, so the fuel doesn’t spill. If your model has a vented gas cap, it may be necessary to drain the fuel first. This is particularly important for newer models that have a charcoal filter in the cap. If fuel gets into this filter, it will need to be replaced.
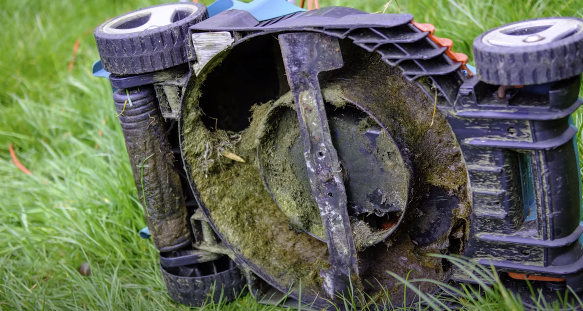
Once the mower is tipped onto its side, the blade can be removed. The blade is most commonly held in place with one or two nuts or bolts. You will need a socket wrench to remove those fasteners. When you are removing the bolt, always look at which side is the sharp side and which direction it will be turning, which tells you which way to turn the bolt, and this rule applies to most blades. Take note of any washers or plates to ensure the proper reassembly.
Remove Rust and Debris from the Blade
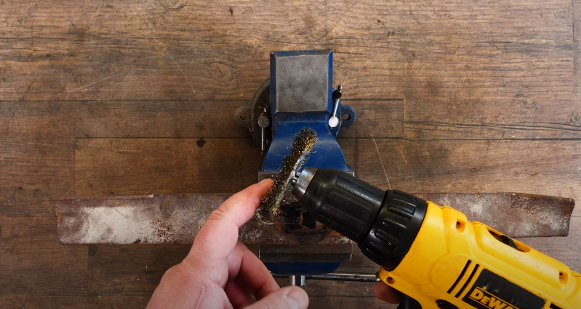
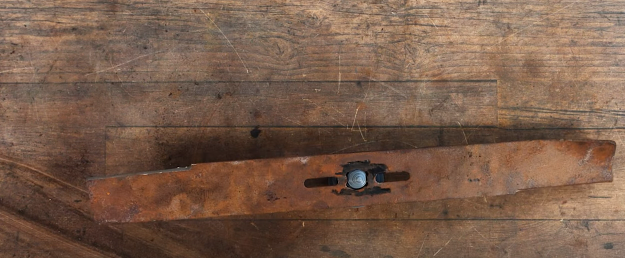
Once the blade has been removed, you will start by removing any loose rust on both sides with a wire wheel, making sure to wear goggles or a face mask. Use a clamp to hold it securely in place as you do this. Don’t worry about getting right down to the metal, it’s just the loose rust and dirt you will need to remove.
How to Sharpen Your Lawn Mower Blade
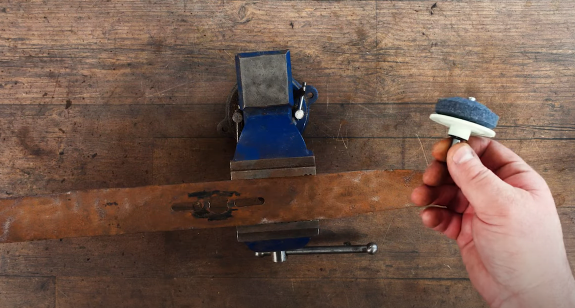
When it comes to sharpening the blade there are a few methods that work, so this will depend on your own personal preference or perhaps the tools you have around the house. The first option is using a small wheel sharpener, which attaches to your drill and can be purchased at your local hardware store, they are about five to ten dollars.
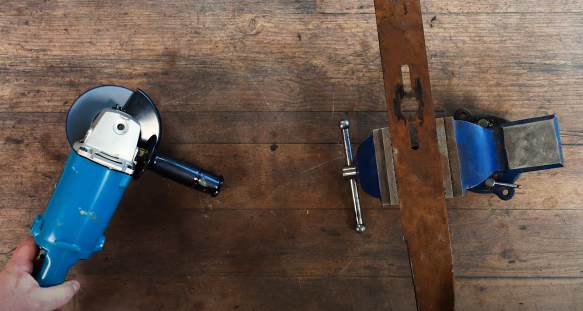
Another option is a file or a grinding blade. Our in-house expert, Dave, prefers the grinding wheel. As you can see demonstrated in the video above, it just takes about one or two passes to expose the metal and create the sharp edge we are looking for. Once your blade has the bevel and sharpness you want, you will need to flip it over and do the same for the other side.
Balance the Blade and Reassemble
The very last step we want is to balance the blade. For this, you will need a spike and the cup that sits on top of it. Place the blade evenly on the cup and sit it on top of the spike. Take note of which side appears heavy and light. The side that drops more to the surface will require more grinding to ensure the proper balance. Once that balance is achieved, spray paint it, and reassemble it back onto the mower.
Now that your blade is sharpened and cleaned up, it’s time to put it to the test! Do you notice a difference when cutting your lawn? Check out our video above and leave a comment, we would love to hear from you. For more lawn care, repair, and maintenance tips, check out our YouTube channel.


