Microwave Tips & Tricks: Hacks, Cleaning, and Troubleshooting Advice
The microwave is one of those small kitchen appliances that can tackle any task you throw at it! Reheat dinner? Obviously! Quickly melt some butter? You bet! Make crispy potato chips? Wait, what? Yes, your microwave can even do that. With any appliance, however, comes regular cleaning and maintenance to keep it working its best. In this article, we’re going to share our complete guide to microwaves – cleaning, troubleshooting, and even some fun tips and hacks.
How to Clean Your Microwave
Whether you have an over-the-range microwave oven or a countertop version, keeping it clean not only makes it look better but also prevents bacteria buildup on the inside and makes it safer for you.
An easy method for cleaning the interior of your microwave is to take a cup of water and mix in a couple of tablespoons of white vinegar, lemon juice, or dish soap. Set that in the microwave, allow it to heat for two or three minutes, not to a boil, but long enough that it’s good and hot. Then let the steam collect on the interior walls of the microwave.
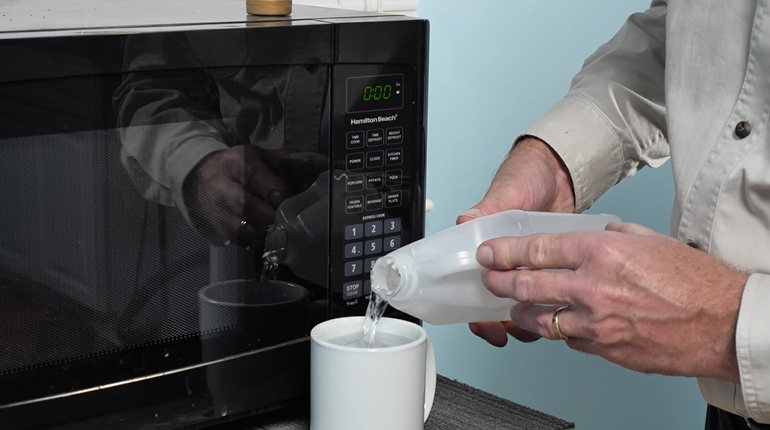
Carefully remove the cup of water and take out the tray and carriage underneath it. Again, use caution as these items may be hot. Then take a clean cloth, and gently wipe down the walls, ceiling, and the base of the microwave. When cleaning the interior of your microwave, take note of the fragile surfaces. You will want to make sure that you don’t use too much pressure when cleaning up those areas. The steam helps to loosen up any burnt-on food, which lets us avoid using any harsh chemicals. Next, we’re going to dry the surfaces with a paper towel.
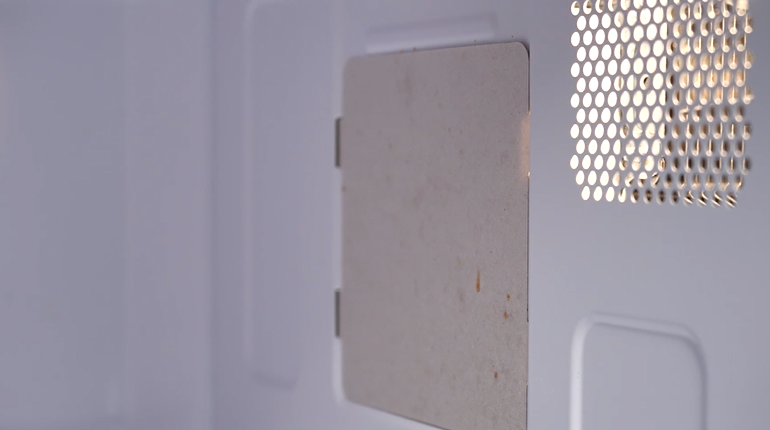
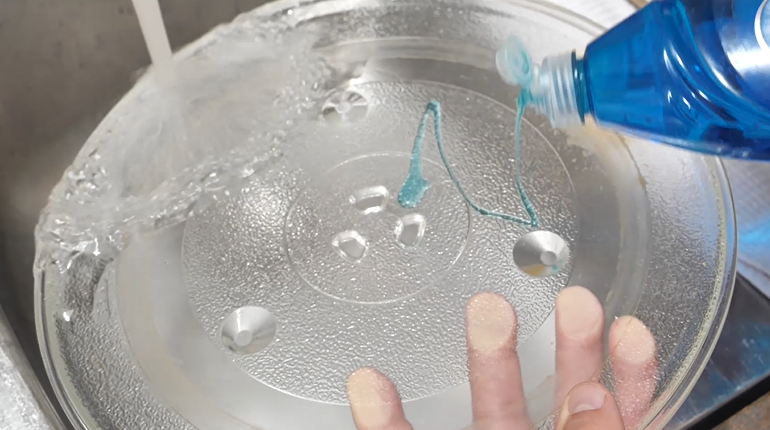
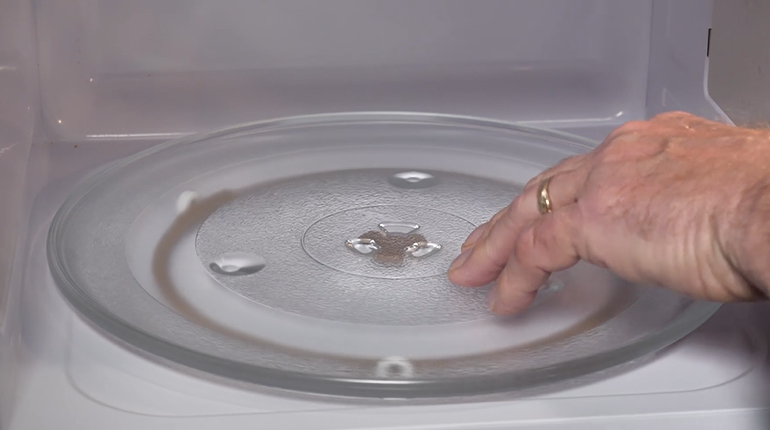
Now that we’ve got the interior nice and clean, our next step will be to clean both the carriage and the glass tray. We can wash those with dish soap and warm water. While you have those parts out of the microwave, check for any damage. If there is, you’ll need to replace them. With the glass tray, you may find that you have some burnt-on food stains. This again can simply be washed using dish soap and warm water and a rag. Once they’re thoroughly clean, dry them off with a paper towel and place the parts back in your microwave.
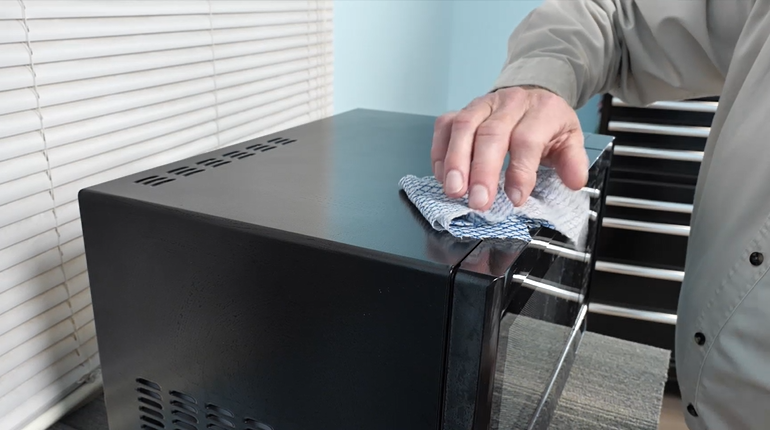
Next, we’ll tackle the interior of the door. Normally we would use a vinegar and water solution, paired with a soft cleaning cloth. Just use that cloth to scrub those surfaces until they’re nice and clean. Once we’ve removed all the stains, once again, you can use a paper towel and dry it off. This same method can be applied to the exterior of the microwave as well. Use the vinegar and water solution and a soft cleaning cloth to wipe down the exterior body of the microwave. If your microwave is a countertop model, you’ll also want to pull far enough forward that you can clean the back as well.
All that remains is to clean the front of our microwave. Typically, we would use a spray-on glass cleaner, but to avoid getting it on our controls, simply spray it on your cleaning cloth and carefully wipe the surface, along with the control pad. And just like that, your microwave is spotless!
How to Troubleshoot Your Microwave
Now we’re going to dive into some troubleshooting tips. We’ll look at some of the components that may cause that symptom, where they’re located, what their function is, and how to troubleshoot them.
Won’t Heat
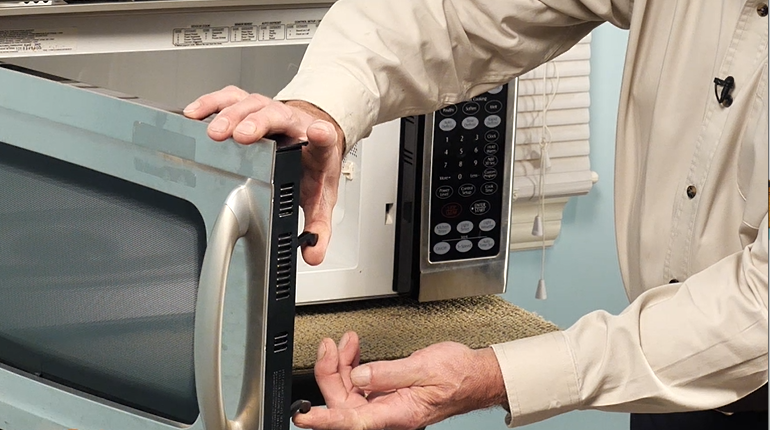
To start, we’ll explore some of the reasons why your microwave may not be heating food. One of the most common causes is related to the door interlock switch. These switches are located inside of the control housing, and they’re used to prevent the microwave from operating when the door is open. They’re activated by the two hooks on the edge of the door, and they fit into the slots on the front of the oven cavity to trip the individual switches. To test if this is causing your heating issue, you need to remove the cabinet, as well as the control panel, then use a multimeter to check for continuity.
Another common cause of a no-heat situation with your microwave could be related to the control board. The function of the control board is to supply power to the high voltage circuit, which consists of a high voltage transformer and a magnetron. These components are what produce the microwave energy in your microwave. If the control board fails to supply power to that high voltage circuit, you won’t get any heat. To check the control board, you’ll need to remove the cabinet and the control board, and then we’ll look for any signs of arching, burning, or poor connections to that board.
One last section of the microwave that may cause a no-heat situation is the high voltage circuit. A high voltage circuit consists of a transformer, a magnetron, a diode, and a capacitor. If either of those components has failed, you will not have microwave energy and therefore no heat in your microwave. To access those components, you’ll need to remove the cabinet, and then we can check for continuity on those components with a multimeter.
Noisy Microwave
Next on our list is microwave noise. One of the most common parts that may cause noise in your microwave could be the drive coupler. This part attaches to the drive motor and rotates the turn tray. If the shaft on that coupler is damaged or cracked, it could cause noise. So, the first thing to do is pull it off and inspect it for any damage.
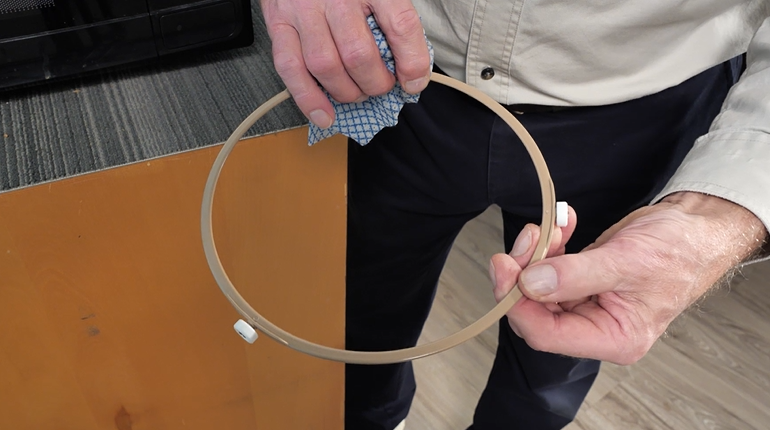
Another common part that causes noise in a microwave could be the defective roller guide or carriage. The roller guide sits just beneath your tray and typically has three wheels on it that allow the tray to rotate easily. If there is any damage to this component, you will get some noise. It’s pretty easy to inspect; simply lift the tray out and carefully look over that roller guide. If it’s defective, you will just need to replace it.
Turntable Not Working
Before you dive too deeply into why your turntable isn’t spinning, some models have the option of turning the turn tray on or off, so make sure that you didn’t accidentally press the button to turn it off.
Next, have a look at the turn tray and roller guide. Make sure that they are positioned properly in the microwave cavity. If that checks out fine, we’ll look at the individual components that may cause that symptom.
The next thing to check is the roller for any cracks or breakage. If this part is defective, the tray won’t turn easily and may cause that symptom.
Now, we’ll look at the coupler. The coupler sits on top of the drive motor and transfers that motion to the tray. Look for signs of cracking, general wear, or missing parts and replace them if necessary.
Exhaust Fan Not Working
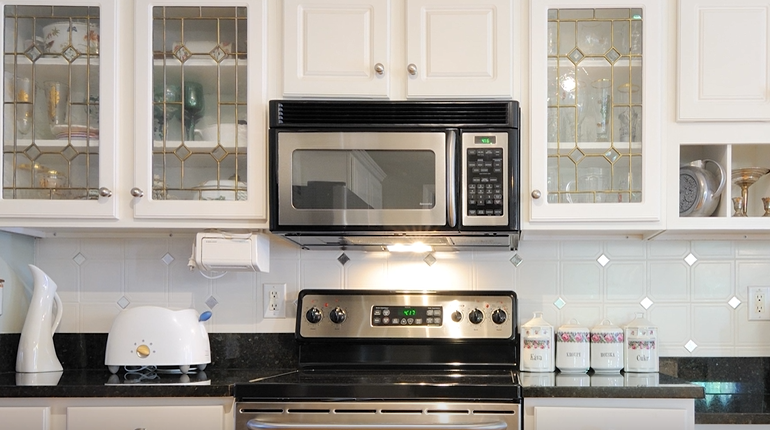
If the exhaust fan isn’t working, the first thing to check is the filters. Regardless of the type of filter, you’ll want to ensure that they’re clean and not plugged up. With a grease filter, you simply wash that in warm, soapy water. With a charcoal filter, you’ll need to replace it.
If your over-the-range microwave is vented to the outside, you may have a problem with the damper. The damper is located where the microwave meets the outside venting system. You will need to drop the microwave from its mounting position and inspect it. Look for signs of damage or warping, or also a broken spring on that damper assembly.
If your exhaust fan is not working at all, you’ll need to inspect it to ensure whether it’s the motor or the controls that operate it. You’ll need to remove the microwave from its mounting position and then we’re going to inspect that motor. Verify that the motor fan will turn freely. If not, we can assume that it is defective and will need to be replaced.
Touchpad Doesn’t Work
Finally, we’ll discuss some of the reasons why the buttons on your microwave may not be working.
The two components that are involved with the buttons on your microwave are the actual touchpad, and the control board, which is in behind. The touchpad is a series of switches that send signals to the control board.
The first thing to check will be the individual pads on that touchpad, looking for any signs of damage or deterioration. If any is noticed, you’ll need to replace that touchpad. If there is no visible damage to the touchpad, you can check it with a multimeter, but you will need the manufacturer’s wiring diagram for the touchpad and the ability to interpret that data to check it with a multimeter.
Now, if you suspect that the touchpad is working properly, the next step would be to look at the control board for any connectivity issues there, if you are comfortable in doing so.
Microwave Hacks
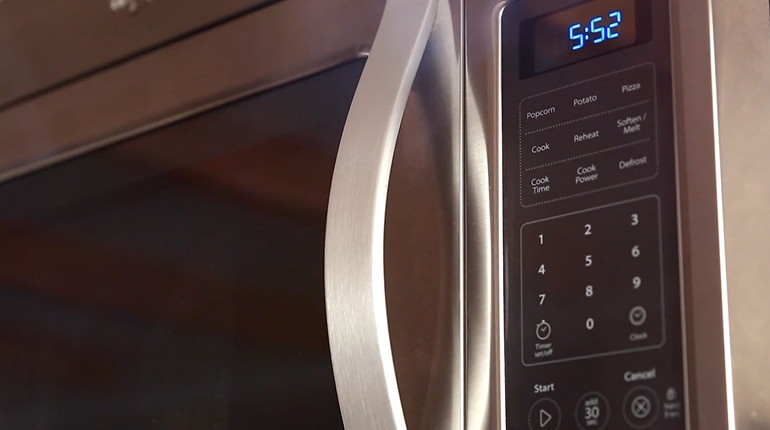
Now let’s switch over to something a bit more exciting, Microwave Hacks. There are many different ones that we could cover, but we’ve picked 3 of our favorites to share!
Kill Bacteria on a Sponge
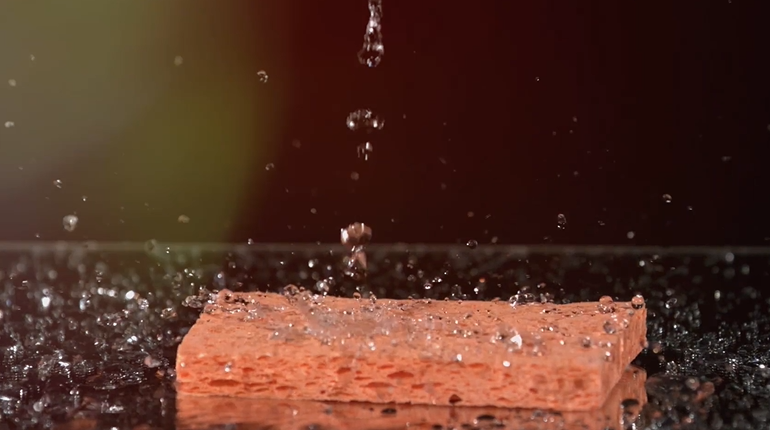
The first microwave hack we want to highlight is how to kill bacteria on a sponge. The easiest way to do this is to soak your sponge in water, then ring out the excess. Once that is done, place the sponge directly into the microwave, and heat on medium for 2 minutes. This method kills 99% of all bacteria on a sponge!
Peel Garlic
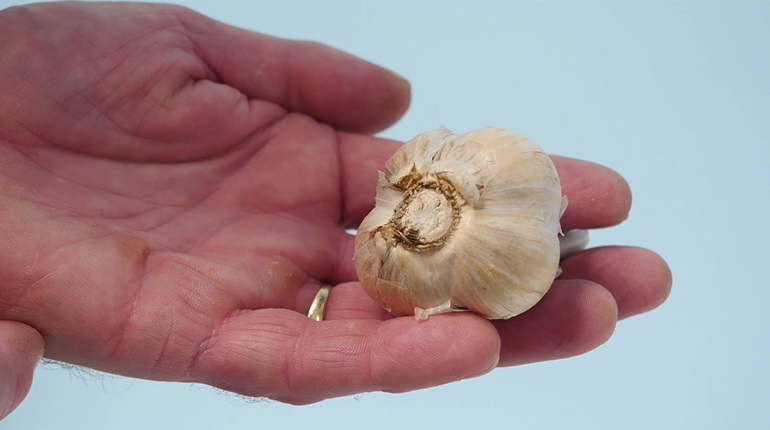
The next hack we have is peeling garlic in the microwave! This one is very easy as well. Simply place your head of garlic on a microwave-safe plate, and heat on medium power for 20 seconds. Once the 20 seconds is up, your garlic cloves should slide right out!
Potato Chips
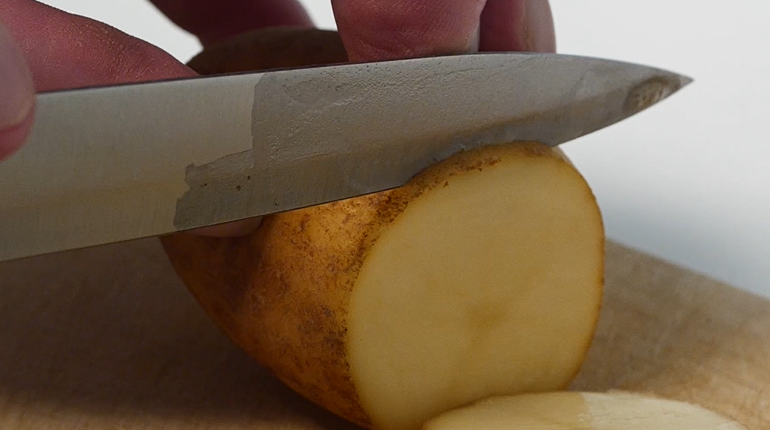
Finally, the last microwave hack that we have is making potato chips. To do this, take a raw potato, and slice it into 1/8-inch-thick slices. Once that is done, place the slices in a single layer on a microwave-safe plate. Season your potato slices to your preference. Next, you’ll want to cook your potato slices on high power for 3 minutes. If your slices are still uncooked after 3 minutes, reduce the power level, flip the slices, and heat until crispy. You should end up with golden brown, crispy, delicious potato chips!
We hope that these tips are helpful in getting the most out of your microwave oven. With these simple steps, you can keep it looking good as new, and hopefully DIY any repairs that may come up! Don’t forget to subscribe to our YouTube channel for more helpful videos, and if you need to pick up any replacement parts you can find them on our site by searching for your model number.


