Why Read This Article?
Finish Nailer Repair - Replacing the Driver Guide (Ridgid Part # 79004001022)
Article Breakdown
Finish Nailer Repair - Replacing the Driver Guide (Ridgid Part # 79004001022)
Tools & Materials
- Torx drivers
- Needle-nose pliers

Check out our DeWalt drill parts page to find parts for DCD series and other DeWalt drills. Removing the Brushes
1. Remove the housing screws
Remove the screws that secure the housing. Leave the housing in place for now.

2. Remove the transmission screws
Remove the four screws that secure the motor to the transmission.

3. Remove the housing
Now you can separate one side of the drill housing. You will see one of the brush holders on the inside of this housing.

4. Remove the motor mounts and clips
Remove the screws that secure the motor mounts.

Remove the four screws that secure the motor clips to the motor.

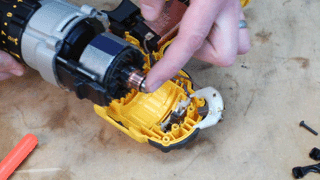
5. Remove the motor and transmission
With the motor clips removed, you can lift the motor and transmission away from the drill together.

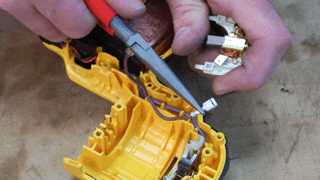
6. Remove the other brush holder
Now you'll have access to the second brush holder. Use a pair of needle nose pliers to separate both holders from the wires. Then you can remove the brushes from them.

[Back to Top]
Installing the Brushes
1. Attach the brushes
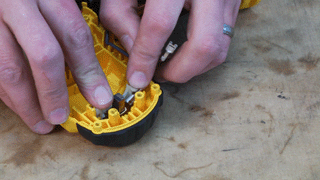
Slide the new brushes into the holders, then slide the second holder back into the drill body.


2. Install the motor and transmission
Now you can re-install the motor and transmission. Note the notch on the motor field. This will align with a tab in the drill housing.

3. Secure the motor
Re-install the motor screws and mounts to ensure the motor is secure.

4. Secure the housing
Reinstall the housing and fasten the screws.

5. Secure the transmission
Tighten the four screws that secure the transmission to finish the repair.

[Back to Top] Conclusion And that's how easy it is to replace the brushes in a DeWalt CDC series drill. Hopefully this article saved you time on a seemingly complicated repair. Remember to visit our DeWalt parts page for parts for all your DeWalt tools. [Back to Top] What We're About


