Why Read This Article?
Finish Nailer Repair - Replacing the Driver Guide (Ridgid Part # 79004001022)
Article Breakdown
Finish Nailer Repair - Replacing the Driver Guide (Ridgid Part # 79004001022)
Tools & Materials
- Phillips-head screwdriver
- Wire cutters
- Wire nuts
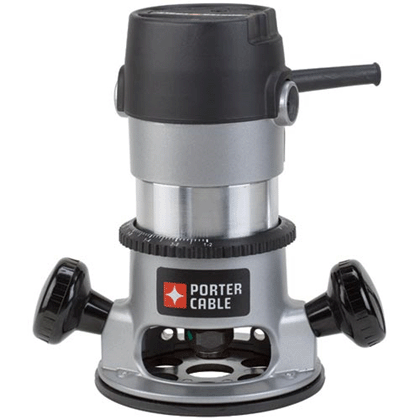 Before you begin any repair, you should make sure you have the right parts. Remember to use eReplacementParts.com's Porter Cable parts finder to get the right parts for your router.
For this repair we used a Porter Cable router, but the steps will be similar for other routers.
Remove the Cord
Before you begin cutting wires, you should note which wires go where--drawing a diagram can be especially helpful. This can save you a lot of time when you go to reattach the wires later.
1. Remove the top cap
Remove the two screws that hold the top cap on the router and remove the top cap.
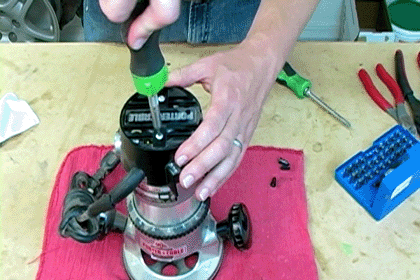
2. Remove the switch assembly
Remove the screw that holds the switch assembly to the router.
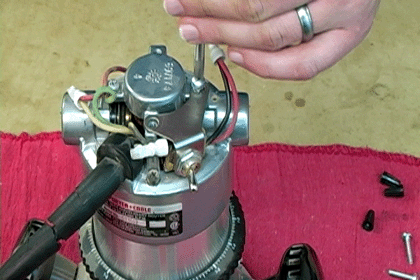
3. Remove the strain relief
Remove the two screws that hold the strain relief assembly in place.
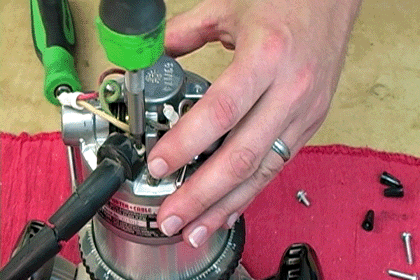
4. Cut away the crimp connectors
Porter Cable installs crimp connectors to connect the wires at the factory. Cut the wires as close to the crimp connectors as possible to give yourself plenty of wire to work with when you connect the wires later.
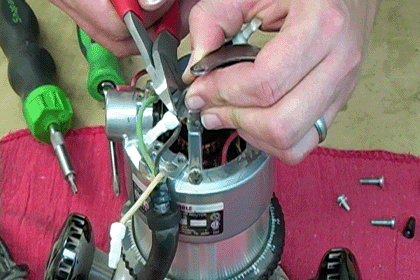
5. Remove the ground wire
Remove the ground wire screw. Now your cord should be free.
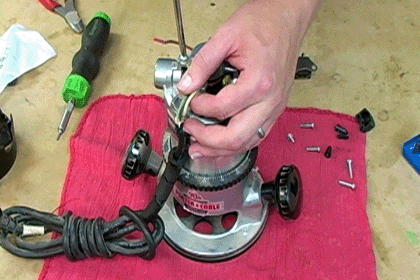
6. Replace the strain relief
Slide the strain relief off the cord.
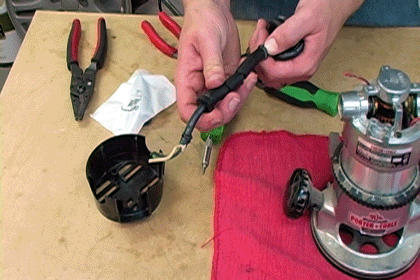
Replace it with your new strain relief.
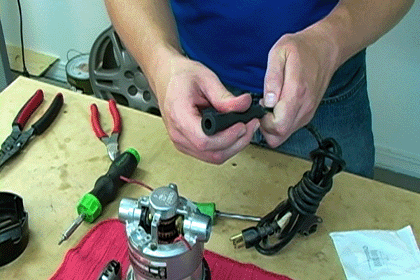
If you are replacing the cord, you will slide the old strain relief off the old cord and onto the new one.
[Back to Top]
Reinstall the Cord
If you are installing a new cord, you will need to trim your wires down to size and install an eyelet on the ground wire before continuing with the re-installation process.
1. Reattach the ground wire
Reinstall the screw that secures the ground wire to the router.
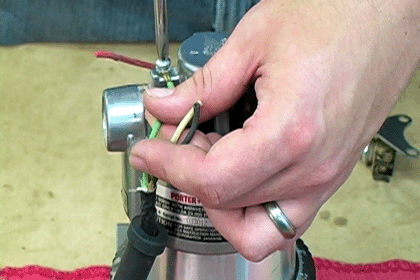
2. Prep the wires for installation
You will need to strip the wires on the router and the switch. About half-an-inch of exposed wire is adequate.
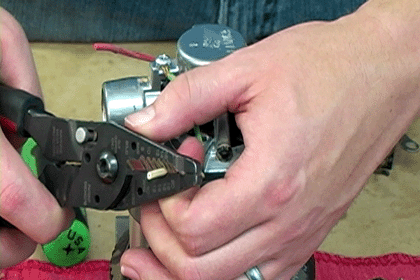
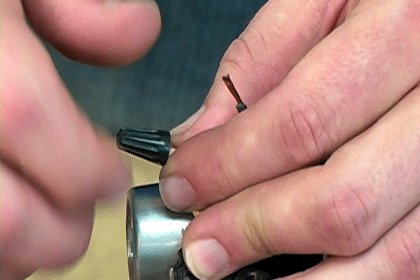
3. Connect the wires using wire nuts
Twist the wires together.
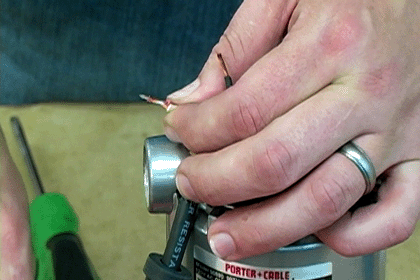
Then trim them for proper length--they should be short enough that they fit completely inside a wire nut.
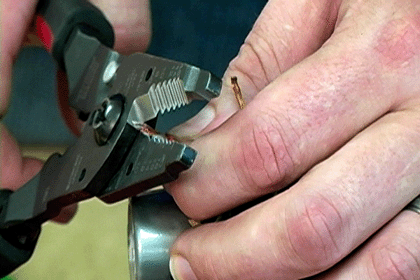
Then install the wire nuts onto the connected wires.
4. Reinstall the strain relief
Reinstall the two screws that secure the strain relief holder.
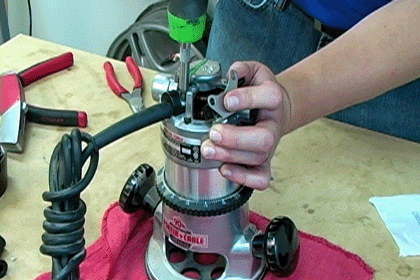
5. Reattach the switch
Before you reattach the switch, you should ensure that the black wire is routed over the top of the switch so it stays out of the aperture's way.
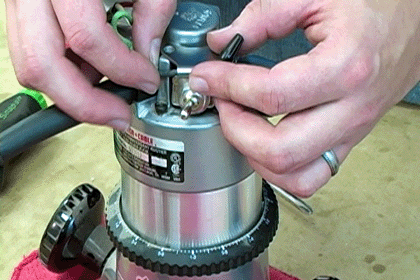
Then secure the screw that holds the switch in place.
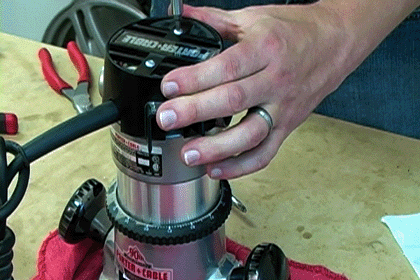
6. Replace the top cap
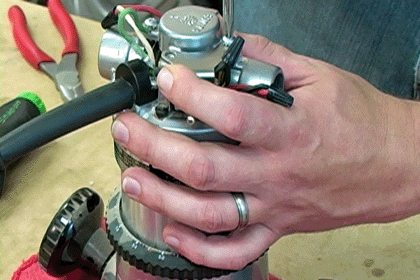
Make sure your router wires are short enough that they won't interfere with the aperture. You may have to nestle them into place to be sure they won't get in the way.
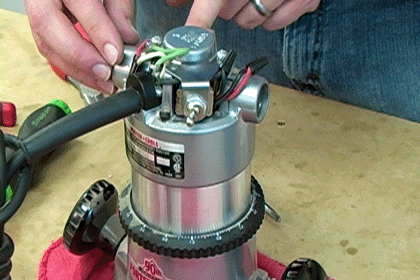
Then just reattach the top cap with the two screws.
 [Back to Top]
Conclusion
Removing the cord on a router is an easy repair that you can do yourself in about 30 minutes. By learning to remove the cord you will be able to troubleshoot future issues with your router and keep it maintained and operational without having to pay for costly repair shop work.
Remember that eReplacementParts.com has detailed breakdowns for Porter Cable power tools, and finding the parts you need is as simple as typing your tool model number into our convenient model number search feature.
[Back to Top]
What We're About


