Woodworking: Dust Collection 101
No matter the size of a workshop, it’s necessary to have a system in place to deal with the sawdust. And contrary to popular belief, sweeping up after every job simply isn’t an effective way to deal with the problem. Not only are the fine particles of sawdust dangerous to inhale, they also damage tool motors, create a huge mess and make your workshop an unpleasant area to be in.
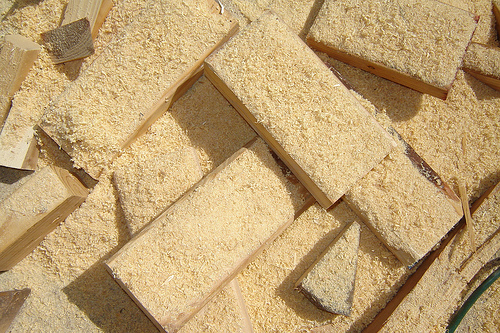
Photo by Andreanna Moya Photography via Flickr
A smart dust collection strategy is key to any well-run workshop. And in this article, we’ll help you gain the knowledge necessary to implement a dust collection system in your commercial or residential workshop.
Types of Dust Collection
Dust collection can be broken into three major categories; stationary, handheld and ambient. While any one of these types of dust collection will help create a cleaner and safer shop, a good woodshop dust collection strategy will involve all three.
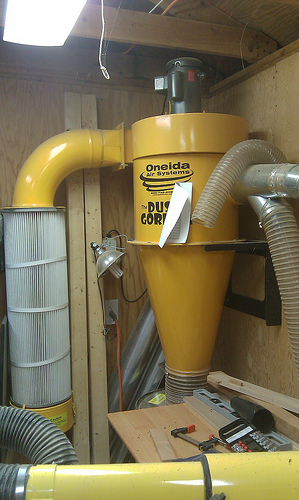
Photo by Psychlist1972 via Flickr
Stationary dust collection is best used for large stationary tools such as table saws, planers, jointers, band saws, etc. There are also semi-stationary tools that fit into this category, including portable planers, contractor table saws and other similar tools. Most stationary tools produce large amounts of sawdust or shavings which require larger dust extraction equipment, hoses and dust ports to handle the volume. This is where dust collectors come in. Dust collectors move a large volume of air at a relatively slow speed. This is perfect for the larger hoses needed for stationary machines. Dust collectors are typically rated by the size of their motor and the amount of air that they can move in a minute. (CFM – Cubic Feet per Minute). Most home shop woodworkers will find a 650 – 1200 CFM dust collector to be sufficient for their stationary machines. A collector like this will be about 1 – 2 HP.
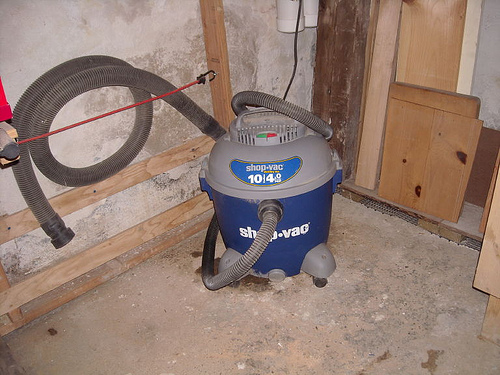
Photo by jsparksnj via Flickr
Handheld tools require a somewhat different form of dust collection for best results. Handheld tools typically will have much smaller ports to connect your dust collection hoses. Also you will want a smaller hose so it isn’t in the way and restricting movement of the tool. This is where a shop vacuum or a specialty woodworking dust extraction vacuum comes in. These vacuums do just the opposite of a dust collector; they move smaller amounts of air at a high speed. This is perfect for the smaller hoses preferred for handheld tools. A shop vacuum is an inexpensive way to collect dust from your handheld tools. Many aftermarket companies offer hoses and adapters to help you connect your handheld tools to your vacuum. There are even special filters and bags available to help filter out the fine dust particles from the air. The specialty woodworking dust extractors come with these fine filters as well as a hose better suited to handheld tools. In addition most woodworking dust extractors will have a high quality motor that both lasts longer and runs quieter than the typical shop vacuum. The only downside to a woodworking dust extractor for most home shop woodworkers is the price, often three or four times the cost of a shop vacuum.
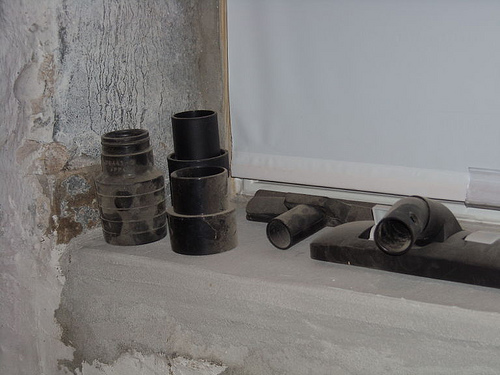
Photo by jsparksnj via Flickr
No matter how good your stationary and handheld dust collection systems are, some fine dust will still find its way into the air. This is where ambient air cleaners come in. The ambient air cleaner is usually hung from the ceiling in your shop. Some smaller units can be placed on a shelf. An ambient air cleaner is made up of a blower and a series of filters that will remove the woodworking dust from the air in your shop. A good ambient air cleaner can remove as much as 80 – 90% of the dust down to 1 micron in size. A 700 – 1000 CFM ambient air cleaner is usually suitable a home woodworking shop. Typically you will want to hang the air cleaner in the middle of your shop. If you have a very large shop you might consider using two smaller units hung at opposite ends of the shop for more efficient air cleaning.
Ideal Setup
As your hobby and tool inventory grow you likely will want to install some permanent piping from your dust collector to your stationary tools. There is an entire industry aimed toward helping home shop woodworkers do just that. All types of fittings and hoses are available to plumb an effective dust collection system in your small shop. Fittings such as elbows, wyes and tees will help you route the piping to just where it is needed in your shop. Blast gates allow you to cut the air flow from tools that are not in use to tools that are. Flexible hoses provide a simple way to make the connection between your tools and the rest of your dust collection system.
A popular method to plumb a home wood shop for dust collection is to attach the main portion of the piping to the ceiling and then drop the pipe down the walls at the locations where it is needed to attach to your tools. Most woodworkers like to use a solid pipe for the main portion of the system and the flexible hoses to each tool. Four inch piping is the most common size used by most home shop woodworkers. Popular choices for the solid piping are PVC or a special metal pipe made specifically for dust collection. The PVC is a fraction of the price of metal but is not nearly as durable. A blast gate is usually installed between the hard pipe and flexible hose so the branch can be shut off when not in use.
Safety Tips
Safety needs to be considered when installing a permanent dust collection system in your shop. As the dust and shavings pass through the piping in your dust collection system static electricity is created. When the static builds it can create a spark inside of the dust collection pipe, the last thing you want with the mixture of fast moving air and dust. Static electricity in your dust collection system is a real threat and each year shop fires are caused by it. Fortunately it is easy to solve the problem by installing a proper grounding system to your dust collection system.
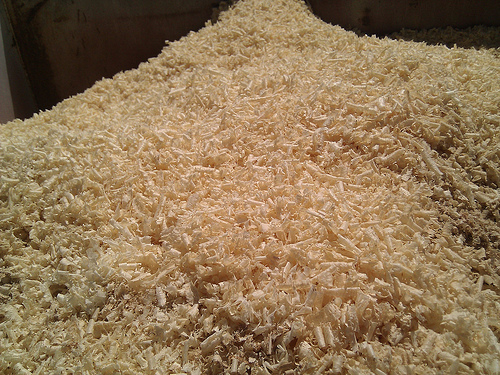
Photo by SMcGarnigle via Flickr
With plastic pipe you will need to run a length of braided, uninsulated, copper wire through the inside of each pipe making connections with wire nuts at each junction of a wye or tee. You will also need to coil a wire around the outside of the pipe. Metal pipe is much easier to ground as it will conduct electricity itself. If a length of metal pipe is interrupted by a plastic fitting you will want to install a copper jumper wire between the two metal pipes. Whether you use plastic or metal piping you will want to connect a grounding wire from the piping to the frame of each piece of equipment in your shop. At the dust collector end of your system you should tie to a grounding rod, cold water pipe, or directly to the dust collector. This extra step of grounding your dust collection system is well worth it to ensure safety in your shop.
Now that you have a greater understanding of the importance of a properly installed dust collection system, it’s time to upgrade your current system or build a new one in your workshop. Use the information in this guide to help you determine what system is best for your needs and you’ll be rewarded with a safe, efficient and clean workshop for years to come.
Have questions or comments on the topic of dust collection? Leave a comment and let us know!


