


Why Read This Article?
Finish Nailer Repair - Replacing the Driver Guide (Ridgid Part # 79004001022)
Article Breakdown
Finish Nailer Repair - Replacing the Driver Guide (Ridgid Part # 79004001022)
Video
Tools & Materials
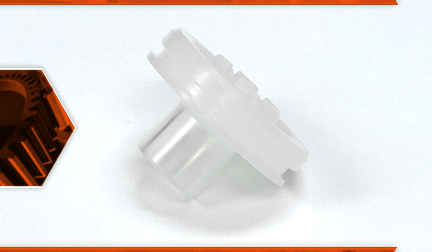
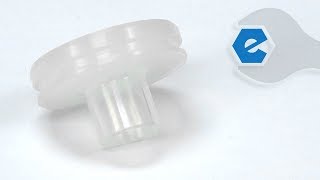
The head valve controls the flow of air into the cylinder. When the trigger is pulled, it creates an imbalance in pressure between the cylinder and the air reservoir. This imbalance allows the head valve to open, which fires the piston. Over time, the seals on the head valve can harden and crack. The valve body itself can also crack. When this happens, you will usually have air leaking from the gun's exhaust.
Let's get started.
REMOVING THE HEAD VALVE
1. Remove the top cap from the nail gun.
2. Tap the cap against a flat surface to remove the head valve.
3. Remove the spring from the head valve.
4. Remove the O-ring seal.
5. Remove the washer from the base of the head valve.
6. Remove the old head valve.
INSTALLING THE NEW HEAD VALVE
7. Install the new head valve.
8. Place the O-ring back around the outside edge of the head valve. If the O-ring is damaged or cracked, you'll want to replace it at this time.
9. Reinstall the washer, followed by the spring.
10. Place the assembly back into the cap.
11. Place the gasket on to the top of the gun and install the head valve.
12. Install the screws to align the head valve to the gasket and tighten them up.
