Why Read This Article?
Finish Nailer Repair - Replacing the Driver Guide (Ridgid Part # 79004001022)
Article Breakdown
Finish Nailer Repair - Replacing the Driver Guide (Ridgid Part # 79004001022)
Tools & Materials

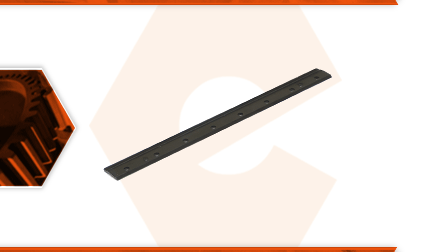
The blade holder is a steel bar that is used to secure the planer knives to the cutter head. The holder lays over the top of the knife and is secured to the cutter head by a series of screws. This clamps the knife to the cutter head. The most common issue with the blade holder is damage caused by wood chips wedging between the knife and the holder. Once a chip makes its way between the two, a gap is opened up and more chips will wedge their way in. This will bend the blade holder. This problem is normally caused by dull knives. The dull knives will tend to create wood chips (rather than shavings), and chips are more likely to wedge under the holder.
Let's get started.
REMOVING THE BLADE HOLDER 1. Remove the top cover.
a. Remove the (4) screws securing the top cover.
b. Lift the top cover away from the planer.
2. Remove the dust shroud.
a. Remove the (3) red thumb-bolts securing the dust shroud to the planer.
b. Lift the dust shroud slightly (within the housing).
c. Disengage the dust shroud from the fan housing.
d. Remove the dust shroud from the planer.
3. Remove the blade holder.
a. Use a Torx driver (or the wrench supplied with the planer) to remove the (8) screws securing the blade holder to the cutter head.
b. The handle of the wrench (supplied with the planer) contains a series of magnets. Use this magnetic handle as a retrieval tool (to remove the blade holder from the cutter head). The blades (knives) will often adhere to the blade holders during removal, so be very careful when handling these (extremely sharp) items.
INSTALLING THE NEW BLADE HOLDER
4. Install the blade holder.
a. Use the magnetic end of the wrench to re-install the blade (knife) onto the cutter head (if necessary). In addition to the mounting holes for the (8) screws, each knife contains two smaller holes, which install onto the alignment pins on the cutter head.
b. Use the magnetic end of the wrench to install the new blade holder. (The beveled edge of the holder should align with cutting-edge of the blade.)
c. Verify that the blade holder and blade are aligned with the cutter head.
d. Thread two of the blade screws into the cutter head (one at each end of the blade holder).
e. Install the remaining (6) screws into the cutter head.
f. Tighten all of the blade screws evenly to secure the new blade holder (and blade) to the cutter head.
REASSEMBLING THE UNIT
5. Reinstall the dust shroud.
a. Install the dust shroud into the planer.
b. Align the "open" indicator on the dust shroud with the mark on the fan housing.
c. Press the dust shroud toward the fan housing to engage the two components.
d. Pivot the dust shroud down (toward the cutter head).
e. Secure the dust shroud with the (3) red thumb-bolts.
6. Reinstall the top cover.
a. Install the top cover onto the planer.
b. Secure the top cover with the (4) screws.


