Why Read This Article?
Finish Nailer Repair - Replacing the Driver Guide (Ridgid Part # 79004001022)
Article Breakdown
Finish Nailer Repair - Replacing the Driver Guide (Ridgid Part # 79004001022)
Tools & Materials

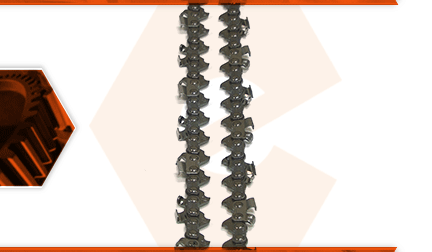
Your chainsaw's chain is made up of a series of cutting teeth and drive links -- all riveted together. As you use the saw, the teeth will become dull. They can become damaged if they strike a rock or a nail. The drive links will wear as they run through the guide bar. They will wear faster if dirt gets into the guide bar's groove. The drive links can also be damaged if the chain comes off the bar while using the saw.
Let's get started.
REMOVING THE CHAIN 1. Remove the side cover.
a. Loosen the two nuts securing the side cover to the saw.
b. Use a screwdriver to loosen the tensioning screw and release the tension from the bar.
c. Remove the nuts securing the side cover to the saw.
d. Verify that the chain brake is disengaged (unlocked).
e. Remove the side cover.
2. Remove the chain.
a. Slide the bar back (toward the rear of the saw).
b. Disengage the chain from the front sprocket on the bar.
c. Disengage the chain from the rear sprocket.
d. Remove the chain from the saw.
INSTALLING THE NEW CHAIN
3. Install the chain.
a. Install the new chain onto the rear sprocket.
b. Align the chain driver links with the groove along the top of the bar.
c. Install the chain onto the front sprocket (on the bar).
d. Slide the bar forward to bring the chain into alignment.
REASSEMBLING THE UNIT
4. Reinstall the side cover.
a. Install the side cover.
b. Thread the bar nuts onto the mounting studs to hold the side cover in place (leave the nuts finger-tight).
5. Tension the chain.
a. Grasp and raise the distant end of the bar and chain assembly (near the sprocket).
b. Rotate the tensioning screw to increase tension on the chain.
c. Periodically lift the chain away from the bar assembly and inspect the gap between the chain and the top of the bar. (You should be able to lift the chain slightly out of the groove in the bar, but not so far that an entire driver link is exposed.)
d. Rotate the tensioning screw to increase (or decrease) tension on the chain (as necessary).
e. Tighten the nuts to secure the bar and chain.


