


Why Read This Article?
Finish Nailer Repair - Replacing the Driver Guide (Ridgid Part # 79004001022)
Article Breakdown
Finish Nailer Repair - Replacing the Driver Guide (Ridgid Part # 79004001022)
Video

Tools & Materials
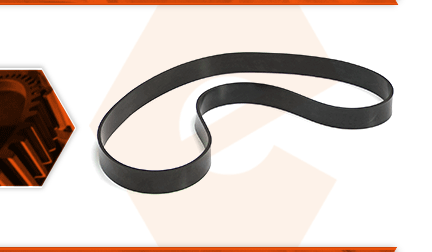
The tires on your band saw provide traction to drive the blade. They work with the tracking assembly to keep the blade tracking down the center of the wheel. Both the top and bottom wheels on the band saw use a tire. The tires are made of a durable rubber compound. Eventually, the tires will harden, which can lead to cracking. The tire can also be damaged by over-tensioning the blade, or from debris from the material that is cut.
Let's get started.
REMOVING THE TIRE 1. Remove the blade.
a. Remove the table alignment pin.
b. Remove the table insert.
c. Loosen the blade tension.
d. Open the upper and lower wheel covers (doors).
e. Remove the blade from the upper and lower tire/wheel assemblies.
f. Slide the blade through the slot on the table and away from the saw.
2. Remove the tire.
a. The easiest way to remove the old tire is to simply cut it off the wheel using a utility knife.
INSTALLING THE NEW TIRE
3. Install the tire.
a. The new tire will seem smaller than the wheel at first. (Soaking the tire in hot water will help make it more pliable and easier to stretch around the wheel).
b. Align the new tire with the bottom of the wheel.
c. Stretch the tire up and onto the wheel.
d. Push the tire into the groove on the wheel, and verify that the tire is seated within the groove all the way around the wheel.
REASSEMBLING THE UNIT
4. Reinstall the blade.
a. Guide the blade through the slot in the table, and through the blade guides.
b. Fit the blade over the wheel tires and tension the blade.
c. Verify that the blade is properly aligned by rotating the blade and wheels.
d. Close the wheel covers (doors).
e. Install the table insert.
f. Install the table alignment pin.
