Why Read This Article?
Finish Nailer Repair - Replacing the Driver Guide (Ridgid Part # 79004001022)
Article Breakdown
Finish Nailer Repair - Replacing the Driver Guide (Ridgid Part # 79004001022)
Tools & Materials

Saw chopping into your budget? It's time to face the fix. Whether you are a commercial contractor or a weekend welder, eReplacementParts.com provides the parts, procedures and facts you need to fearlessly fix what fails you.
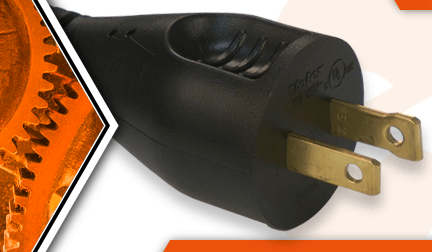
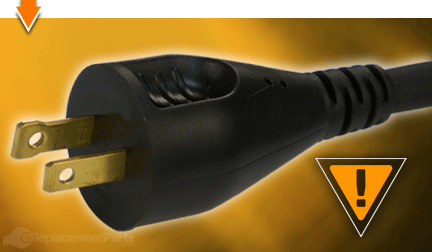
The power cord connects the power source to the switch. The tool won't turn on if the cord becomes damaged. This damage might be obvious, such as a cut or nick in the cord. Sometimes, the damage occurs inside the cord in the form of a broken or burnt wire. This damage will require a multimeter to diagnose.
Many of the symptoms of a bad cord will be the same as a bad switch or worn motor brushes, so it is a good idea to inspect each part before simply replacing the cord.
This article provides step-by-step instructions for removing and installing the power cord on a DeWALT chop saw (model D28715).
Let's talk chop.
 REMOVING THE POWER CORD [top]
1. Unplug the saw.
Disconnect power to the saw.
2. Remove the handle.
Remove the screws securing the top half of the handle.
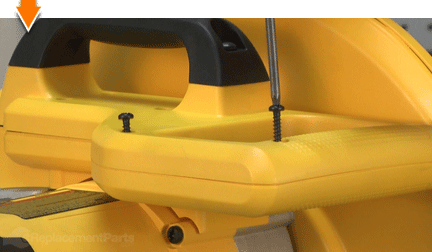
Lift the top half of the handle away from the lower half.
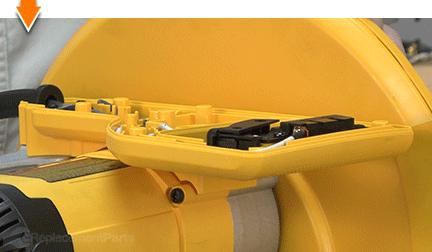
3. Disconnect the switch.
Remove the screw securing the switch to the lower handle.
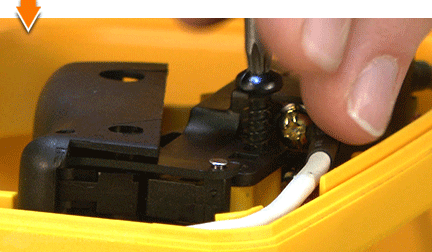
Lift the switch assembly (and wires) away from the lower handle.
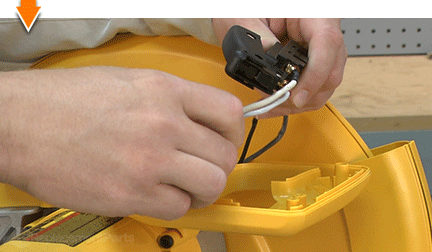
Remove the screws securing the two power (cord) wires to the switch assembly.
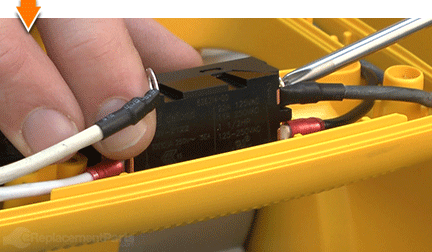
Disconnect the cord wires from the switch.
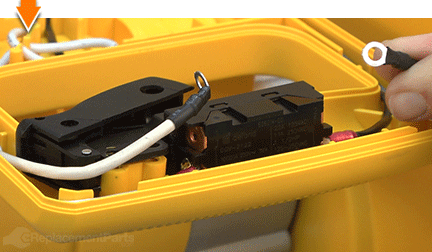
4. Remove the power cord.
Remove the (2) screws securing the metal cord clamp to the lower handle.
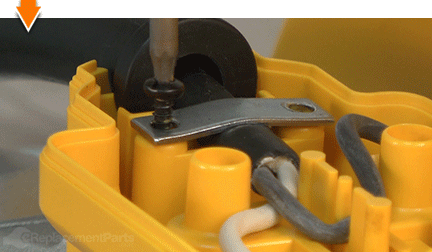
Remove the cord clamp.
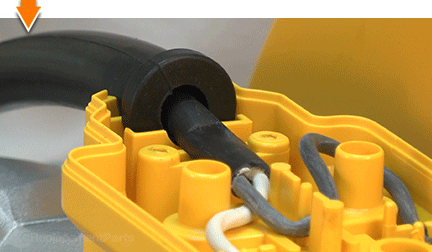
Pull the cord wires out of the holders in the lower handle.
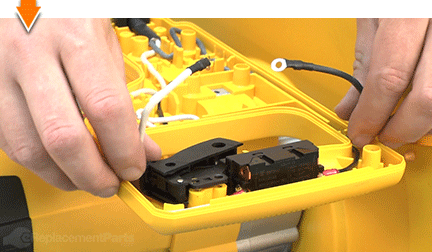
Remove the power cord from the saw.
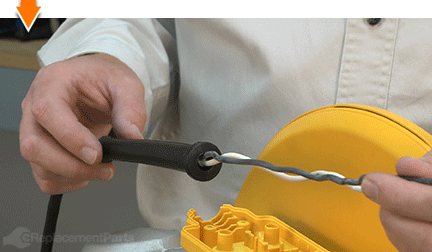
PREPARING THE NEW POWER CORD [top] 5. Trim the insulation.
Place the two power cords (the old and the new) side-by-side on a flat surface.
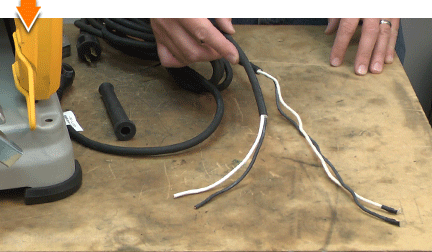
Align the end of the longest wire on the old power wire with end of the longest wire on the new power cord.
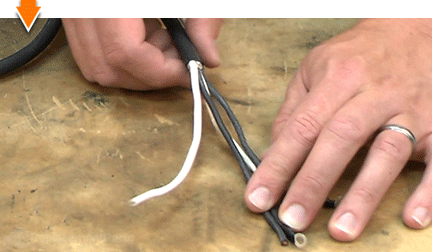
Mark the point (on the new cord) where the insulation ends (on the old cord).
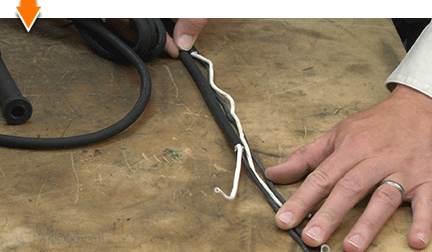
Use a utility knife to CAREFULLY slice (score) the insulation of the new power cord (on the mark created in the previous step). Be careful not to cut too deeply into the insulation. The safest approach is to lightly score the insulation; then bend the cord back-and-forth a few times at the score; then repeat.
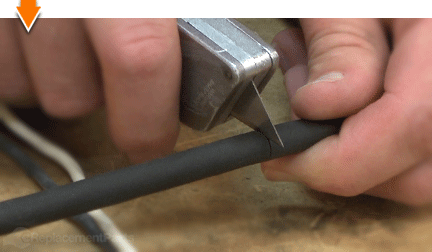
Pull the excess insulation away from the wires on the new power cord. If the insulation does not break free (where it was scored); repeat the previous step.
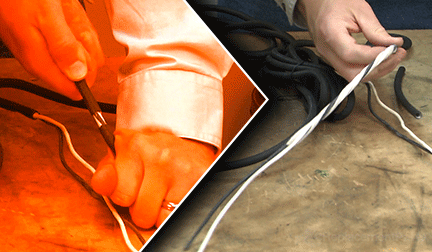
Use a utility knife to remove the two fabric reinforcement strips from the wire bundle.
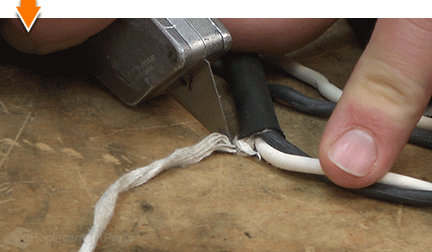
6. Trim the white wire.
Align the ends of the two white wires (one from each of the two power cords).
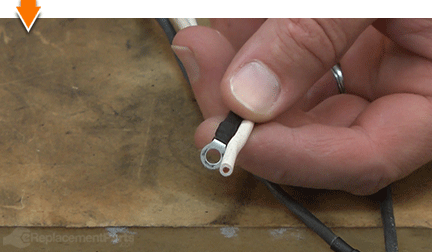
Use wire cutters to trim the white wire on the new power cord to the same length as the white wire on the old power cord (compensate slightly for the length of the wire inside the old terminal).
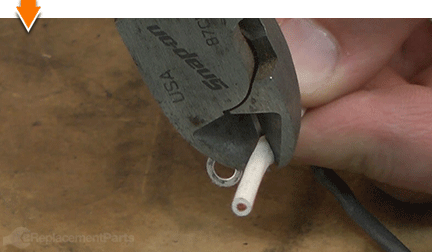
7. Install new terminals on the cord wires.
Use wire strippers to strip approximately one-quarter inch of insulation from each of the new cord wires.
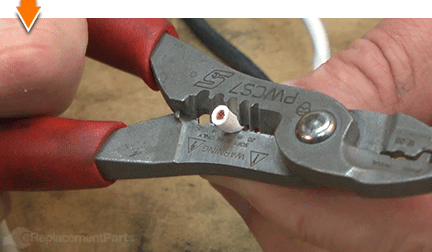
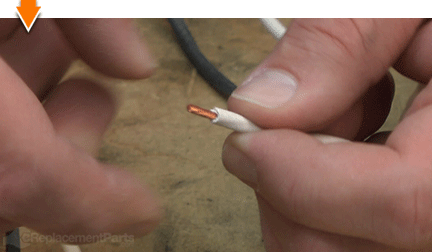
Twist the ends of the exposed wires (on each bundle) to prepare them for installation of the new terminals.
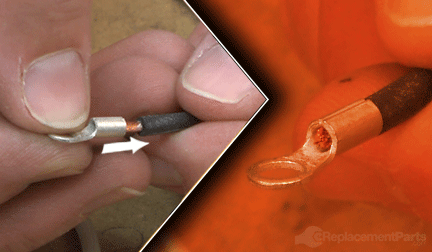
Install the new terminals onto the exposed portion of the new wires.
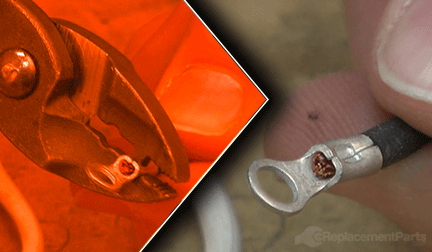
Use a crimping tool to secure each of the terminals to the wires.
8. Transfer the cord protector.
Slide the cord protector (strain relief) off the old power cord.
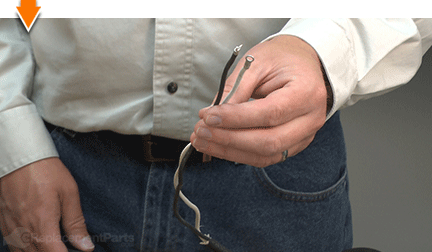
Install the cord protector onto the new power cord.
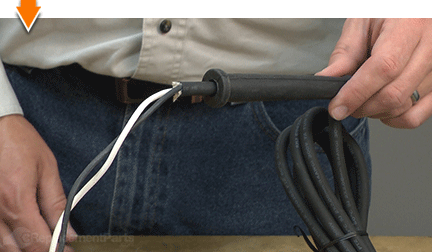
INSTALLING THE NEW POWER CORD [top] 9. Install the new power cord.
Align and install the cord protector into the slot on the lower handle housing.
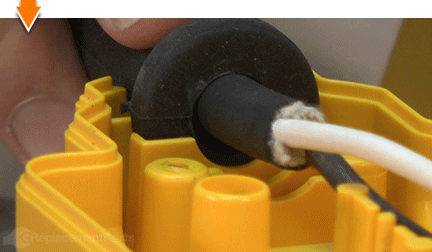
Rotate the cord (within the cord protector), to align the white and the black wire pairs.
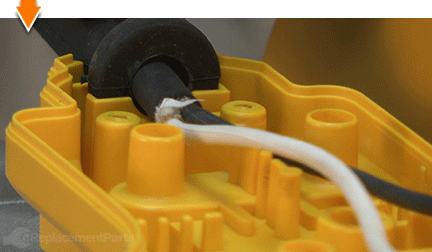
Adjust the cord (within the cord protector) until the cord insulation extends approximately three-quarters of an inch beyond the cord clamp.
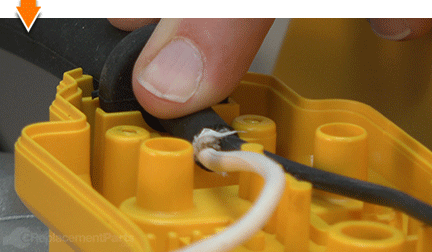
Install the cord clamp.
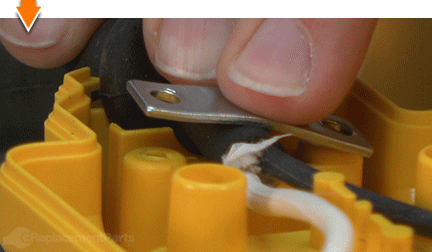
Secure the cord clamp with the (2) screws.
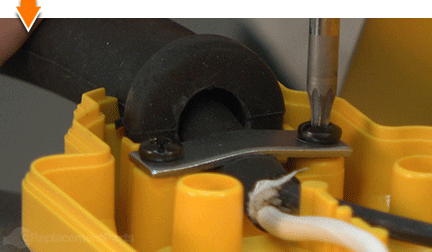
REASSEMBLING THE UNIT [top] 10. Reconnect the switch.
Use long-nosed pliers to bend the two wire terminals to approximately 90 degrees.
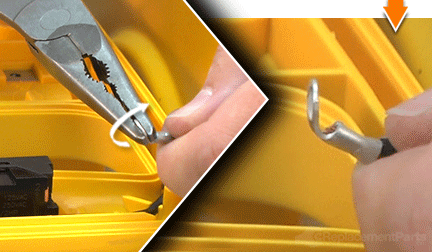
Secure the black wire to the switch.
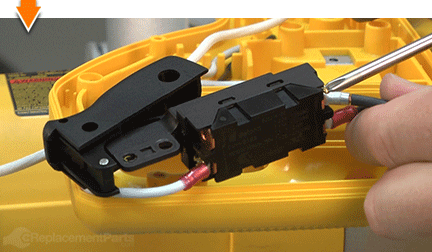
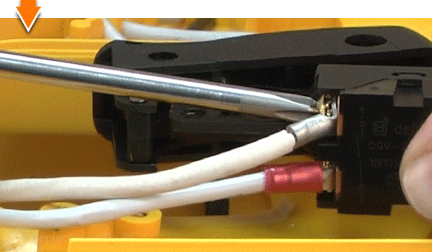
Secure the white wire to the switch.
11. Install the switch into the handle.
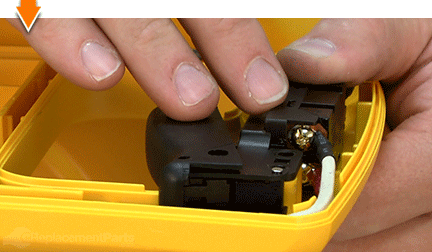
Install the switch assembly into the lower handle.
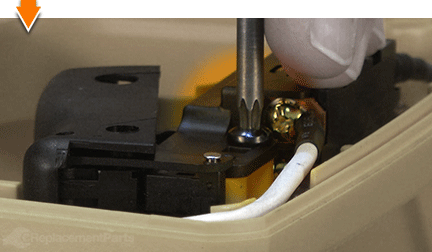
Secure the switch to the lower handle with the screw (using the hole closest to the body of the switch).
Tuck the switch and motor wires into the channels on the lower handle.
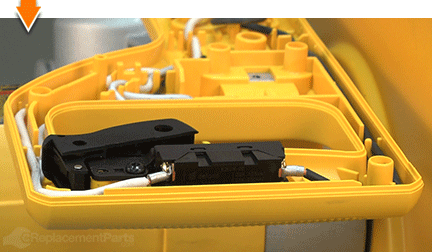
12. Reinstall the top half of the handle.
Install the top half of the handle.
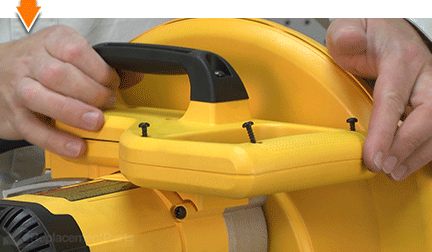
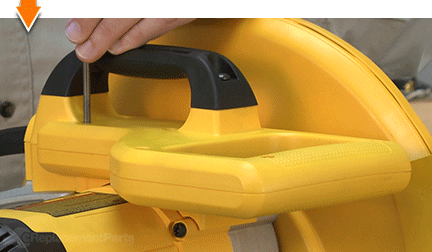
Secure the handle with the screws.

Do-it-yourself repairs like these are easier than you might think: From lawn machines to cordless drills, kitchen mixers to outdoor grills. Our "how-to" articles walk you through each repair from start to finish.
So, doing-it-yourself means never having to do it alone.


