Why Read This Article?
Finish Nailer Repair - Replacing the Driver Guide (Ridgid Part # 79004001022)
Article Breakdown
Finish Nailer Repair - Replacing the Driver Guide (Ridgid Part # 79004001022)
Tools & Materials

Saw chopping into your budget? It's time to face the fix. Whether you are a commercial contractor or a weekend welder, eReplacementParts.com provides the parts, procedures and facts you need to fearlessly fix what fails you.
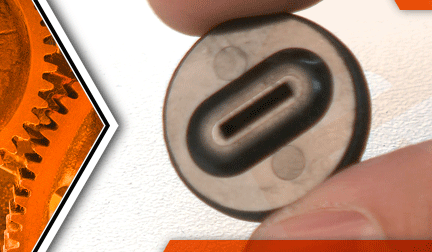
The brush caps hold the carbon brushes in the motor and give the brush springs something to push against, so the brushes make good contact with the armature. Brush caps are typically damaged while removing or reinstalling them (when servicing the brushes).
Because they are made of plastic, it doesn't take much to strip the head with a screwdriver. If the head becomes too damaged, you might need to carefully chisel the cap away, so a new one can be installed.
This article provides step-by-step instructions for removing and installing the carbon brush cap on a DeWALT chop saw (model D28715).
Let's talk chop.
 REMOVING THE BRUSH CAP [top]
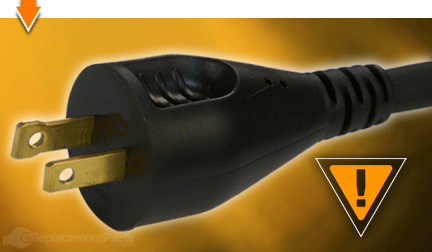
1. Unplug the saw.
Disconnect power to the saw.
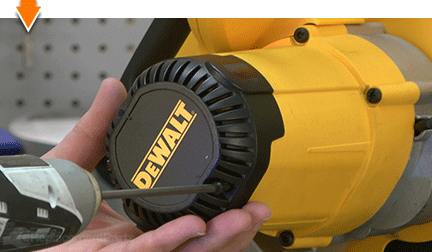
2. Remove the motor end cap.
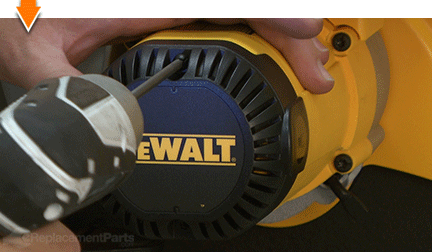
Remove the (2) screws securing the end cap to the field case.
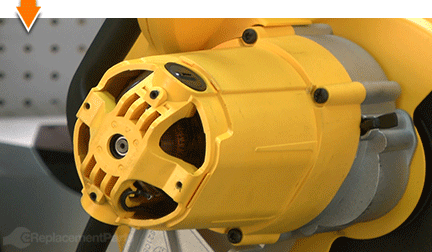
Remove the end cap.
3. Remove the brush cap.
Use a flat-blade screwdriver to unscrew the plastic brush cap.
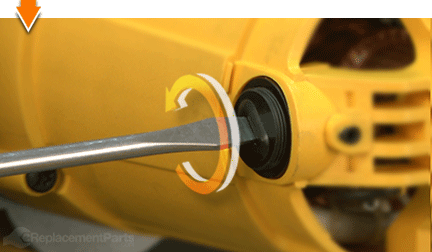
Remove the motor brush cap.
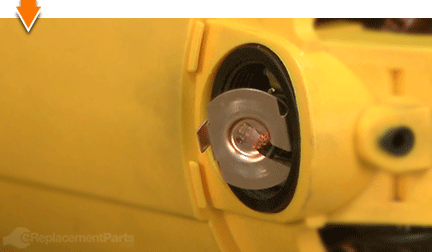
Remove the motor brush (not required; however, removing the brush will enable you to examine the brush and the brush holder for damage).
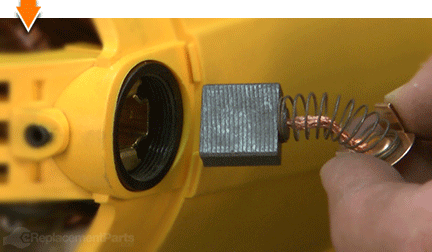
INSTALLING THE NEW BRUSH CAP [top] 4. Install the brush cap.
Install the motor brush into the brush holder.
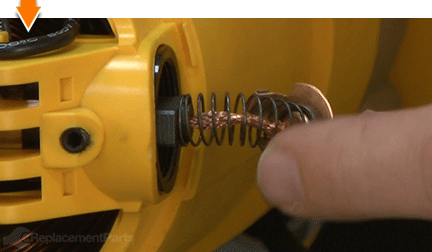
Compress the brush spring into the brush holder, aligning the metal wings on the brush spring with the horizontal slot in the brush holder.
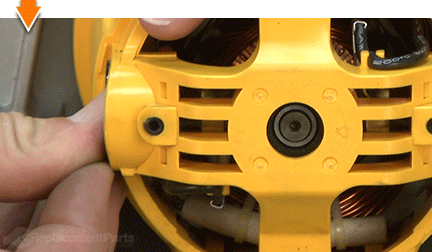
Hold the brush spring (compressed) inside the brush holder with one finger.
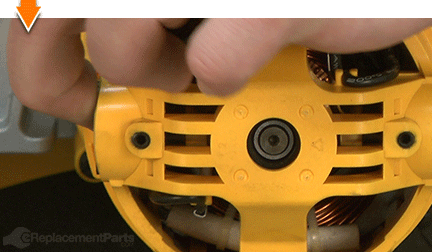
Carefully position the new brush cap over the compressed spring (while removing your finger from the back of the brush).
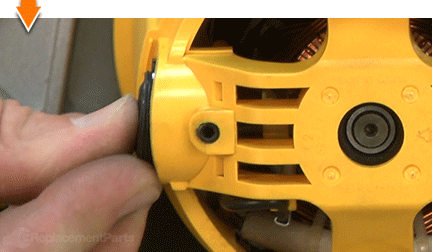
Secure the new brush cap to the brush holder (do not overtighten).
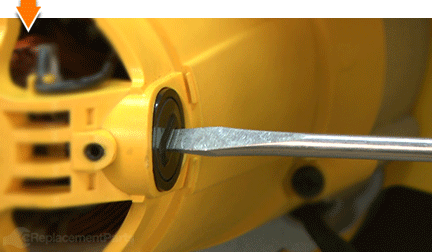
REASSEMBLING THE UNIT [top] 5. Reinstall the motor end cap.
Install the end cap.
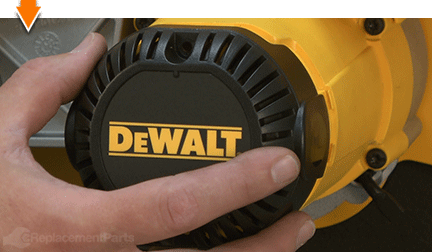
Secure the end cap with the (2) screws.

Do-it-yourself repairs like these are easier than you might think: From lawn machines to cordless drills, kitchen mixers to outdoor grills. Our "how-to" articles walk you through each repair from start to finish.
So, doing-it-yourself means never having to do it alone.


