Why Read This Article?
Finish Nailer Repair - Replacing the Driver Guide (Ridgid Part # 79004001022)
Article Breakdown
Finish Nailer Repair - Replacing the Driver Guide (Ridgid Part # 79004001022)
Tools & Materials
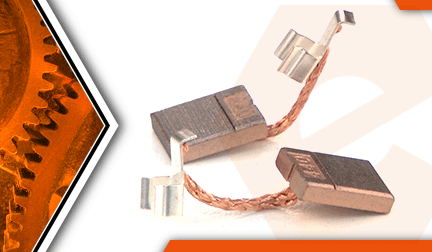

Makita motor brushes bad? It's time to face the fix. Whether you are a master carpenter or an occasional drill-seeker, eReplacementParts.com provides the parts, procedures and facts you need to fearlessly fix what fails you.
The carbon brushes in your cordless drill allow electricity to be transferred to the motor's spinning armature. Because they are made of carbon, they do wear down with normal use, and will eventually need to be replaced. Common signs that your brushes need to be replaced are sparks coming from the motor (in the area of the brushes).
Another symptom is that the drill simply doesn't turn on when the trigger is pulled. Of course, your drill can have other problems that can cause these same symptoms; so the first thing to do is inspect the brushes. When inspecting the brush; note its length. If the carbon is worn down to within an eighth-of-an-inch (or so) of the wire lead; the brush is worn out.
Look for burn marks (on the wire lead) that would indicate the brush was overheated. Chips to the carbon usually indicate a damaged commutator bar on the armature.
This article provides step-by-step instructions for removing and installing the carbon brush set on a Makita cordless hammer drill.
Let's get started.
 REMOVING THE MOTOR BRUSHES [top]
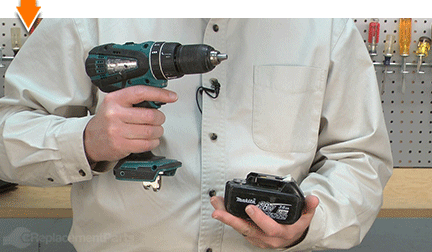
1. Remove the battery.
Remove the battery from the drill.
2. Remove the rear cover.
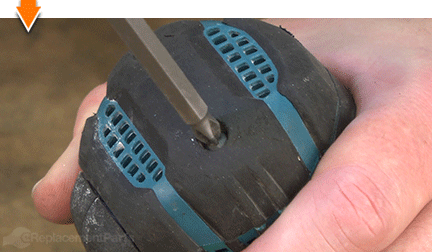
Remove the (2) screws.
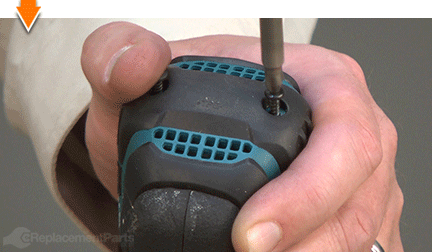
Remove the rear cover from the drill.
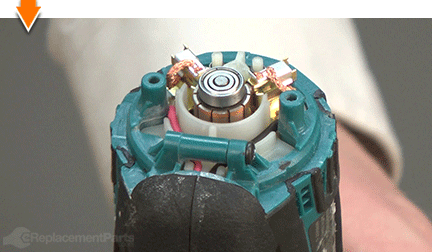
3. Remove the motor brushes.
Use a small screwdriver to disengage (pry) the brush clip from the brush holder.
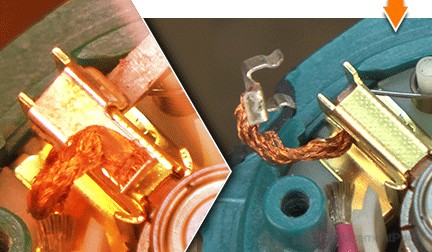
Use long-nosed pliers to retract the brush spring from the back of the motor brush.
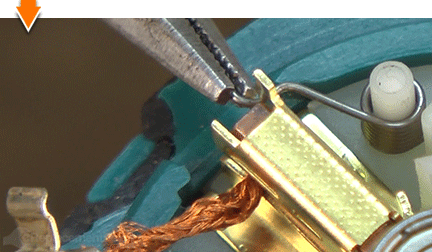
Slide the carbon brush out of the brush holder.
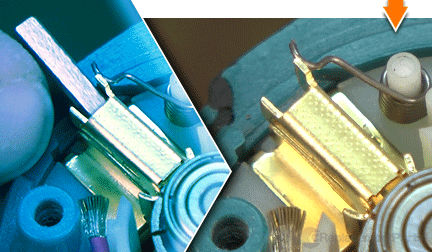
Repeat this step to remove the second motor brush.
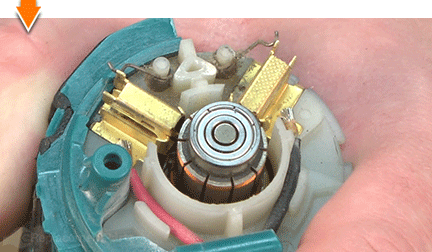
INSTALLING THE NEW MOTOR BRUSHES [top] 4. Install the motor brushes.
Install the new motor brush into the brush holder.
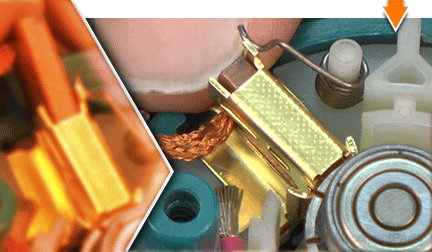
Secure the brush clip to the brush holder.
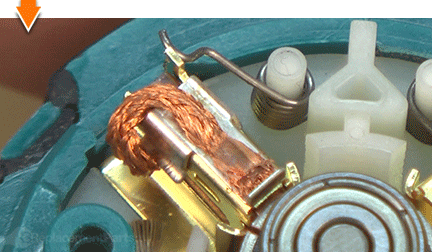
Reposition the brush spring onto the motor brush.
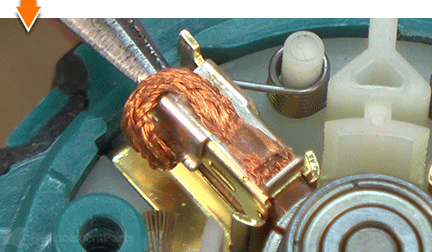
Repeat this step to install the second motor brush.
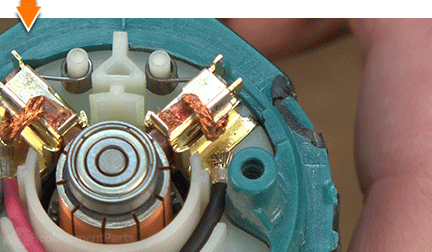
REASSEMBLING THE UNIT [top] 5. Reinstall the rear cover.
Install the rear cover.
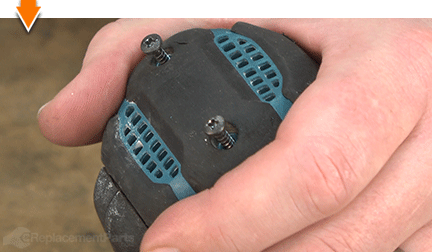
Secure the rear cover with the (2) screws.
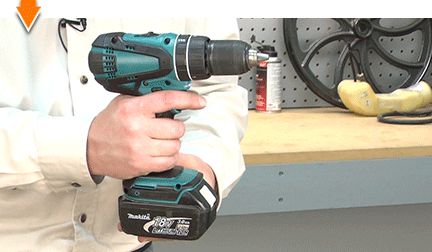
6. Reinstall the battery.
Install the battery.

As you just learned, fixing things yourself means more drilling with less billing. Hopefully, this article has restored your ability to drill holes without replacing your whole drill. And that's just the tip of the bit. Our online repair guides can help expand your skills far beyond drills; empowering you to face power tool problems whenever they arise; and to fearlessly fix whatever fails you.


