


Why Read This Article?
Finish Nailer Repair - Replacing the Driver Guide (Ridgid Part # 79004001022)
Article Breakdown
Finish Nailer Repair - Replacing the Driver Guide (Ridgid Part # 79004001022)
Tools & Materials

Drill stuck in reverse? It's time to face the fix. Whether you are a master carpenter or an occasional drill-seeker, eReplacementParts.com provides the parts, procedures and facts you need to fearlessly fix what fails you.
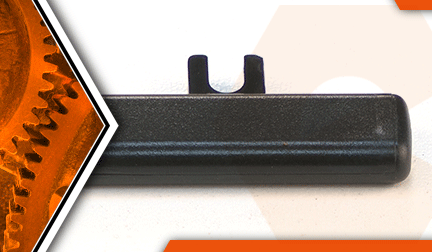
The change lever attaches to the switch and allows you to change the direction your drill spins. Most of the time, the change lever will need to be replaced because some kind of accident has occurred (where the lever was broken).
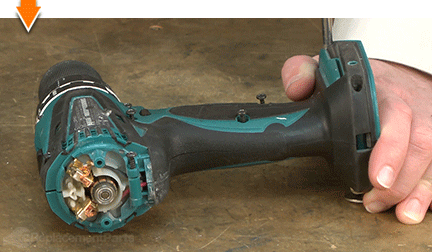
If your drill won't change directions, but the change lever is not visibly damaged; it is a good idea to open the drill housing and inspect the switch. Often, the problem is a broken reversing arm on the switch itself, not a damaged change lever. This article provides step-by-step instructions for removing and installing the forward/reverse change lever on a Makita cordless hammer drill.
Let's get started.
 REMOVING THE CHANGE LEVER [top]
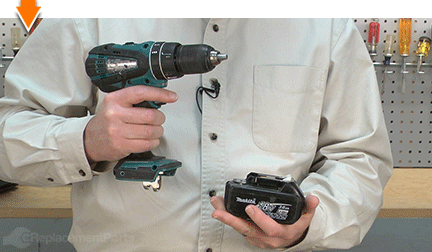
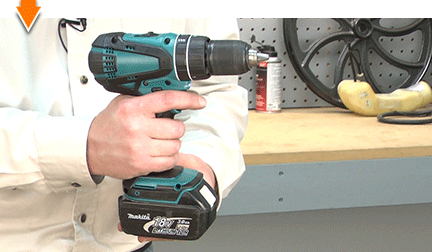
1. Remove the battery.
REMOVING THE CHANGE LEVER [top]
1. Remove the battery.
Remove the battery from the drill.
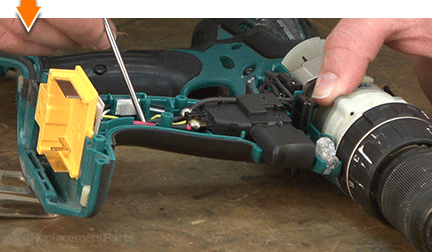
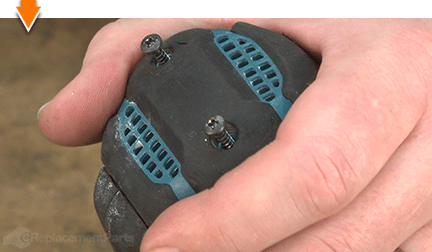
2. Remove the rear cover.
Remove the (2) screws.
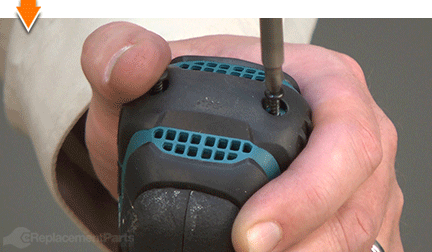
Remove the rear cover from the drill.
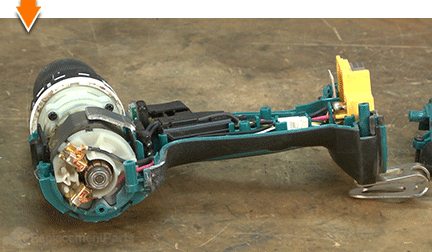
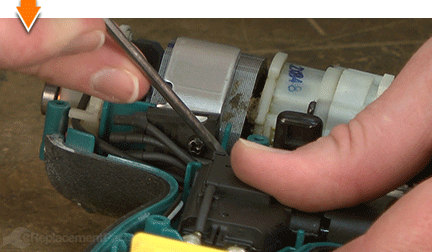
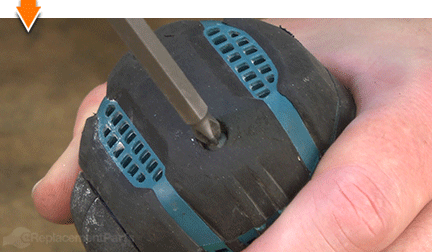
3. Split the housings.
Remove the screws from the top half of the housing.
Lift the top half of the housing away from the unit.
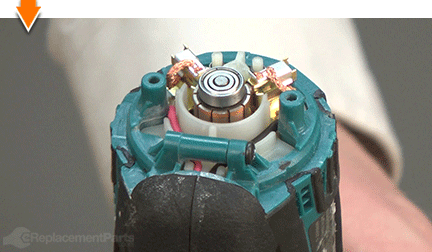
4. Remove the change lever.
Lift the switch assembly slightly out of the housing.
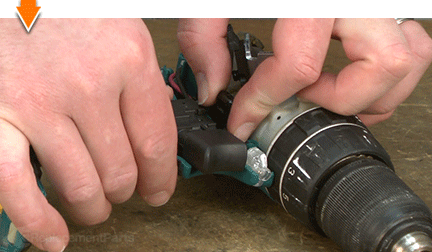
Remove the forward/reverse change lever from the switch (or from the housing).
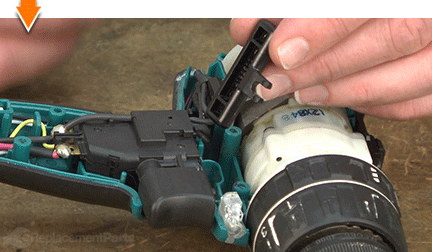
INSTALLING THE NEW CHANGE LEVER [top] 5. Install the change lever.
Align the notch (fork) on the new forward/reverse change lever with the arm on the switch.

Install the switch and change lever into the lower half of the housing.
Tuck the switch wires into the channels on the housing.
REASSEMBLING THE UNIT [top] 6. Reinstall the top half of the housing.
Inspect all of the wires for potential pinch-points; make adjustments as necessary.
Reinstall the top half of the housing.
Secure the housing with the screws.
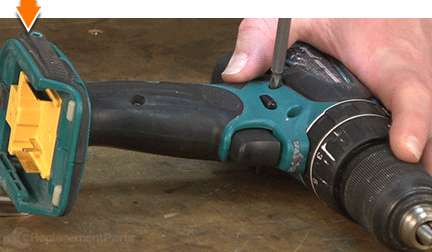
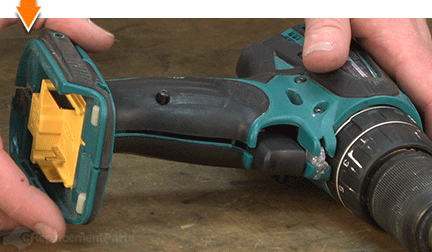
7. Reinstall the rear cover.
Install the rear cover.
Secure the rear cover with the (2) screws.
8. Reinstall the battery.
Install the battery.

As you just learned, fixing things yourself means more drilling with less billing. Hopefully, this article has restored your ability to drill holes without replacing your whole drill. And that's just the tip of the bit. Our online repair guides can help expand your skills far beyond drills; empowering you to face power tool problems whenever they arise; and to fearlessly fix whatever fails you.
