Why Read This Article?
Finish Nailer Repair - Replacing the Driver Guide (Ridgid Part # 79004001022)
Article Breakdown
Finish Nailer Repair - Replacing the Driver Guide (Ridgid Part # 79004001022)
Tools & Materials

Blower running on empty? It's time to face the fix. Whether you are a legendary landscaper or a yearly yard-shaper, eReplacementParts.com provides the parts, procedures and facts you need to fearlessly fix what fails you.
The fuel tank on your Echo blower is generally quite durable. However, it is possible to crack or damage the tank by accidentally dropping or impacting the unit. Symptoms of a damaged fuel tank may be obvious (such as fuel immediately leaking out of the tank when you attempt to fill it); or they may be less obvious (such as occasional or slow leakage around the bottom of the engine). Fuel vanishing from the tank (especially when the engine is not running) or excessive fuel vapors coming from the blower are also signs that your fuel tank may need to be replaced.
This article provides step-by-step instructions for removing and installing the fuel tank on an Echo handheld blower (model PB250).
Let's get started.
 REMOVING THE FUEL TANK [top]
1. Drain the fuel.
Drain any excess fuel from the tank before servicing the unit.
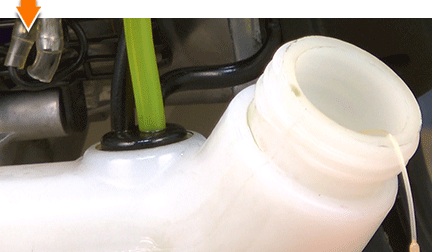
2. Disconnect the fuel pipes.
Note the configuration of the fuel pipes (to ensure accurate re-assembly).
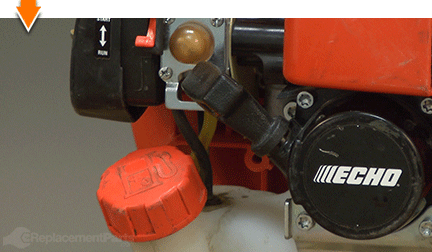
Use a screwdriver (as necessary) to gently pry the incoming fuel pipe away from the carburetor.
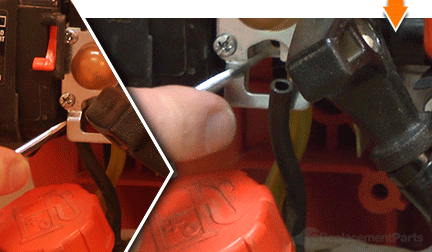
Use a screwdriver (as necessary) to gently pry the fuel return pipe away from the carburetor.
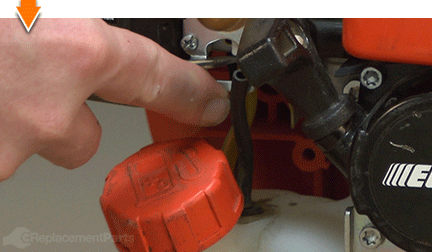
3. Remove the fuel tank.
Remove the (2) screws from the front of the metal tank bracket.
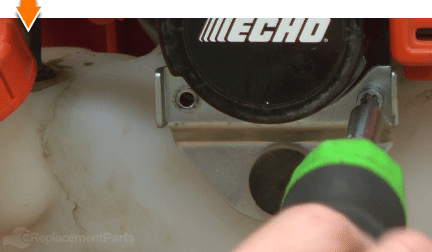
Remove the tank bracket.
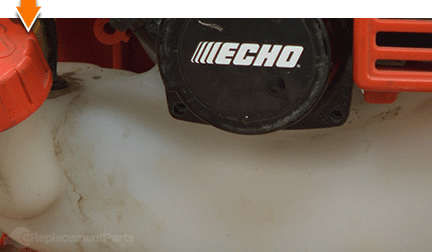
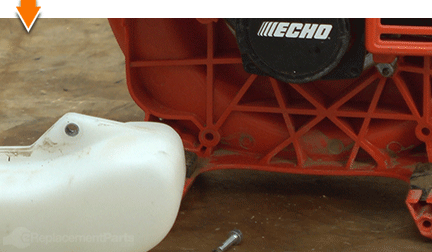
Remove the (2) screws securing the fuel tank to the engine.
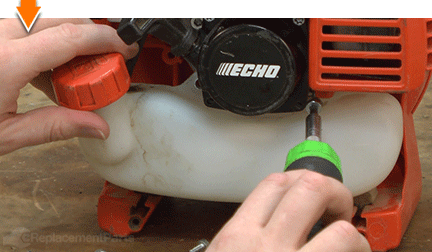
Remove the fuel tank.
TRANSFERRING TANK COMPONENTS [top] 4. Transfer components from the old fuel tank to the new fuel tank.
Remove the fuel cap and cap connector from the old fuel tank.
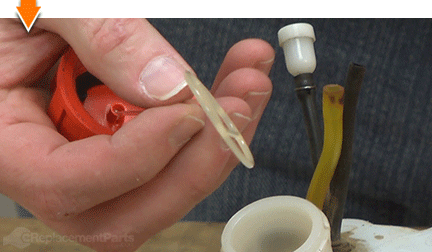
Use a screwdriver to gently pry the fuel line grommet out of the old fuel tank.
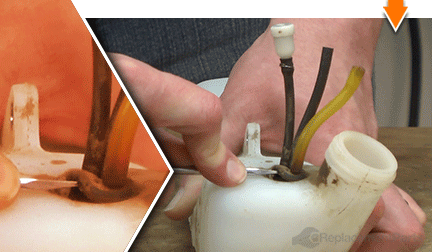
Remove the fuel line grommet (including the fuel pipes, fuel filter and tank vent) from the old tank.
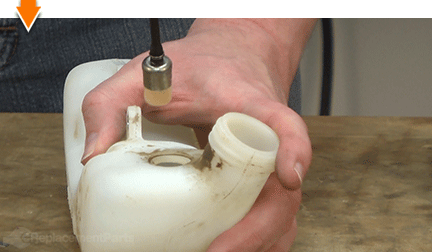
Install the fuel line grommet (including the fuel pipes, fuel filter and tank vent) into the new fuel tank.
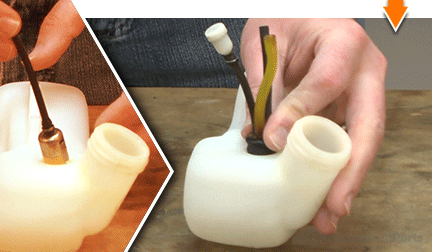
Press the fuel line grommet into position on the new fuel tank; use a screwdriver (as necessary) to seat the grommet properly within the opening on the fuel tank.
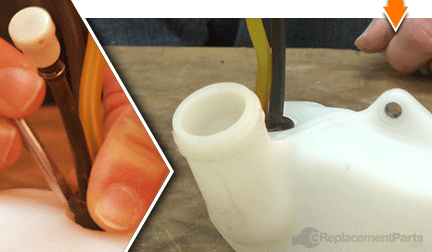
Install the fuel cap connector into the new fuel tank.
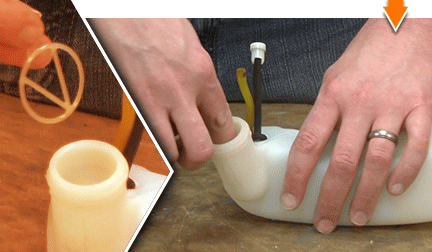
Install the fuel cap onto the new fuel tank.
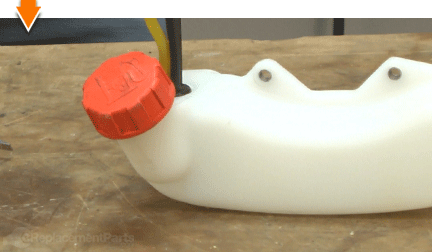
INSTALLING THE NEW FUEL TANK [top] 5. Install the fuel tank.
Install the new fuel tank onto the blower.
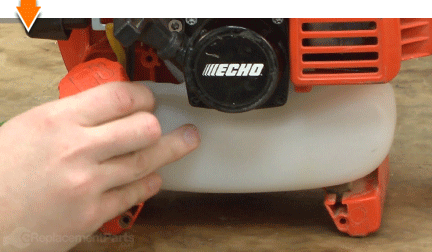
Install and tighten the (2) screws to secure the fuel tank.
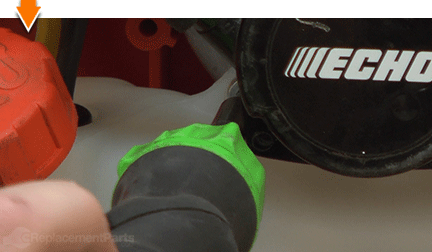
Install the metal tank bracket.
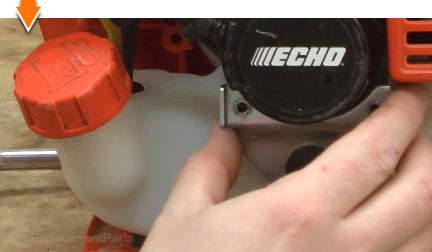
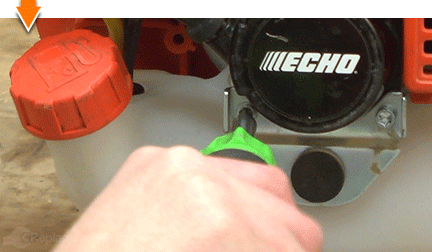
Secure the tank bracket with the (2) screws.
REASSEMBLING THE UNIT [top] 6. Reconnect the fuel pipes.
Connect the incoming fuel pipe to the carburetor.
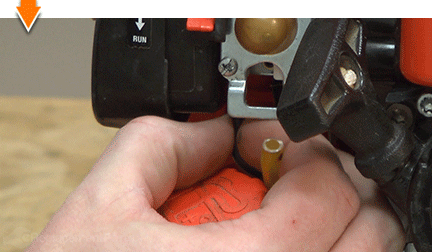
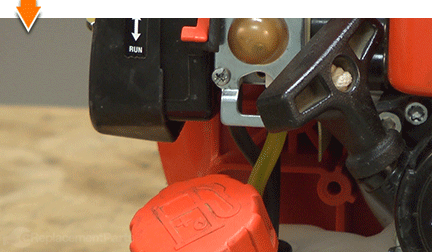
Connect the fuel return pipe to the carburetor.

You don't have to blow your savings to save your blower. As you just learned, repairing your own equipment is easy when you follow our step-by-step guides. Not only did you restore blower functionality at a fraction of the cost of replacement; you have blown away all doubt about your ability to fix whatever fails you.


