


Why Read This Article?
Finish Nailer Repair - Replacing the Driver Guide (Ridgid Part # 79004001022)
Article Breakdown
Finish Nailer Repair - Replacing the Driver Guide (Ridgid Part # 79004001022)
Video

Tools & Materials

Lock button broken? It's time to face the fix. Whether you are a master mechanic or a garage-based grinder, eReplacementParts.com provides the parts, procedures and facts you need to fearlessly fix what fails you.
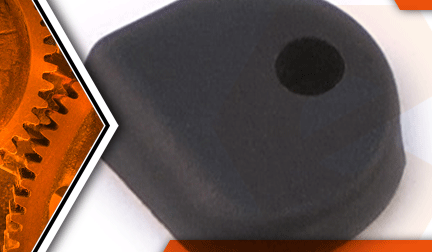
The pin cap is the top "button" part of the spindle lock assembly on your grinder. Because it's made of plastic (and exposed) the pin cap can be broken or cracked quite easily. Fortunately, replacing the cap is also very easy to do.
This article provides step-by-step instructions for removing and installing the plastic lock button pin cap on a Makita grinder.
Let's get started.
 REMOVING THE PIN CAP [top]
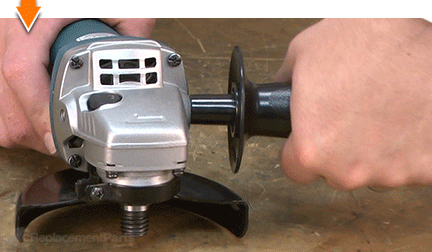
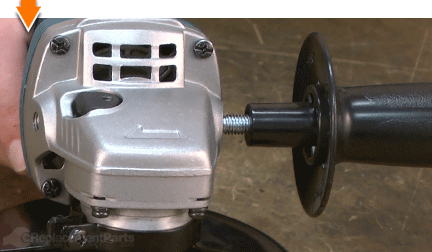
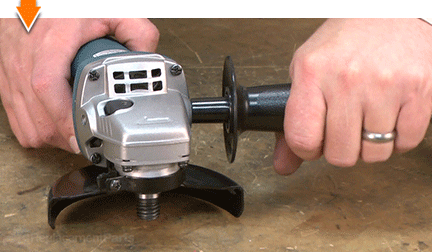
1. Remove the side handle.
REMOVING THE PIN CAP [top]
1. Remove the side handle.
Unscrew and remove the side handle from the grinder.
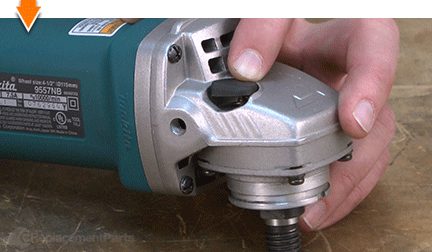
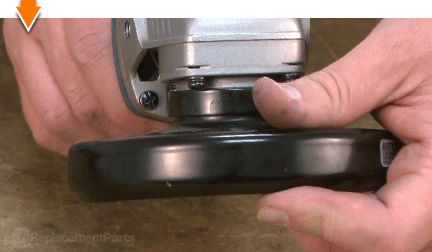
2. Remove the guard.
Loosen the lock-screw on the guard assembly.
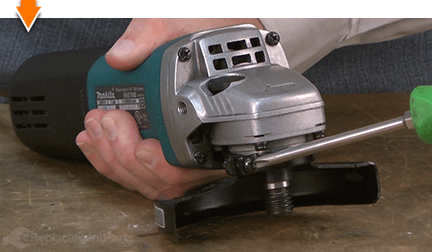
Rotate the guard assembly to disengage it from the housing.
Remove the guard from the grinder.
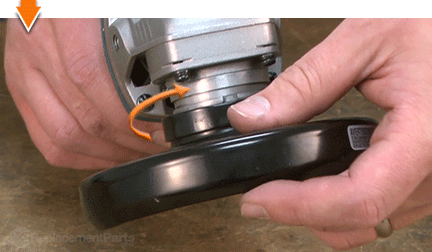
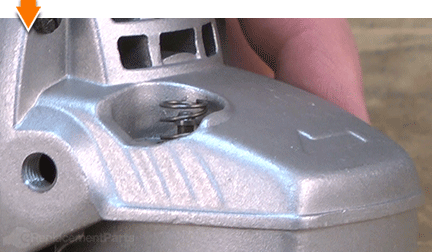
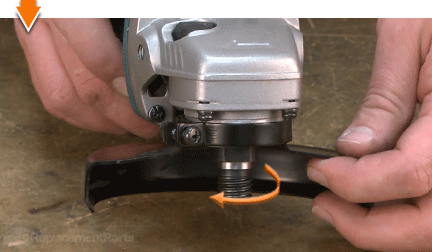
3. Remove the lock button pin cap.
Use a small screwdriver to (pry) disengage the pin cap from the shoulder pin.

Remove the pin cap from the gear housing.
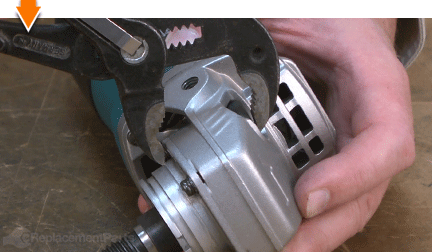
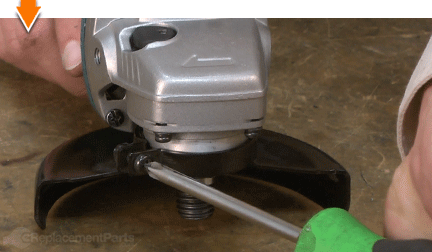
INSTALLING THE NEW PIN CAP [top] 4. Install the lock button pin cap.
Install the new pin cap onto the shoulder pin (over the spring).
Secure the pin cap to the shoulder pin using adjustable pliers.
REASSEMBLING THE UNIT [top] 5. Reinstall the guard.
Install the guard assembly onto the grinder.
Rotate the guard assembly to engage the mounting plate.
Secure the guard with the (1) screw.
6. Reinstall the side handle.
Install the side handle onto the grinder.
Tighten the side handle until secure.

You can't place a value on a job well done, unless you did it yourself. (Which you did.) Now you can place that value back into your own pocket. (Or into your business.) Not only did you refine your grinder at a fraction of the cost of replacement; you have expanded your skills far beyond the daily grind.
