


Why Read This Article?
Finish Nailer Repair - Replacing the Driver Guide (Ridgid Part # 79004001022)
Article Breakdown
Finish Nailer Repair - Replacing the Driver Guide (Ridgid Part # 79004001022)
Video

Tools & Materials

String trimmer out of whack? It's time to face the fix. Whether you are a legendary landscaper or a weekend weed whacker, eReplacementParts.com provides the parts, procedures and facts you need to fearlessly fix what fails you.
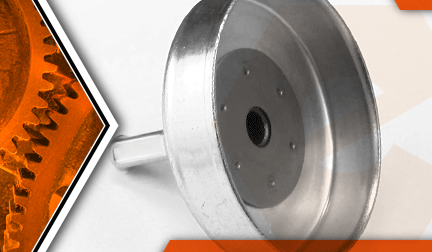
The clutch drum works in unison with the clutch. Together, they make it possible for the engine to idle without rotating the trimmer head. When throttle is applied, the clutch assembly expands into the clutch drum, which activates the trimmer head.
A common issue with the clutch drum is erosion of the spindle where the upper drive shaft connects to the assembly. The square corners of the spindle (which accommodate the square drive shaft) become rounded, and the shaft disengages. Another common issue is wear to the inside of the clutch drum (where the clutch makes contact).
This article provides step-by-step instructions for removing and installing the clutch drum on a Ryobi string trimmer.
Let's get started.
 REMOVING THE CLUTCH DRUM [top]
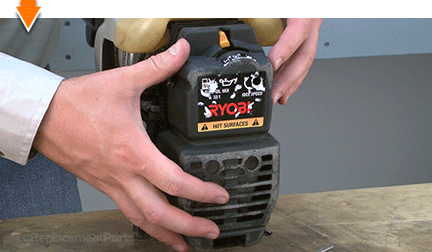
1. Remove the rear cover.
REMOVING THE CLUTCH DRUM [top]
1. Remove the rear cover.
Remove the (4) screws from the rear cover.
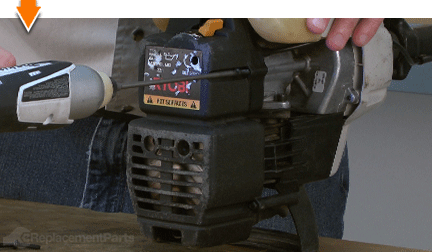
Remove the rear cover from the engine.
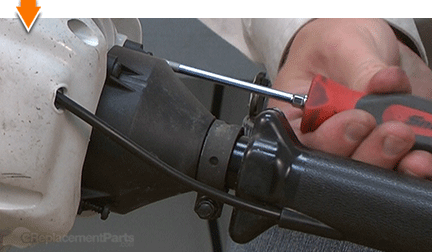
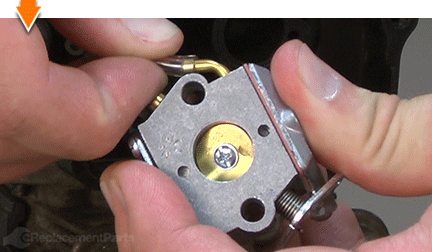
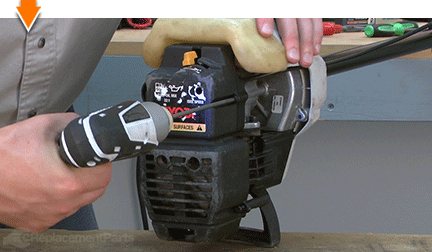
2. Remove the carburetor.
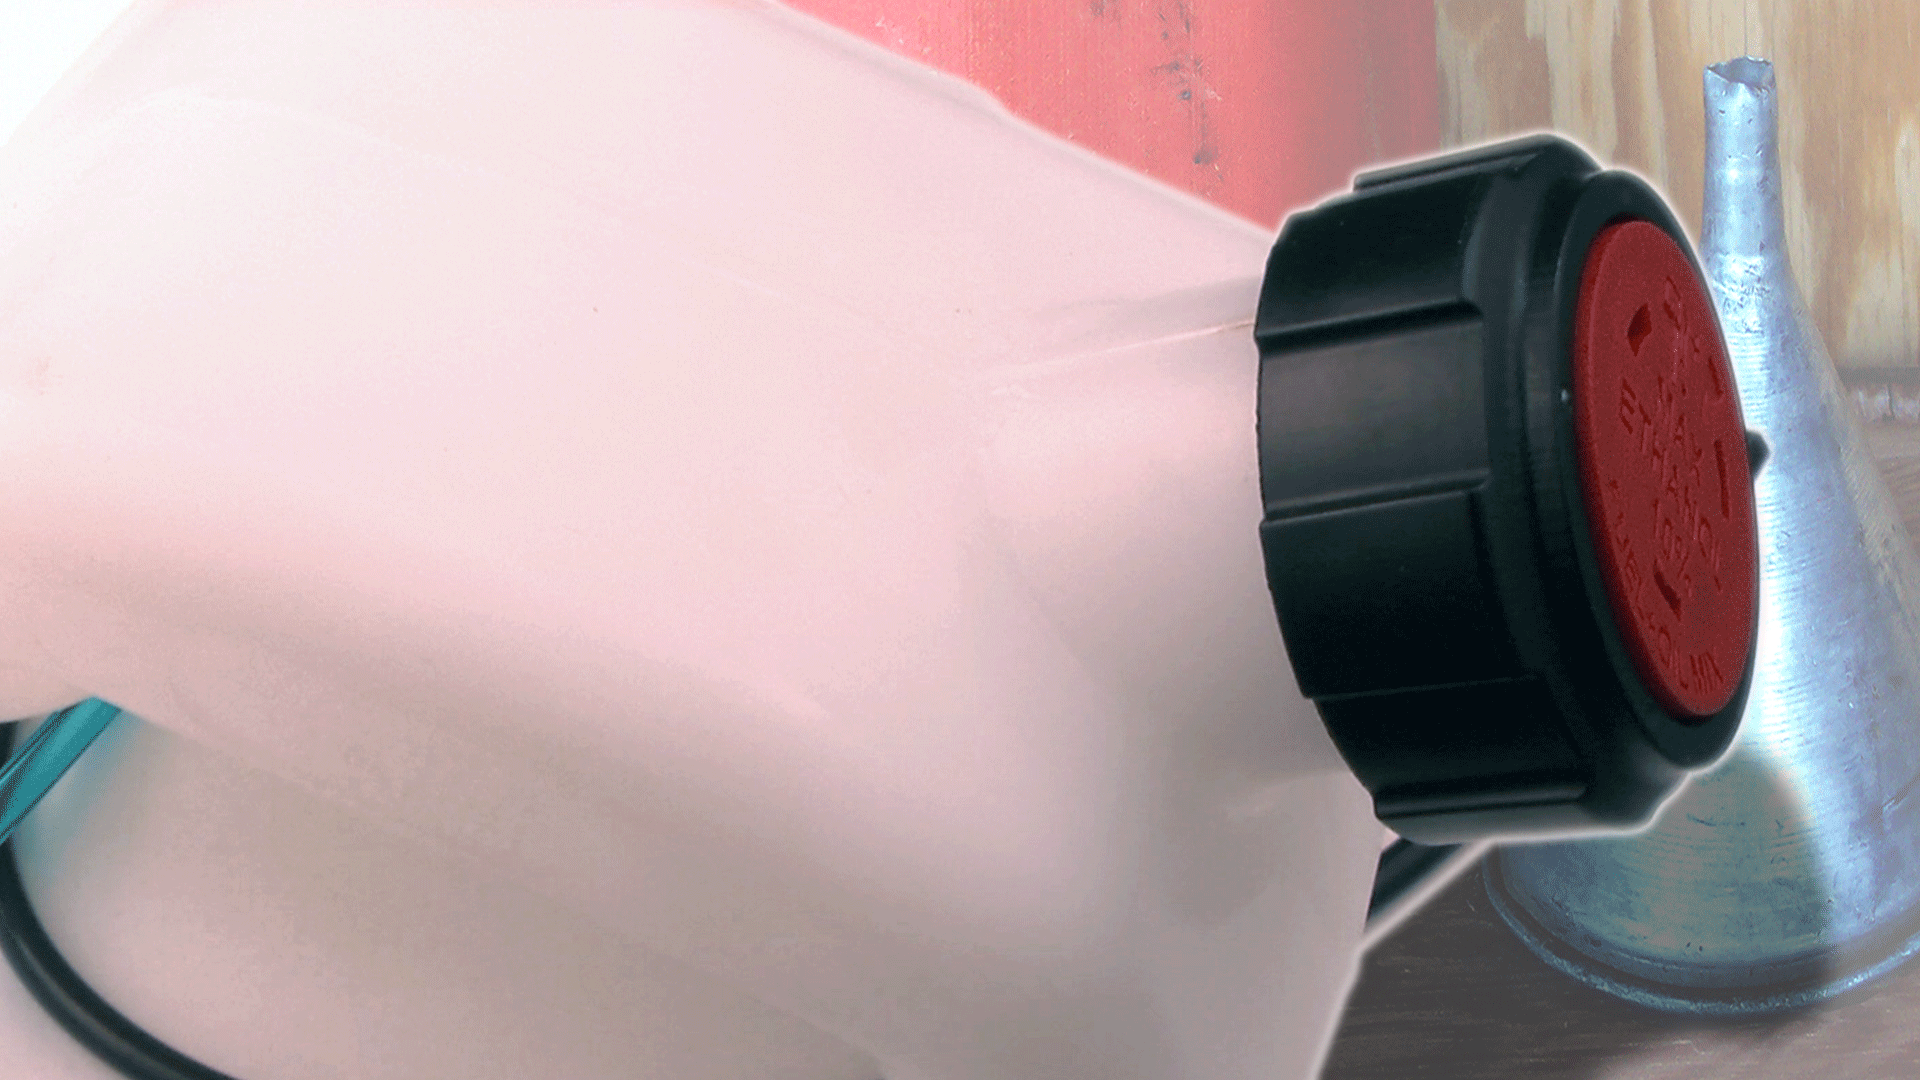
Drain any excess fuel from the fuel tank prior to servicing the carburetor or the fuel lines.
Remove the (2) screws from the carburetor assembly.

Remove the choke plate and choke assembly from the carburetor.
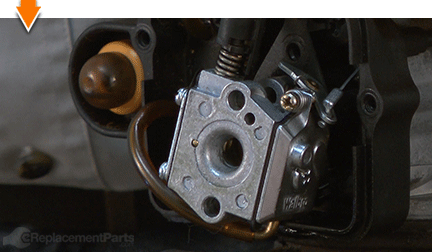
Disconnect the throttle cable from the carburetor (this is accomplished using a lift-and-twist motion).
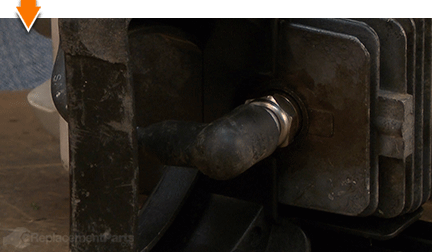
Remove the (2) fuel lines from the carburetor. These lines should pull away from the carburetor inlets relatively easily (by hand); however, small pliers may be used as necessary to disconnect the fuel lines from the carburetor.
Remove the carburetor from the engine.
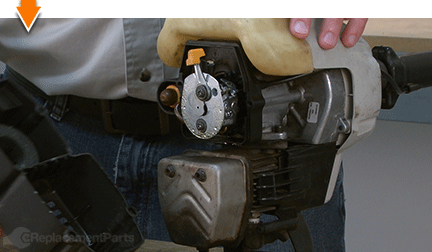
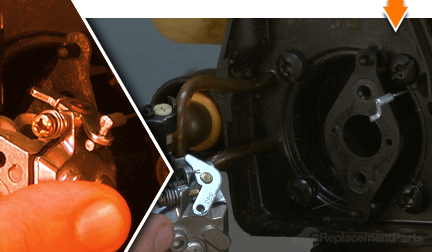
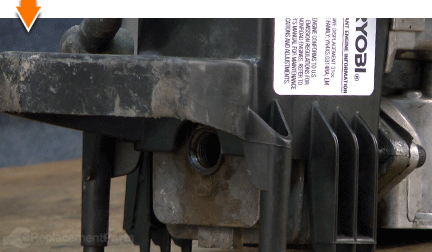
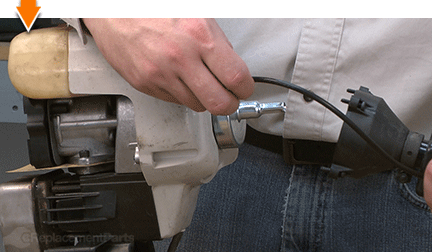
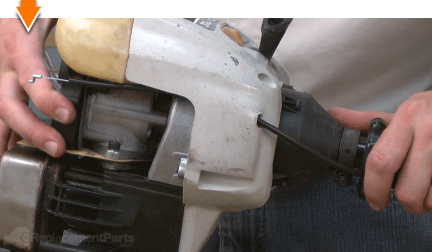
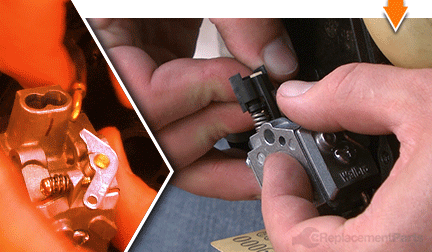
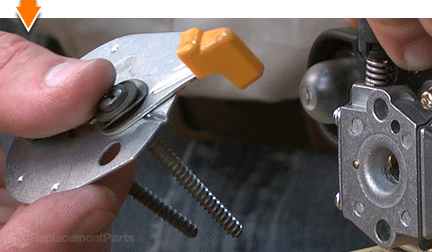
3. Disconnect the clutch housing and upper shaft from the engine.
Remove the (4) screws from the clutch housing.
Remove the clutch housing and upper shaft from the engine. (The throttle cable will also slide freely from the opening in the engine housing.)
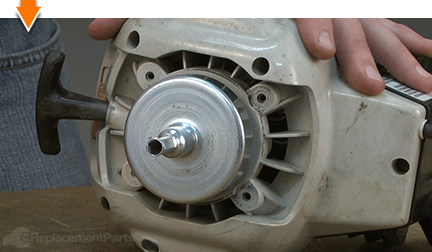
4. Bind the piston.
This step effectively binds the engine, which facilitates the removal of key components (described in subsequent steps).
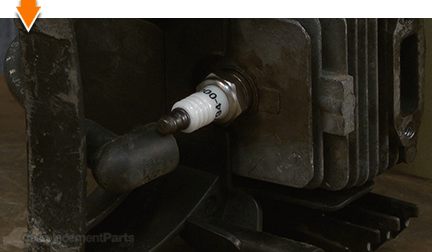
Disconnect the spark plug boot from the spark plug.
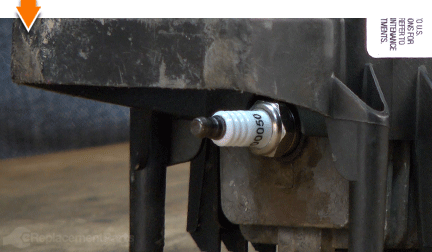
Use a spark plug wrench (or socket) to loosen the spark plug.

Remove the spark plug from the engine.
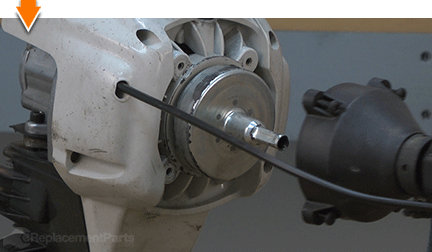
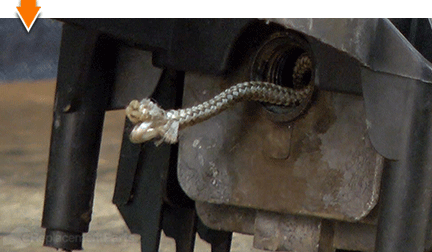
Insert the end of an old starter rope (or similar rope) into the engine cylinder (through the spark plug hole). Continue feeding the rope into the cylinder until the piston is unable to move.
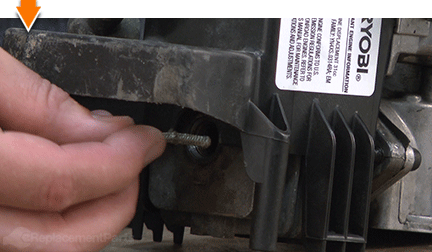
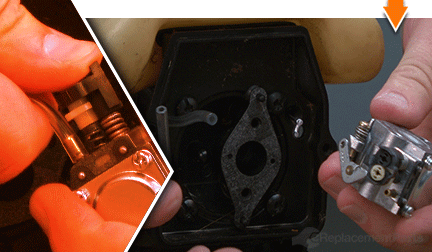
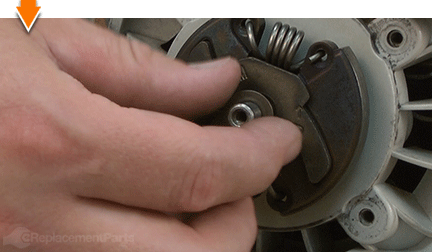
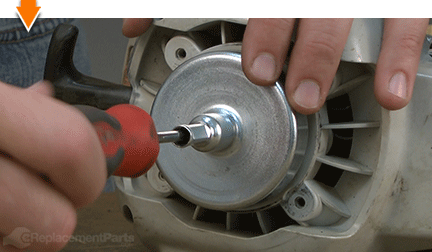
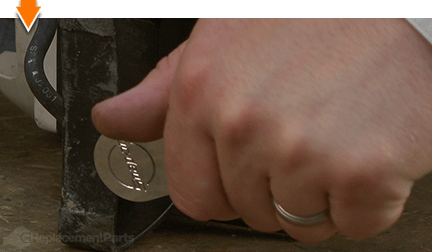
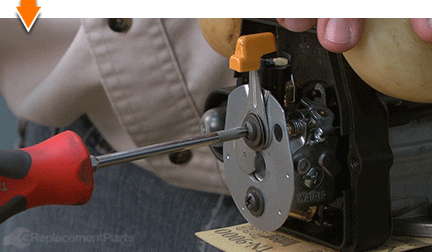
5. Remove the clutch drum.
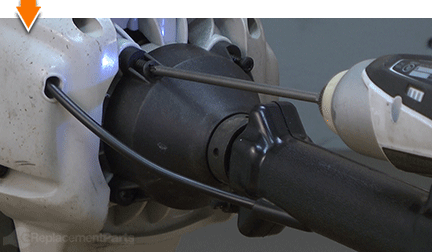
Loosen the internal screw on the clutch drum using a Phillip's screwdriver (loosen the screw until the clutch drum disengages the spindle; it is not necessary to remove the screw entirely).
Remove the clutch drum from the spindle.
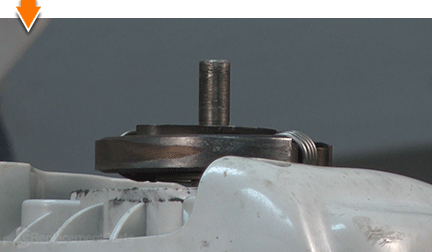
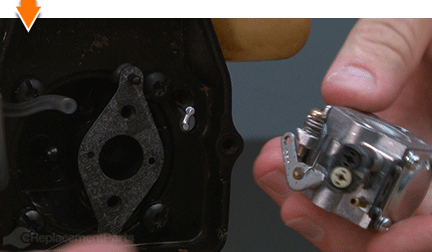
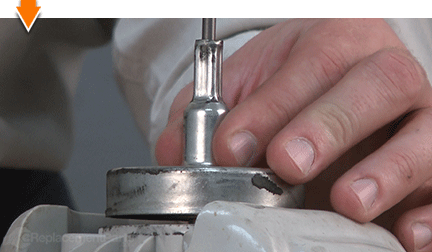
INSTALLING THE NEW CLUTCH DRUM [top] 6. Install the clutch drum.
Install the small spacer washer onto the spindle.
Install the new clutch drum onto the clutch.
Secure the new clutch drum to the spindle with the internal screw.
REASSEMBLING THE UNIT [top] 7. Reinstall the spark plug.
Remove the binding (starter rope) from the cylinder.
Install the spark plug into the cylinder.
Use a spark plug wrench (or socket) to secure the spark plug.
Replace the spark plug boot.
8. Reconnect the clutch housing and the upper shaft to the engine.
Thread the throttle cable through the engine housing and through the opening on the carburetor mounting assembly.
Reconnect the upper shaft and clutch drum housing to the engine.
Secure the upper shaft and clutch drum housing with the (4) screws.
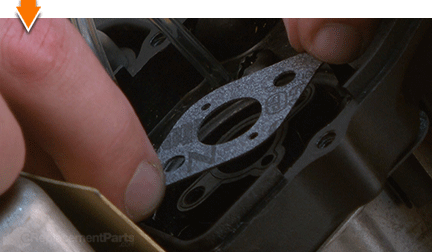
9. Reinstall the carburetor.
Install the carburetor gasket.
Install the throttle cable onto the throttle linkage of the carburetor.
Install the incoming fuel line to the lower carburetor inlet.
Install the (primer) fuel line to the upper carburetor inlet.
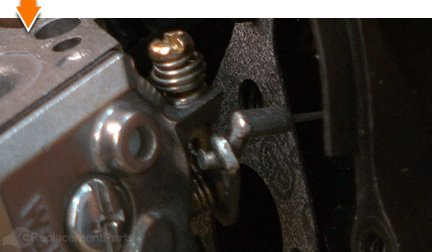
Install the carburetor mounting screws onto the choke plate and lever.
Secure the carburetor (and choke plate) to the engine with the (2) screws. Note that the choke lever and the wavy washer must be properly aligned before tightening the upper screw.
10. Reinstall the rear cover.
Reinstall the rear cover onto the engine.
Secure the rear cover with the (4) screws.

You don't have to leverage your savings to level your lawns. As you just learned, repairing your own equipment is easy when you follow our step-by-step guides. Not only did you restore trimmer functionality at a fraction of the cost of replacement; you have taken the edge off of future repairs, wherever you may find them.
